How-to Article ...by Julius de Roo
Some techniques on how to repair a damaged hull...
During the annual powerboat meeting in Heilbronn, Germany my buddy Andre got an unfortunate collision with another boater. His PSR mono got damaged, which was spectacularly caught on camera as shown in the following sequence.




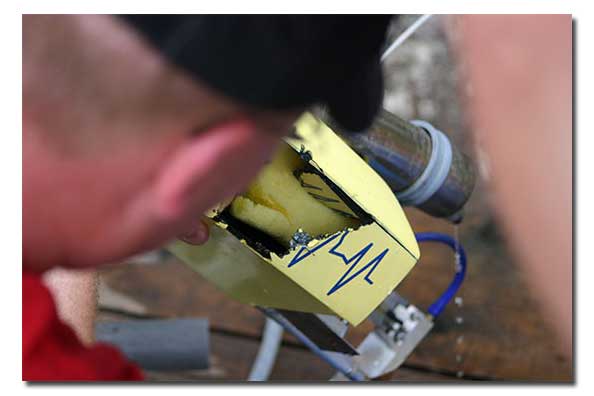

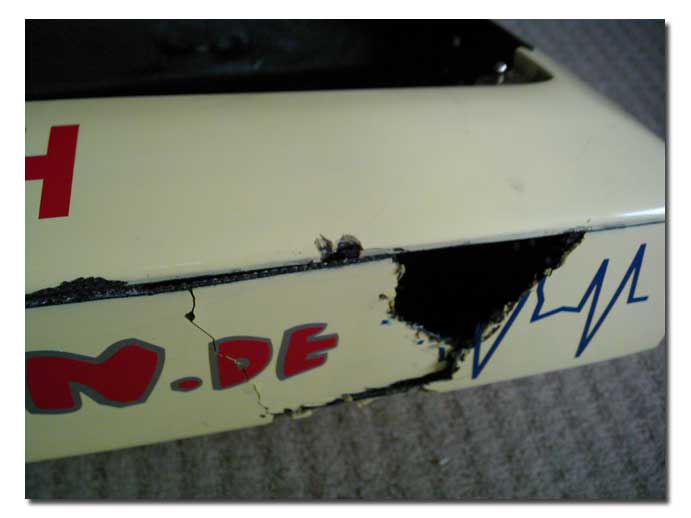
Andre had another hull on order so he decided to give this one to me. Upon inspection the damage consisted of a rip along the body halves and an obvious hole. As the hull was laid up in carbon fiber it cracked (carbon fiber is very durable but when stressed it does not give way and cracks). I wanted to repair the hull and not have it end in the trash bin, but instead let it continue in its full glory.
To repair a damaged hull is like real life surgery: first remove any loose things, clean up the edges of the wound and then stitch it or transplant skin.
So out came the Dremel with a cut-off wheel and loose parts and the edges were trimmed. Usually it is better to make the hole square, but as I didn’t have the vinyl decals I wanted to let as much as possible of the original lettering in place.
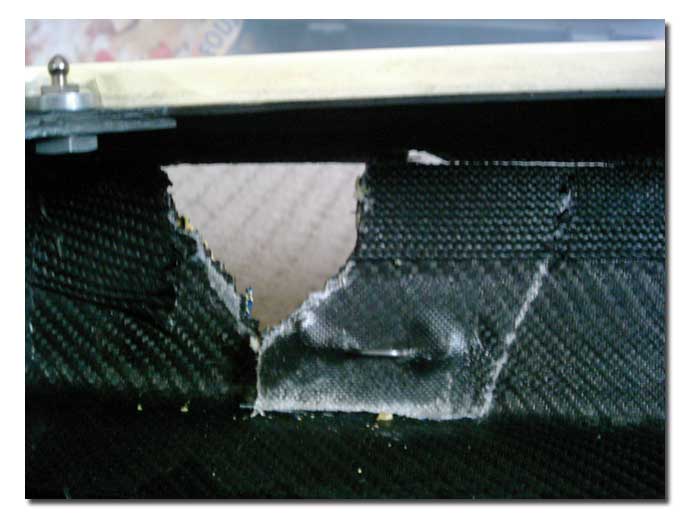

The inside was degreased and sanded to create “bite” or as much surface area as possible for the new epoxy. The sides of the cut were beveled to about a 45 degree angle to make the transition between the existing lamination and the repair lamination smooth. On a side note, when repairing an epoxy hull never use polyester resin as it won’t adhere permanently to the epoxy. You can however use epoxy on a polyester hull.
Then the outside of the hole in the hull was covered with baking paper or waxed paper. This paper does not stick to epoxy so it releases easily when the epoxy has hardened. Make the paper follow all the curves of the hull. In this case it was not too difficult as the side is mostly square and a little curved on the bottom and deck. Then I taped a piece of flat triplex to the waxed paper to support it from the outside, providing a flat surface. The materials used were Polyservice hardener LH-520, thick epoxy glue 700, Epoxy resin THV 500, 180 gram / square meter roving woven glass matt and 200 gram square woven carbon matt. In the US West Systems epoxy for sure has similar product, only thing is I do not have access to their products here.
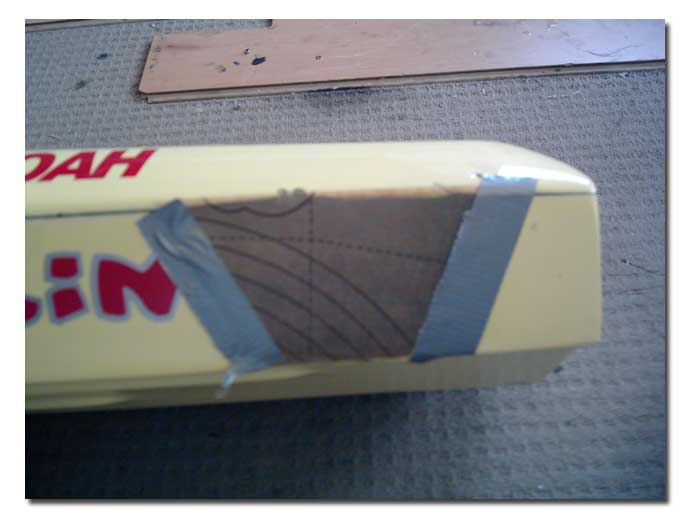
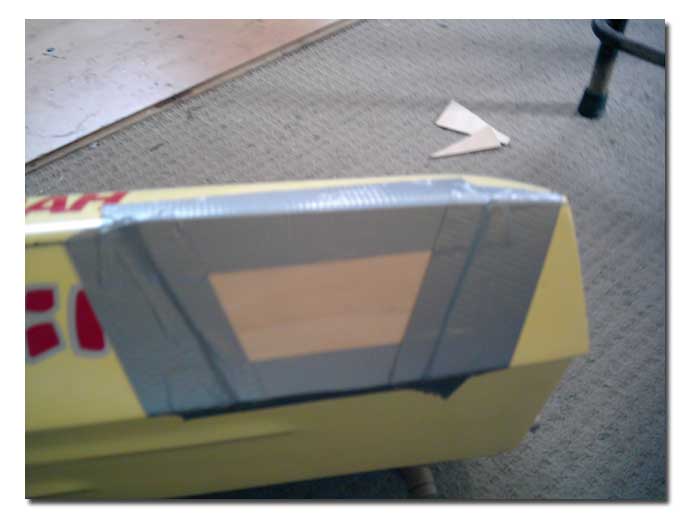
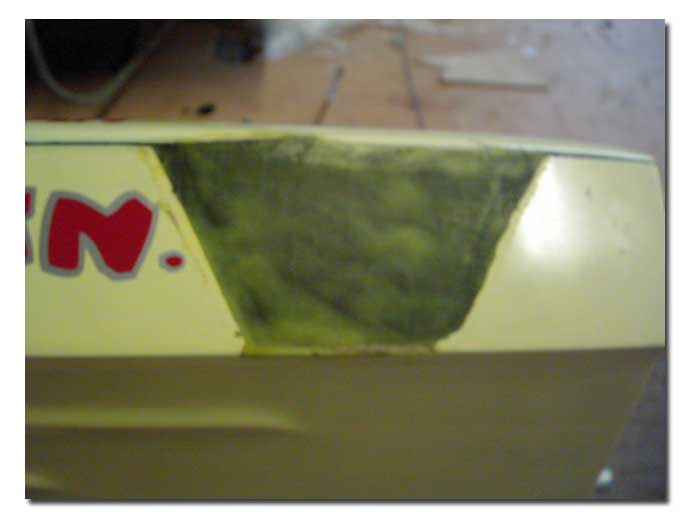
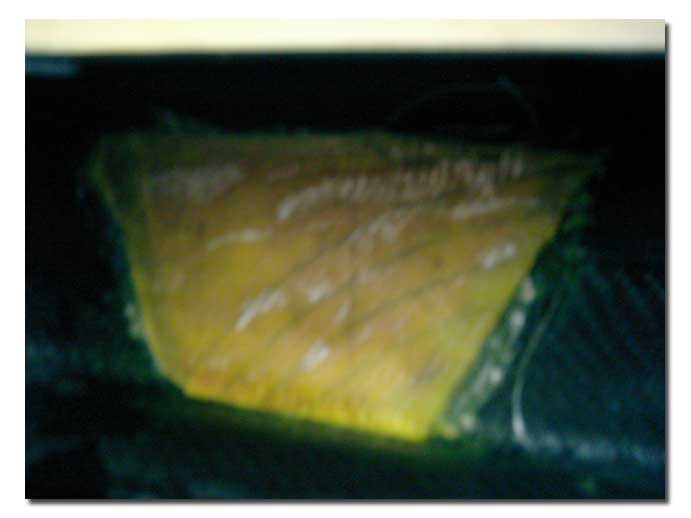
Firstly I mixed a small batch of the thick epoxy glue, to be used as a kind of filler and gelcoat. I mixed in a little yellow coloring substance, hoping to match the hull’s original gelcoat. This mix was brushed on as a first layer to the waxed paper from the inside and in the crack between upper and lower hull halves to repair this joint. I put the boat aside to let this harden until the gel was not too sticky anymore (about 3 hours with this type of hardener at 25 degrees Celsius).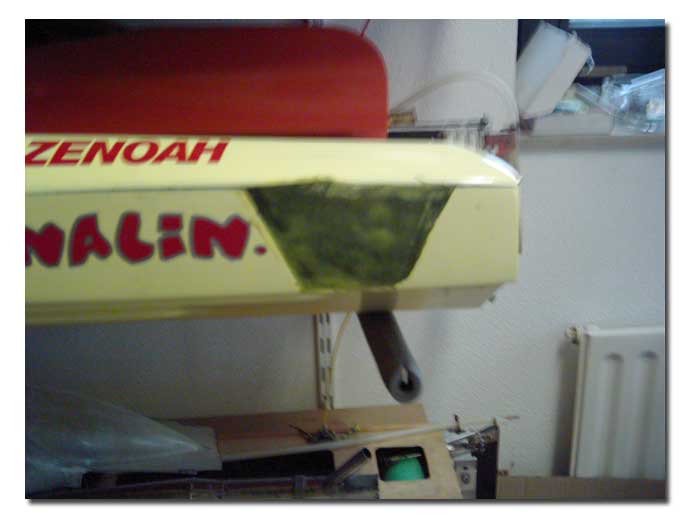 Meanwhile I cut the glass matt to shape (4 pieces) and 2 larger pieces of Carbon cloth to cover the cracks and the hole. I then brushed a liberal coat of resin on the parts that needed to be covered by either the glass matt or the carbon fiber. The 4 pieces of glass matt were laminated in the hole, followed by the carbon to join both hull halves again and cover the hole by a margin of about 1 inch on all sides. This margin makes sure that the glass matt is properly joined to the hull.
The hull was then set aside to harden for 24 hours. After this period the triplex and baking paper were removed. The resin had sipped a little under the tape creating a little ridge, but some coarse sandpaper removed this easily.
I choose not to hide repaired section of the hull, but if you prefer the way to do is to sand the surface flat, degrease and prime it. Then you can brush or spray (I prefer paint spray) the previously damaged area and it’s surrounding.
The hull is ready to be used again and all I have to do is build new hardware for it.
Items needed:
- Damaged boat!
- From Polyservice (www.polyservice.nl):
- Hardener LH-520
- Thick epoxy glue 700
- Epoxy resin THV 500
- 180 gram / square meter roving woven glass matt
- 200 gram square woven carbon matt
- Tape
- Baking paper (waxed paper)
- Disposable brush

