Hobby Machinist Article...Submitted by Julius de Roo
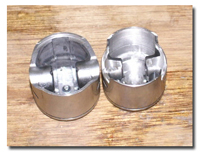
Making piston weight reduction easy with the help of a mill and a rotary table (and some other suggestions).
I'm relatively new in the world of metal working and I am learning new things everyday. In this small "how-to" article I want to share a technique for reducing the weight of a Zenoah 260 piston by about 25% or that of a Zenoah 231 piston by about 20 %, in about 10-15 minutes. You need a mill, a rotary table and a 3-jaw chuck (or make your own adaptor plate).
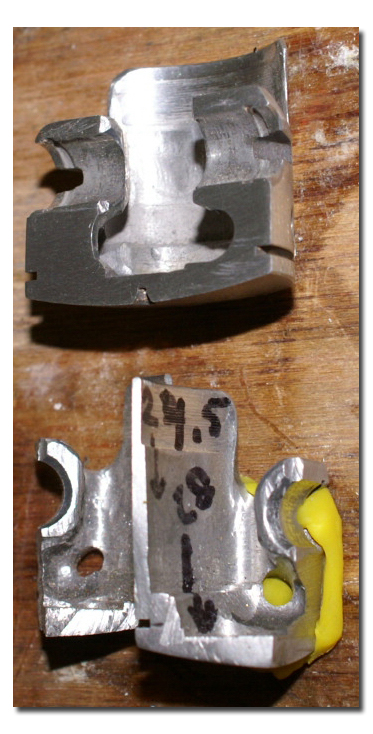
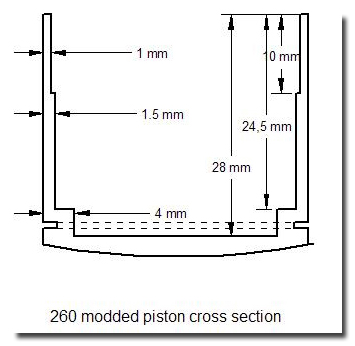
Before starting any work I made an analysis of how much material could be safely removed from a piston. So how do you do this? Yes, first you measure. To make measuring easy I cut a piston in three cross-sections.
Based on this I made a drawing to guide me through the milling process.
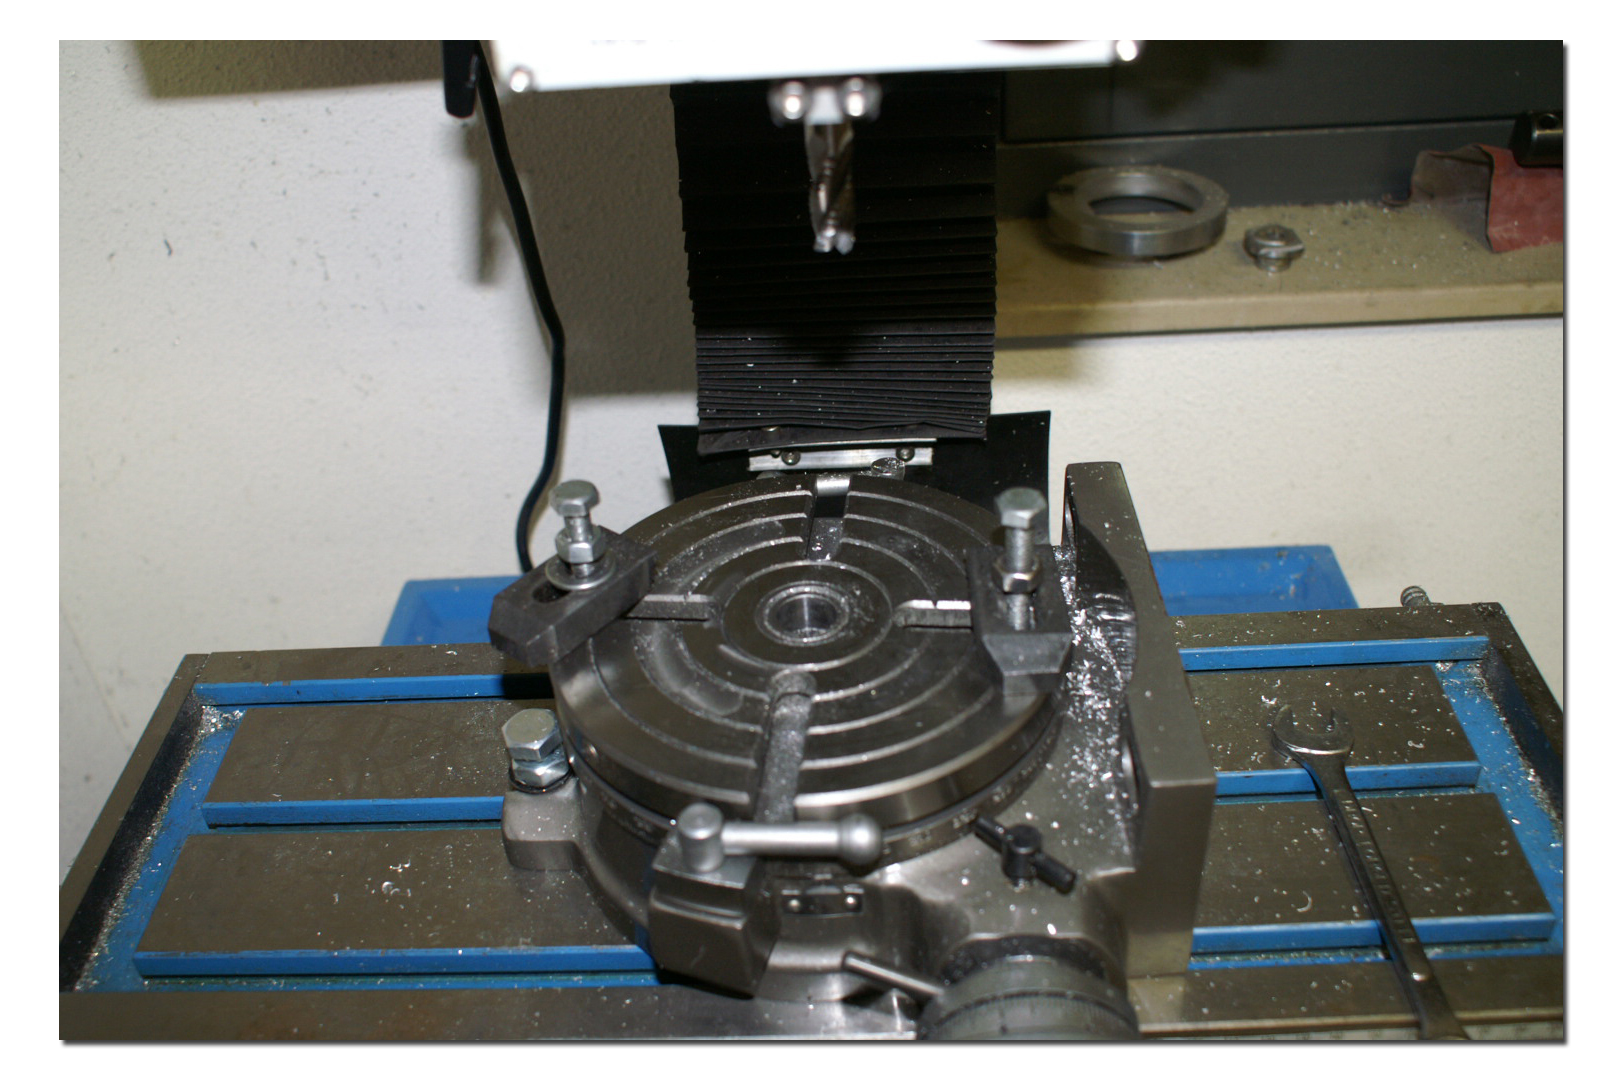
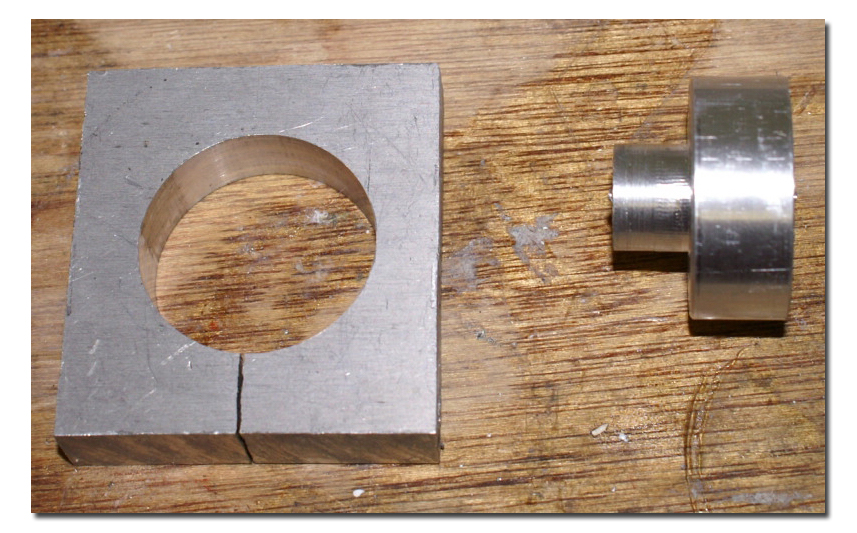
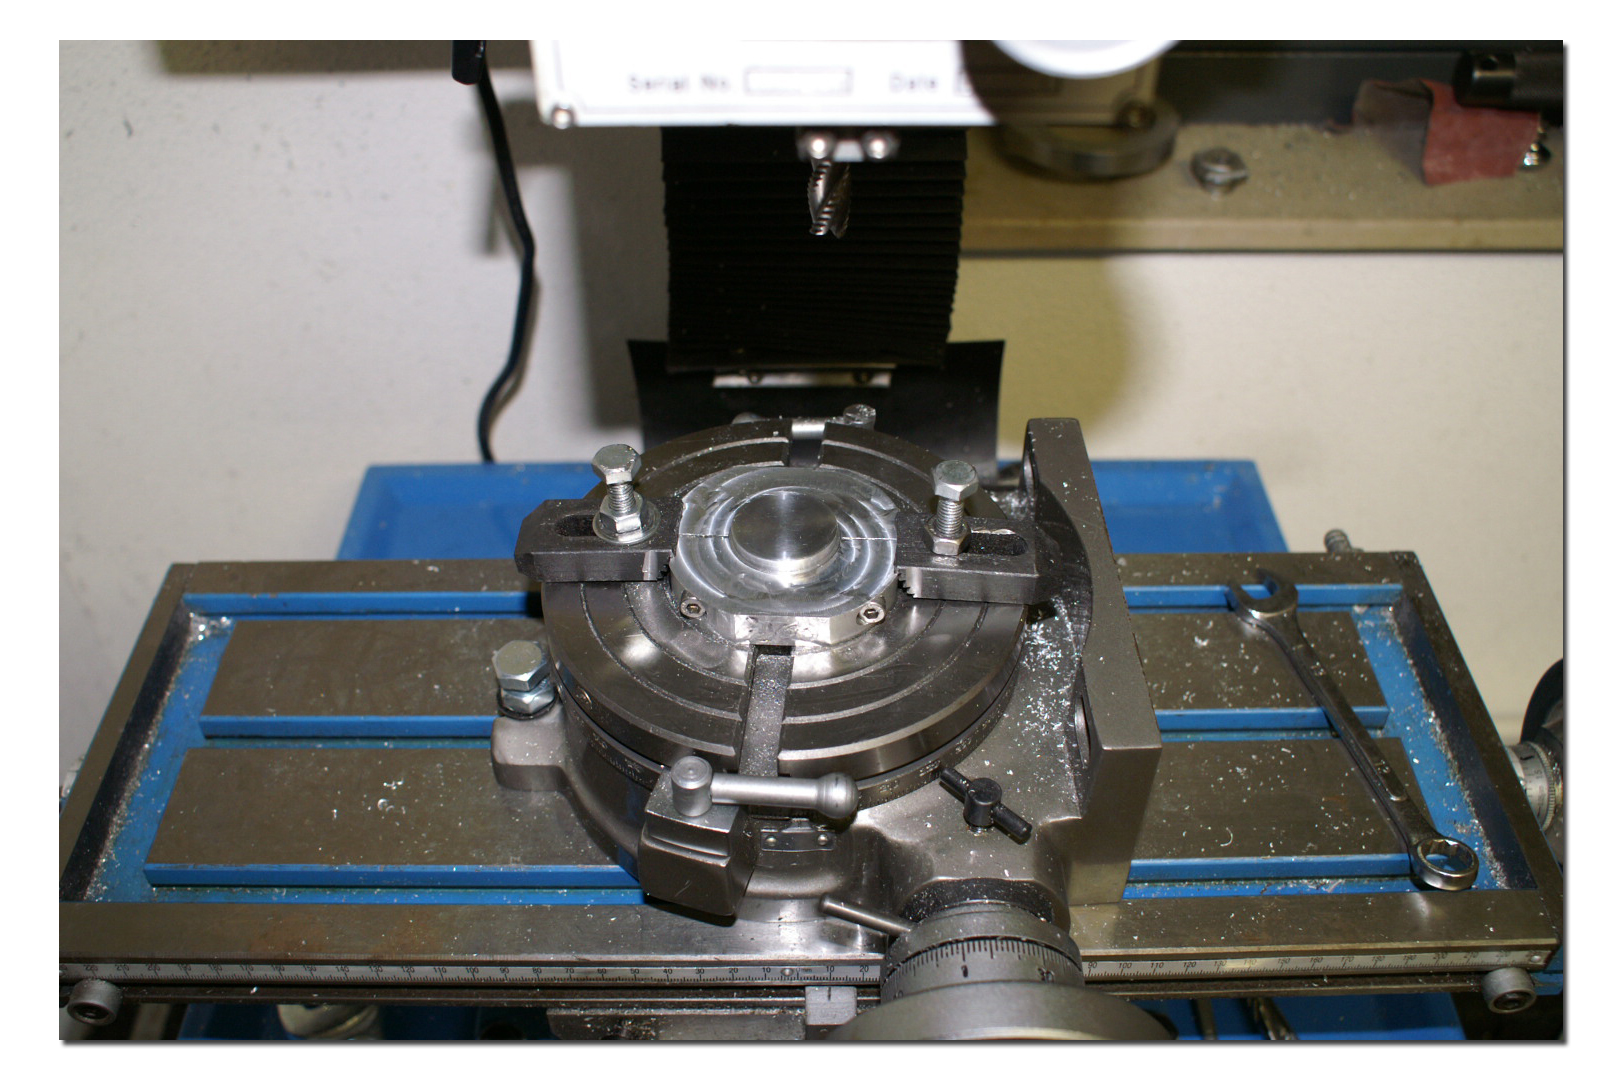
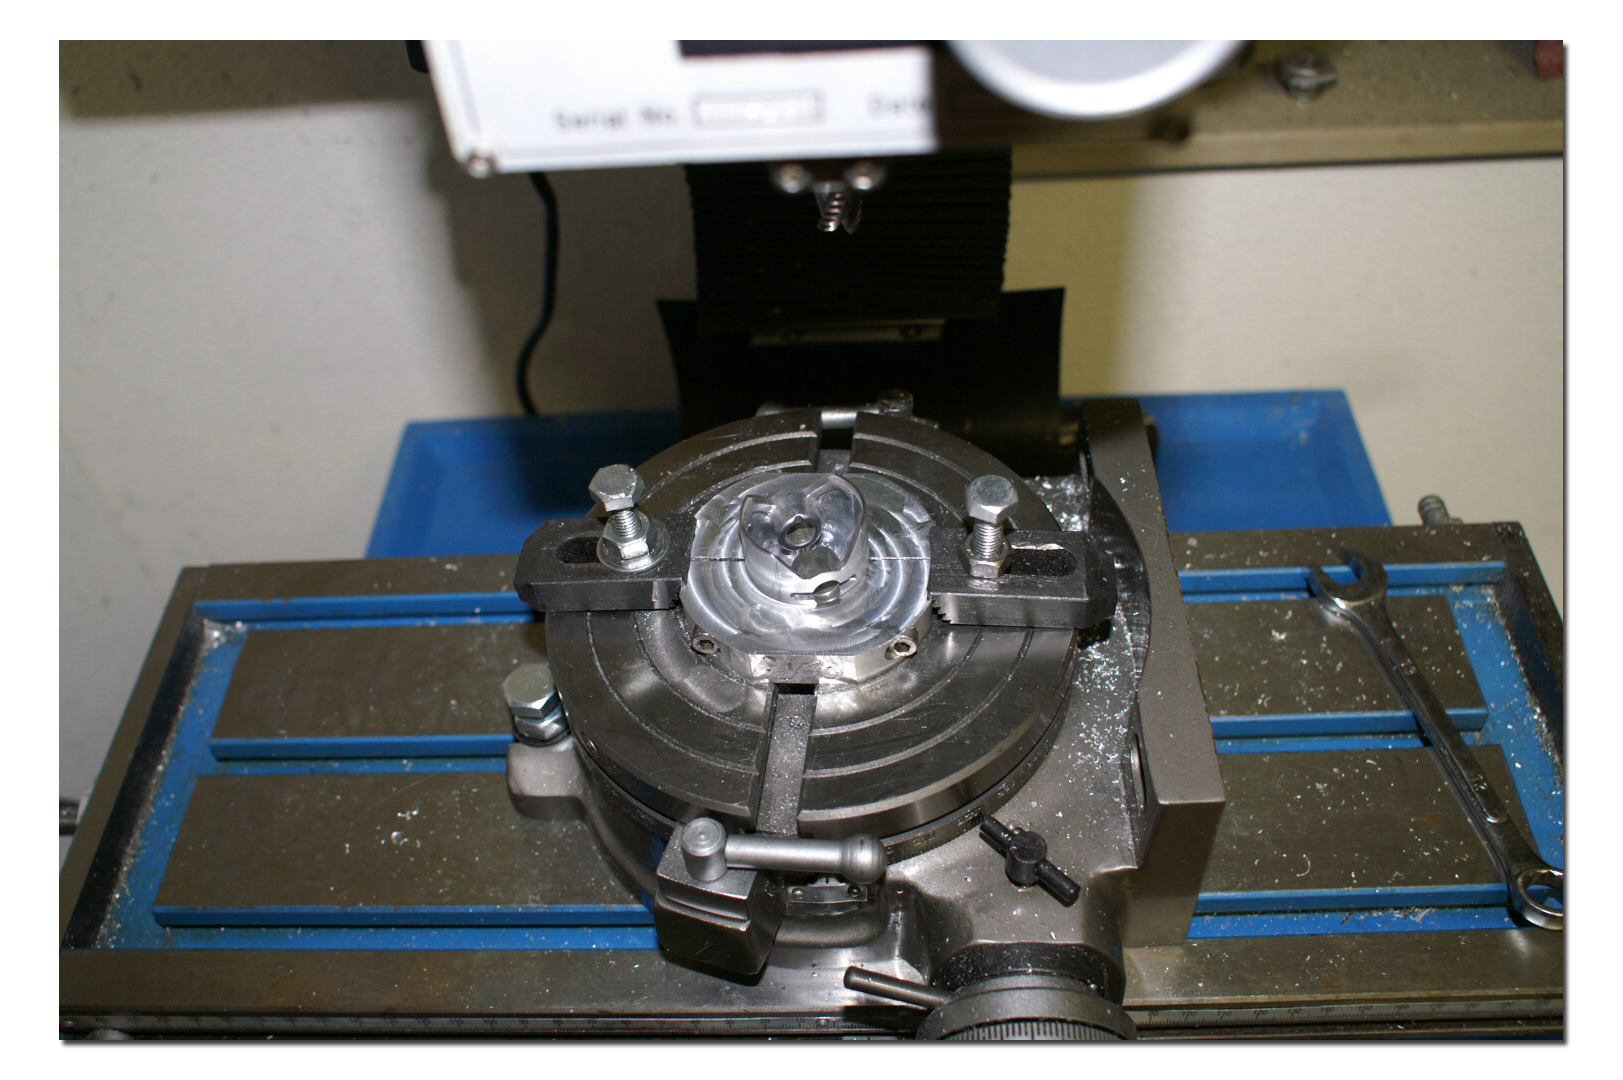
Next I needed to work on the mill. As I don't have a 3-jaw chuck that would center the piston on the rotary table I had to make two adaptors which are show below: Adaptor #1 on the left, Adaptor #2 on the right.
The first one is to hold the piston. This is easily done by using a piece of aluminum about 10-15 mm thick and 6 x 6 cm square. Fix this in about the middle of the rotary table and mill a round hole 34,1 mm in diameter for a 260 piston and 32,1 mm in diameter for a 231 piston. With a metal or band saw make a cut (kerf) in the piece of aluminum and drill a hole lengthwise. Tap one side to M5 thread. Place an M5 allen head screw in it so you can thighten the adaptor around the piston or Adaptor # 2. With the cut and the screw in place the piston can be held very firmly.
The second adaptor (Adaptor #2) is to position the first adaptor in the center of the rotary table. This adaptor is made of a piece of aluminum about 30 to 40 mm long and with a diameter of at least 35 mm (depending how well you can place it in the middle of the rotary table). The rotary table has a tapered round hole in the middle and I'm going to use this hole as a guide. Measure the diameter of this tapered hole and start cutting the piece of aluminum round using the rotary table, taking care to only do this about 10mm deep; the other end will be needed to fit inside adaptor #1. When this is done you are already half way. You can put this in the middle hole of the rotary table and mill the other end to a diameter of 34 mm for a 260 piston and 32 mm for a 231 piston. (This can also be done on a lathe if you have one. The bar stock is all you need). Be sure this thicker part is at least 5 mm higher or thicker then adaptor #1, otherwise you will not be able to get it out of the rotary table once it is set up.
With these 2 pieces ready you're ready to start milling your piston.
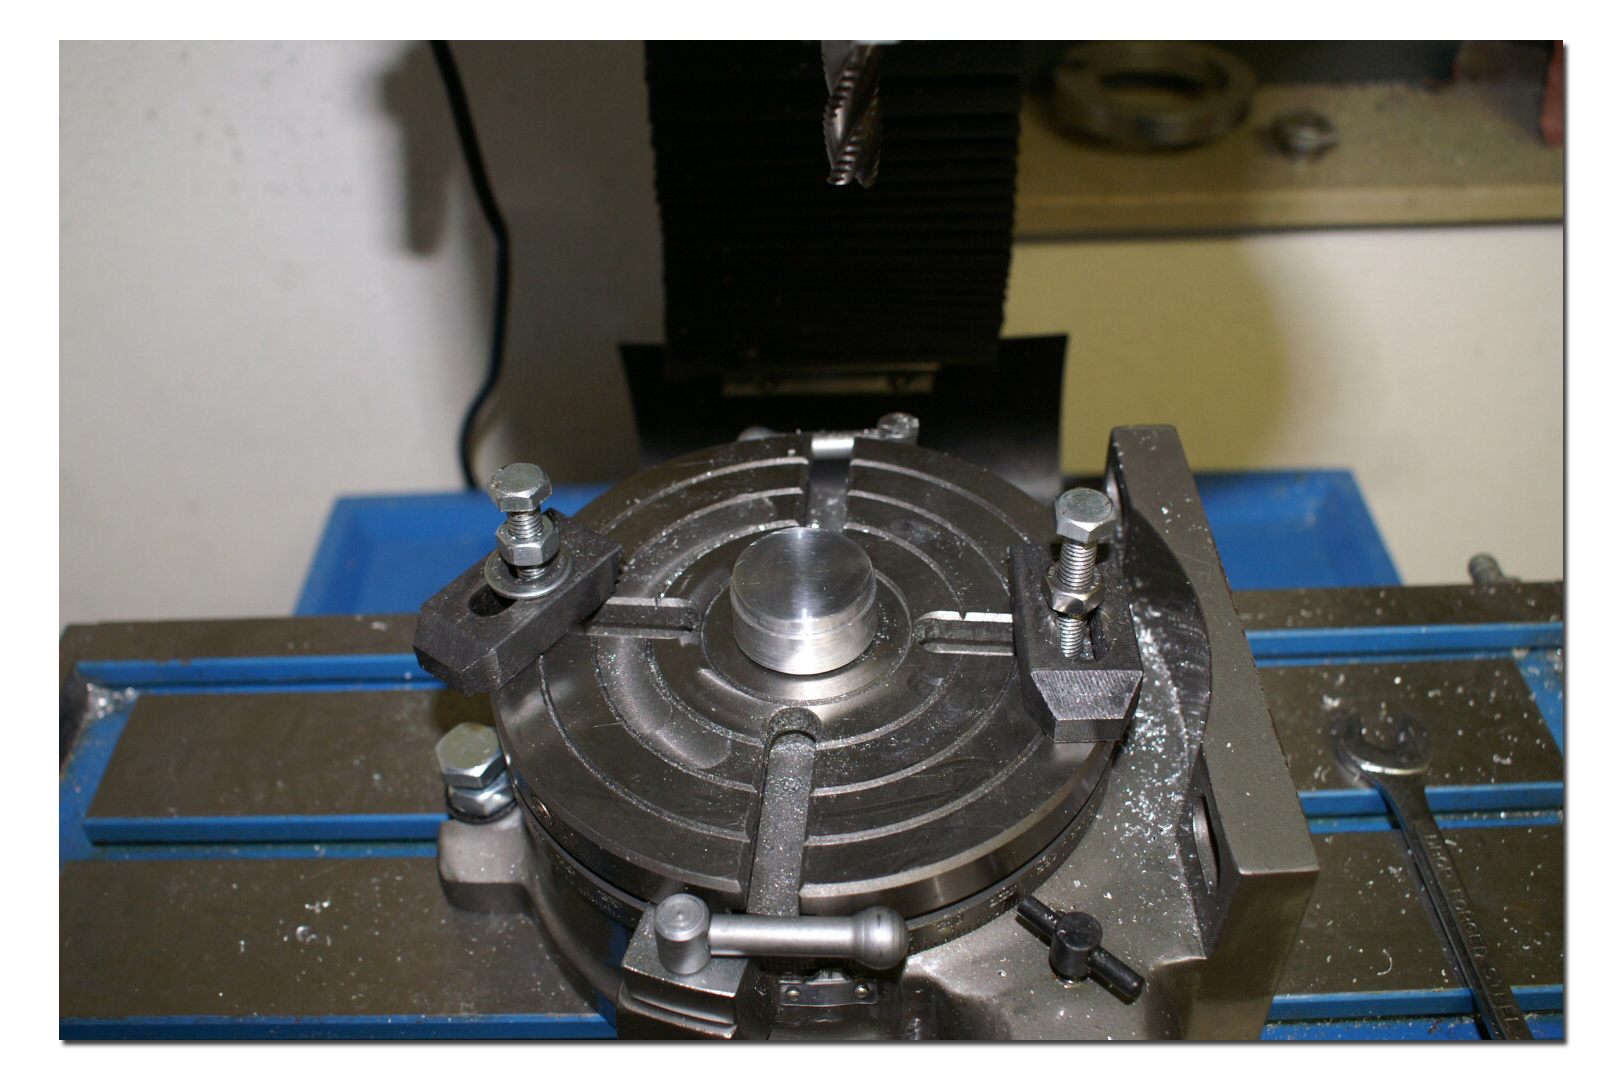
Start by putting adaptor #2 in the rotating table, press it in firmly (don't hammer, it just needs to be there temporarily).
Next, slide Adaptor #1 over Adaptor #2 and fix it solidly to the rotary table. To make sure it is centered, tighten the M5 set screw in Adaptor #1.

Next remove adaptor #2 (see why the extra 5 mm comes in handy?) and place your piston (dome facing down) in adaptor #1.
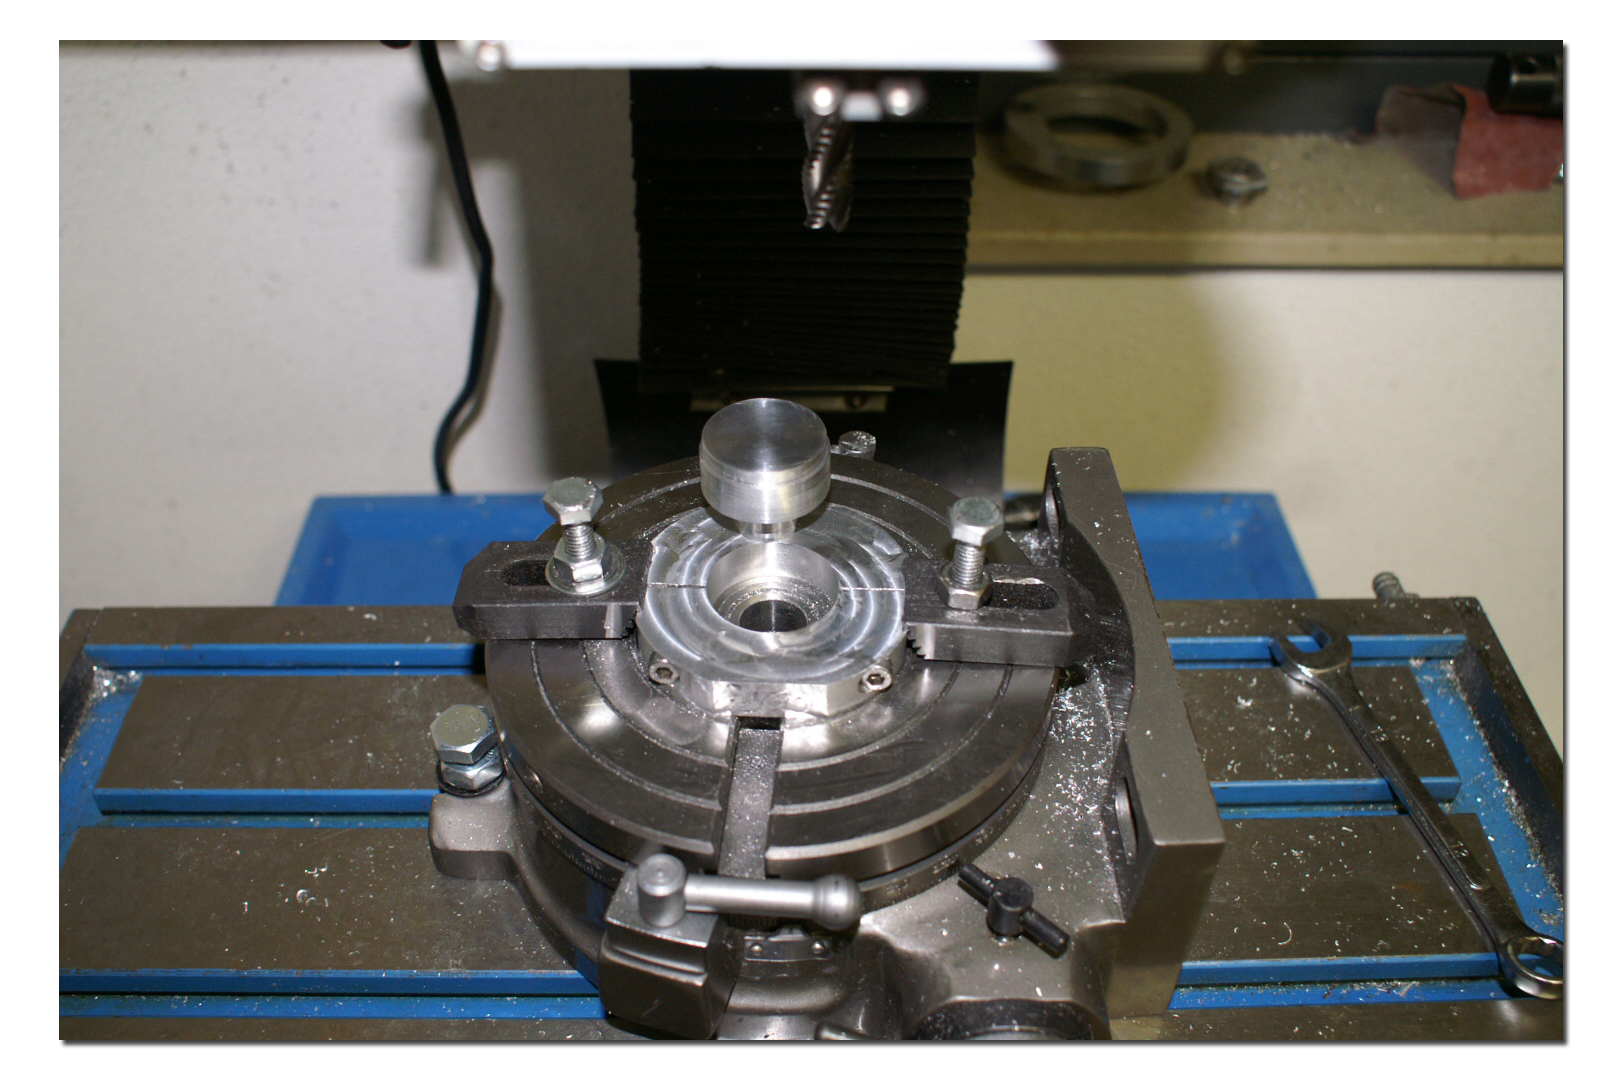
Now with the use of the cross-section drawing of the piston above you can start milling. Be carefull not to damage the piston pin holder. I use a 6 mm milling bit, but with a smaller bit you can make tighter corners and remove even more material.
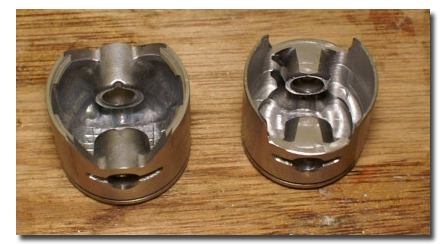
The end result will look like the 231 piston on right of the 2 pictures below (on the left is a standard 260 piston).
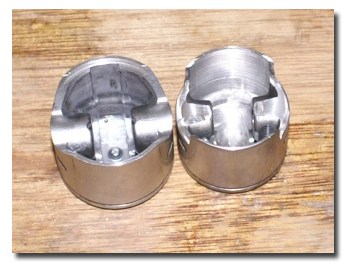
Weighing before and after shows a weight decrease of 6,61 gram or 23% for a 260 piston. More material can be removed, but this was done using only the mill, no Dremel with special shaped bits or doming of the piston or boost ports.

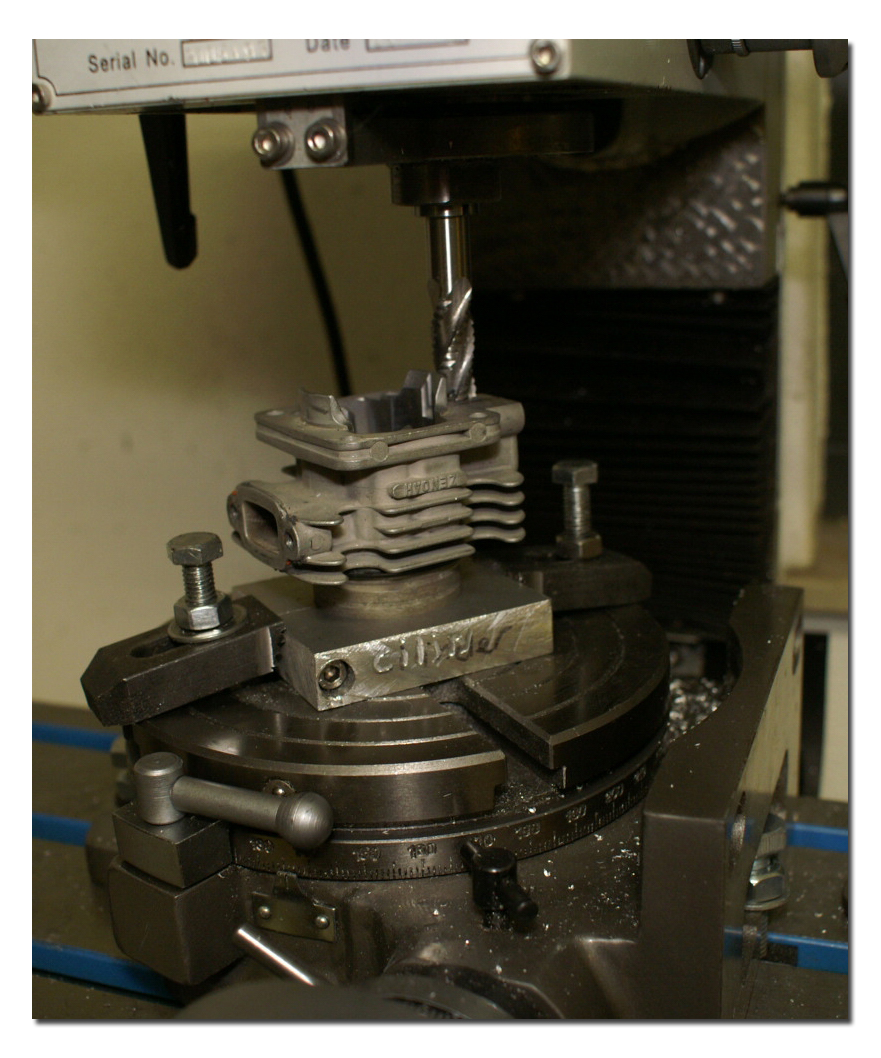
Using these types of adaptors for a mill, one can do other things as well, such as raising the compression by lowering the cylinder (machining material off the base of the cylinder - I mill off 0,5 mm).
Good luck with this milling project!
Julius de Roo
Email This email address is being protected from spambots. You need JavaScript enabled to view it.


