Hobby Machinist Article ...
How to make a custom tuned pipe mount...
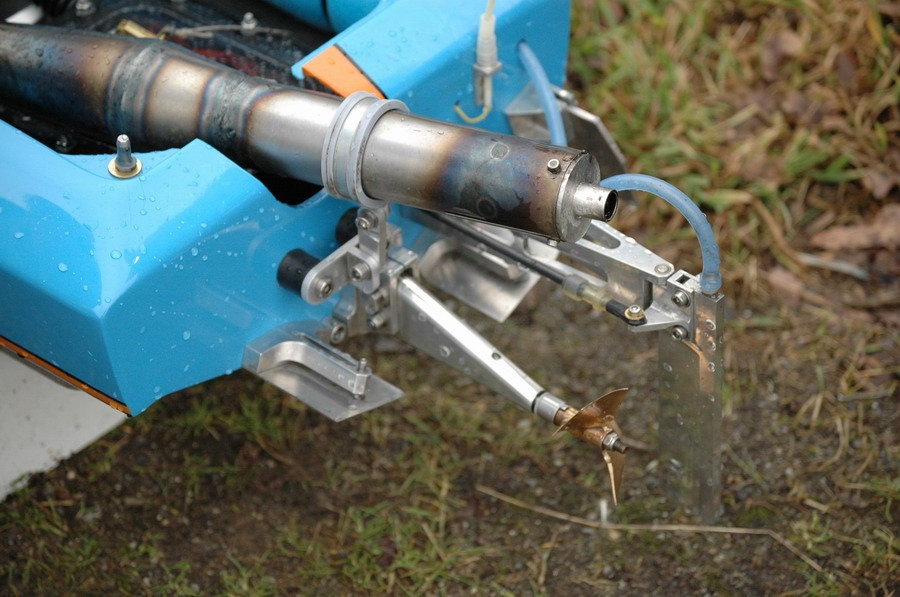
To install my pipes and fix them to the hull I use my own style pipe holder. The pipe holder is made of two aluminium parts, some screws, two engine rubber isolators and a silicone isolated clamp. I begin with the main part. It is made from an aluminium t-bar. I cut it down to the correct height, leaving a little bit extra for machining. After that, I mill-cut the t-bar to the final height required. Now I cut the t-bar in pieces with the band saw, again leaving a bit extra material.
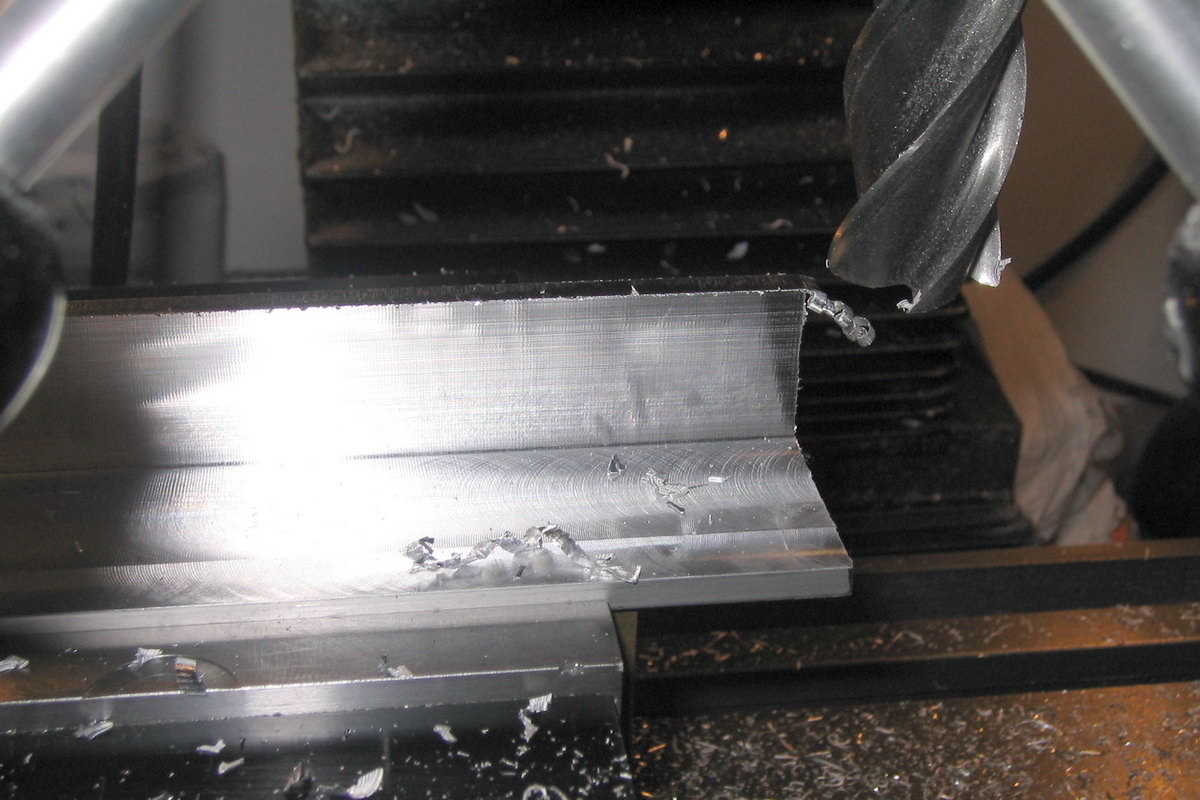
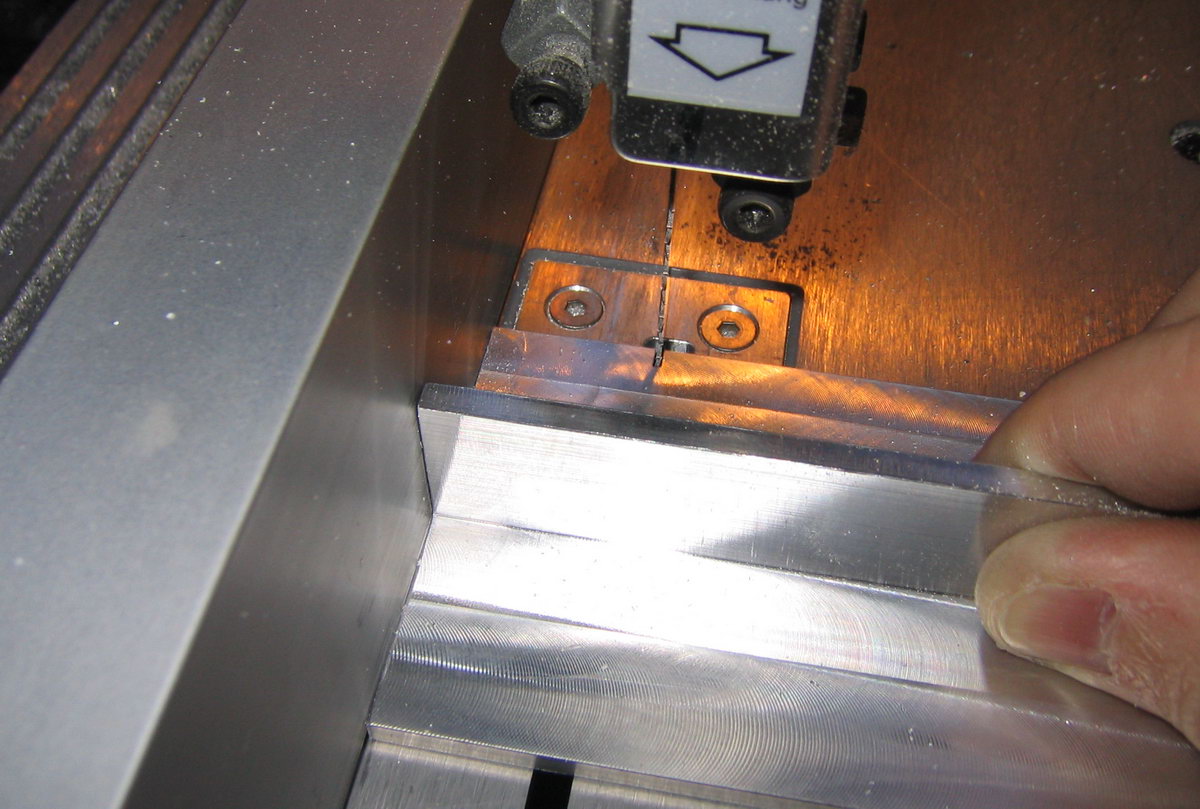
After cutting, I face the cut end of the t-bar on the milling machine.
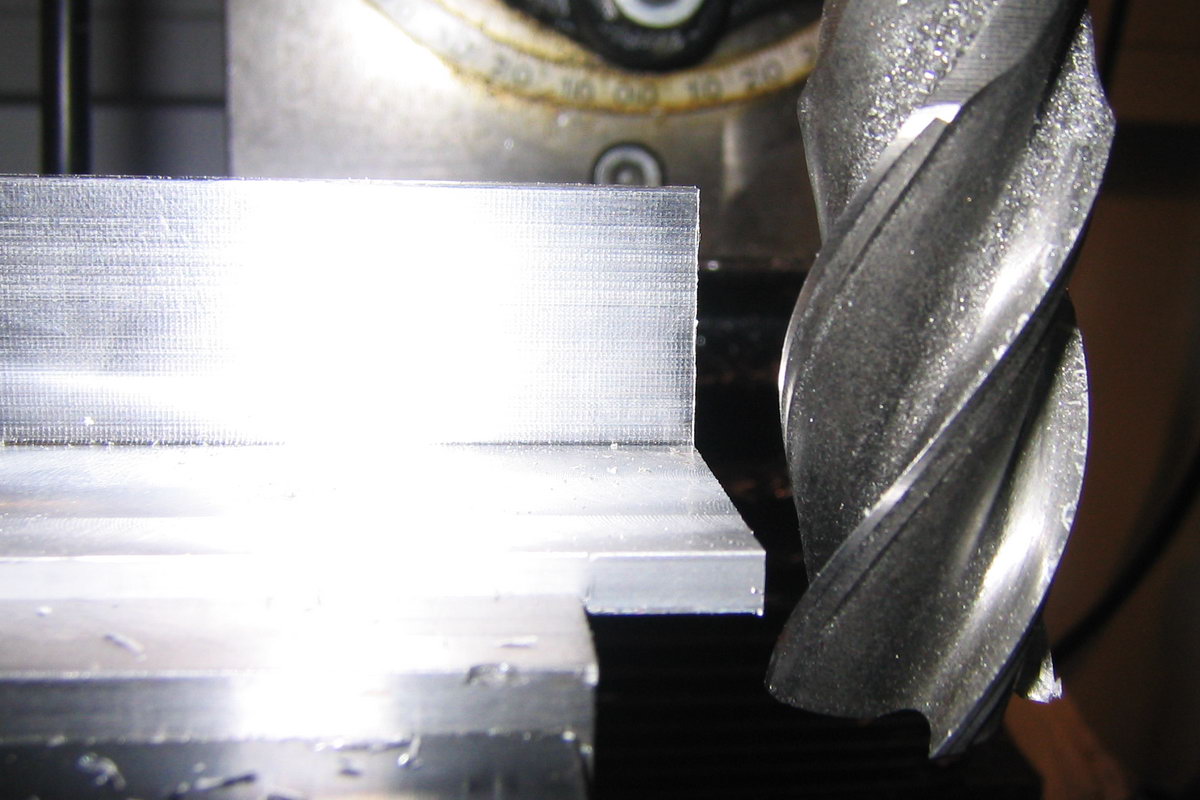
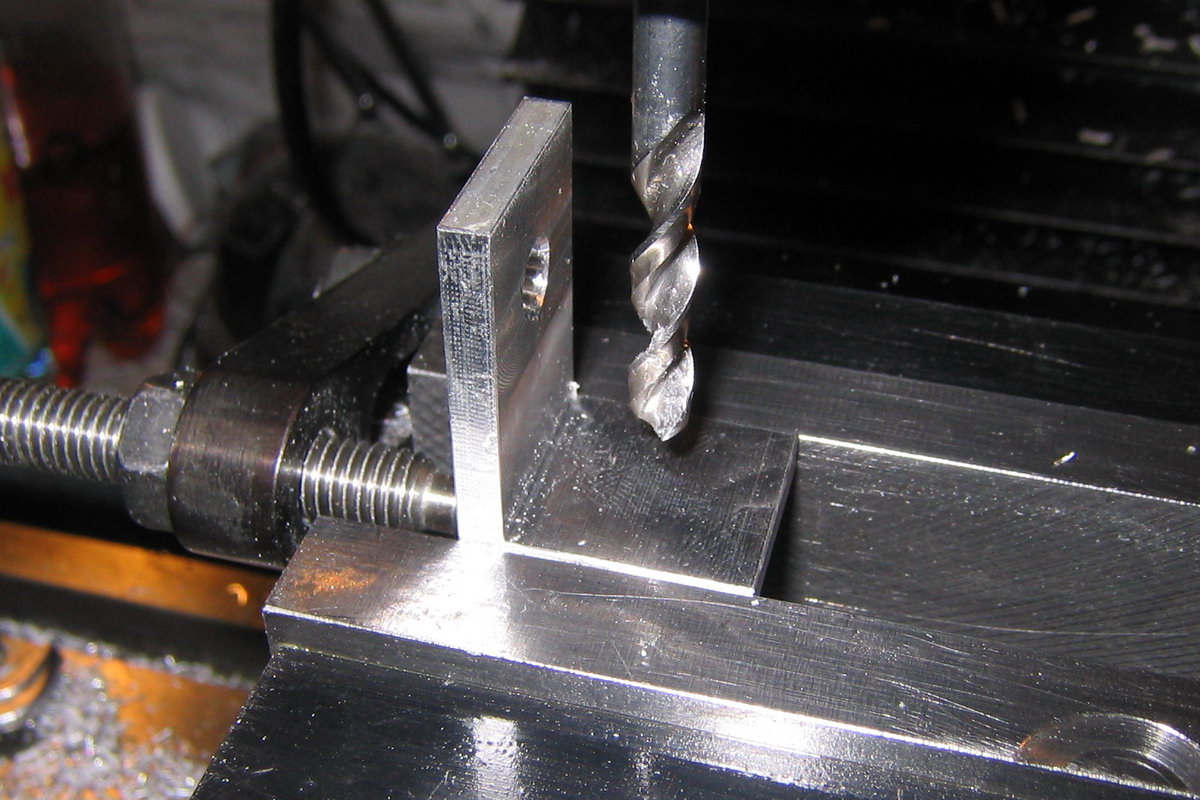
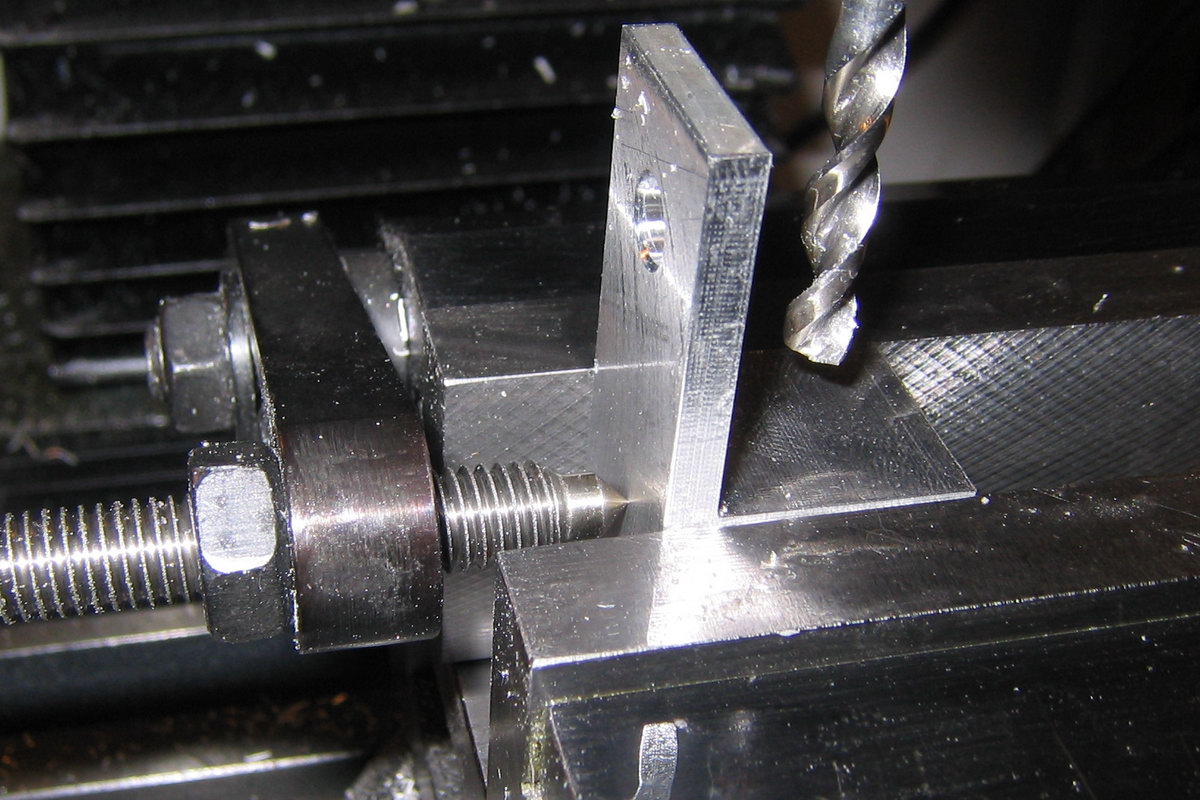
I made six of these brackets, two for racing buddies, two for my own projects, one as spare part and one more because sometimes I destroy one during the making. Facing the sides after the cutting makes it easier for the following process because now one side is finished and I have a reference point for facing the other side. For facing the other side I used a stopper. So I had only to find out the correct size for one piece and can use this adjustment for the other 5 pieces. This is very easy when you are planning to make more than one part. To prevent warping the vise, when mounting the bracket I put one of the other brackets on the left side. Now I smoothed the other sides of the brackets.
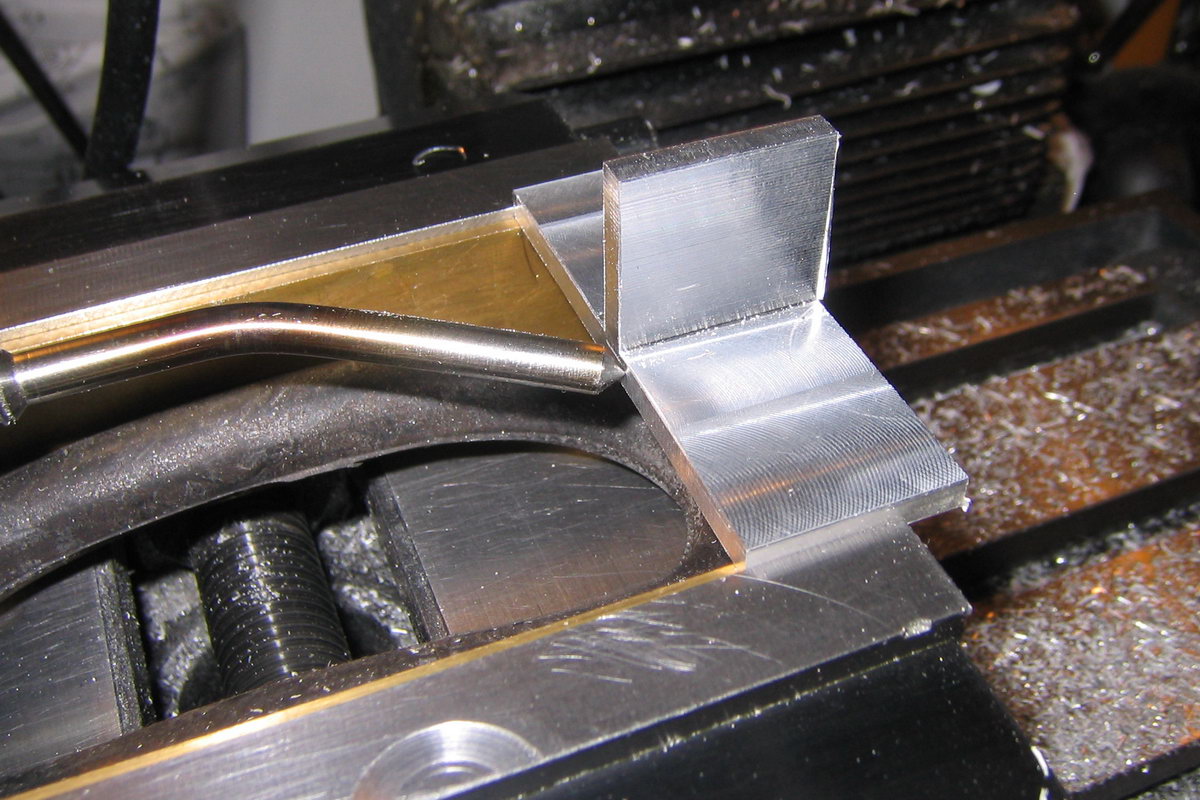
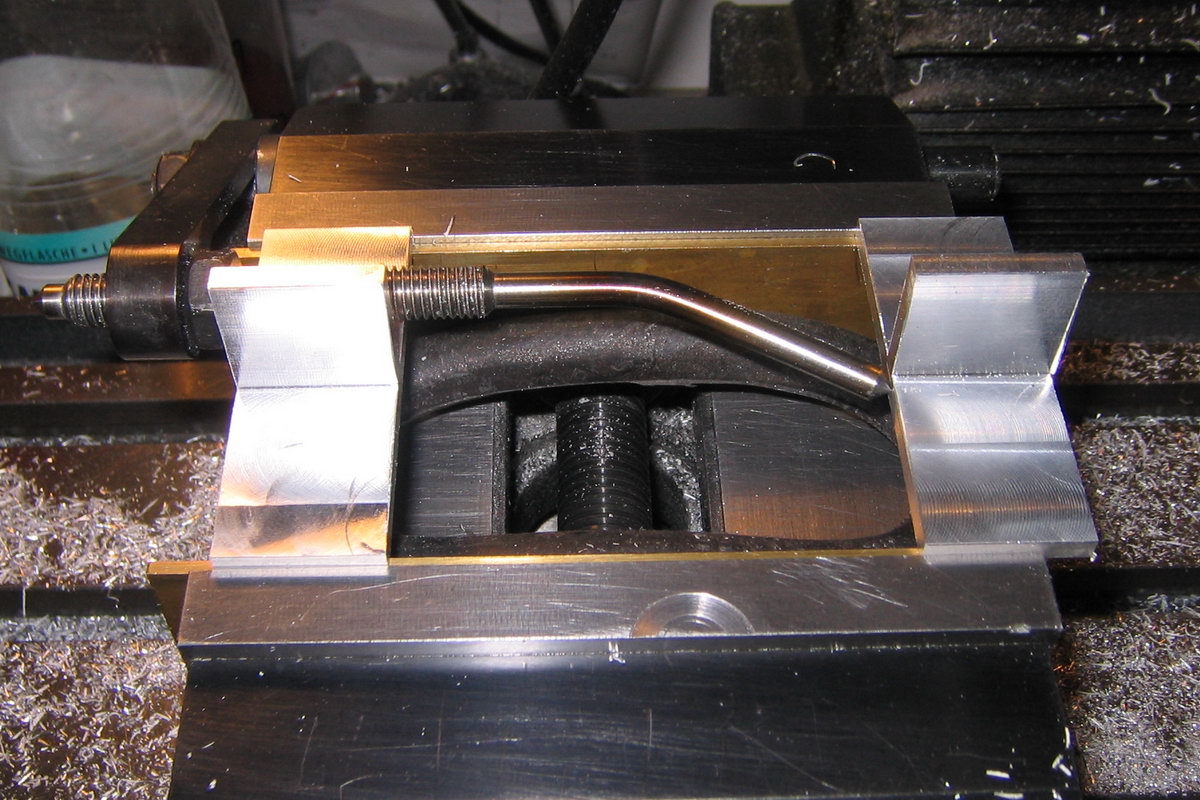
Next step was to add the holes for mounting the rubber mounts. But how does one find the correct position for the hole? Ok, I know that the bracket is 20mm wide, so I will drill the holes exact on the center line of the piece, and 10mm from the edge. I place the drill bit so that it is next to the bracket. With the drill bit turning, I feed the bracket slowly to the drill bit. When the drill bit contacts the bracket you can hear the light scratching.
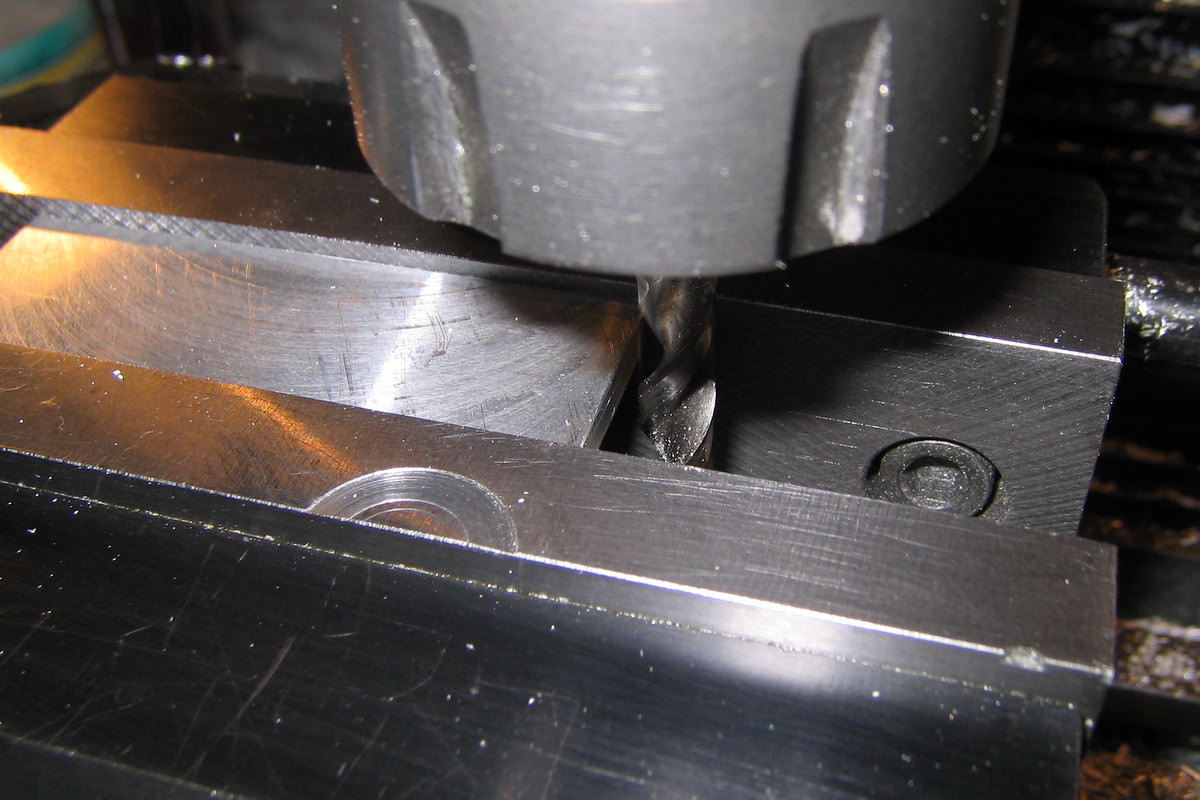
Now I can adjust my milling machine, because I know I have to account for exactly half of the diameter of the drill bit to have the center of my drill bit above the edge. Then adding the needed 10mm I find the exact point to drill the needed holes. And by using the stopper I can drill all holes without any more measurements. I repeat this procedure for the holes on the crossbeam.
For rounding the edges to the diameter of the rubber mounts I mount the brackets to a small mandrel and fixed it on the rotary table. Cutting the edges is very easy this way.
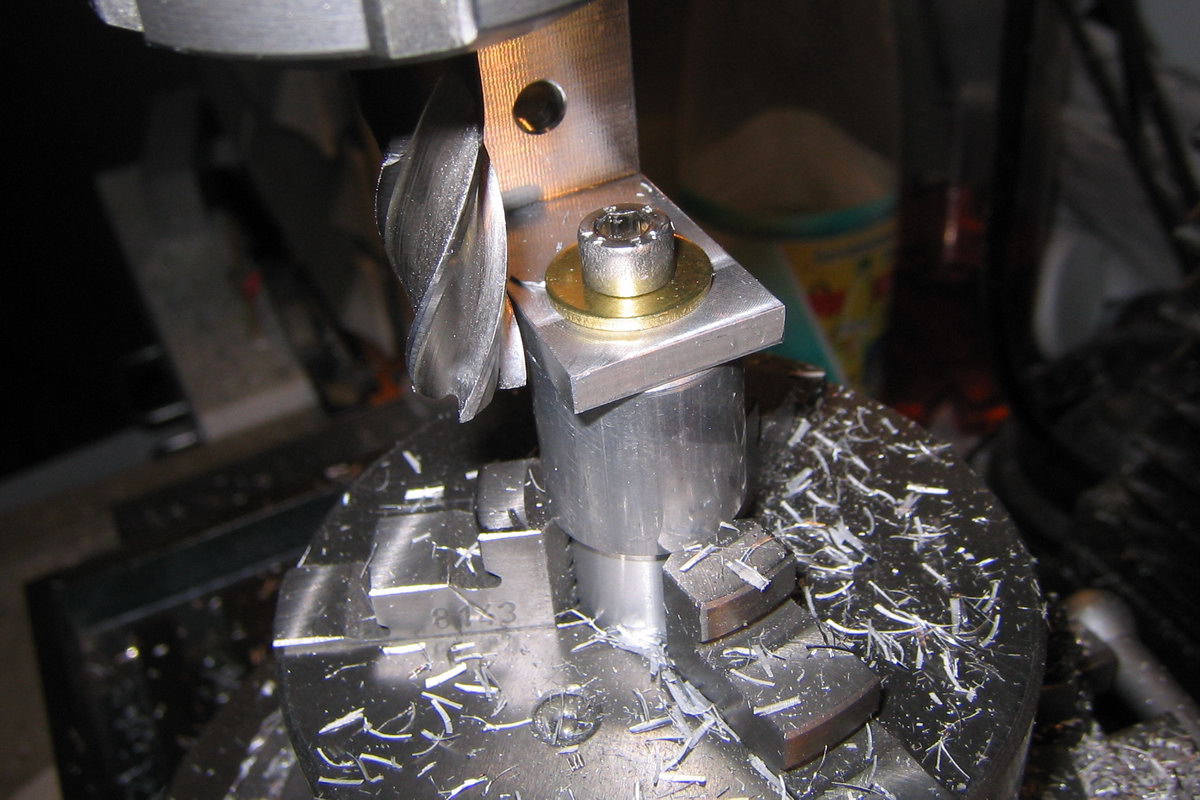
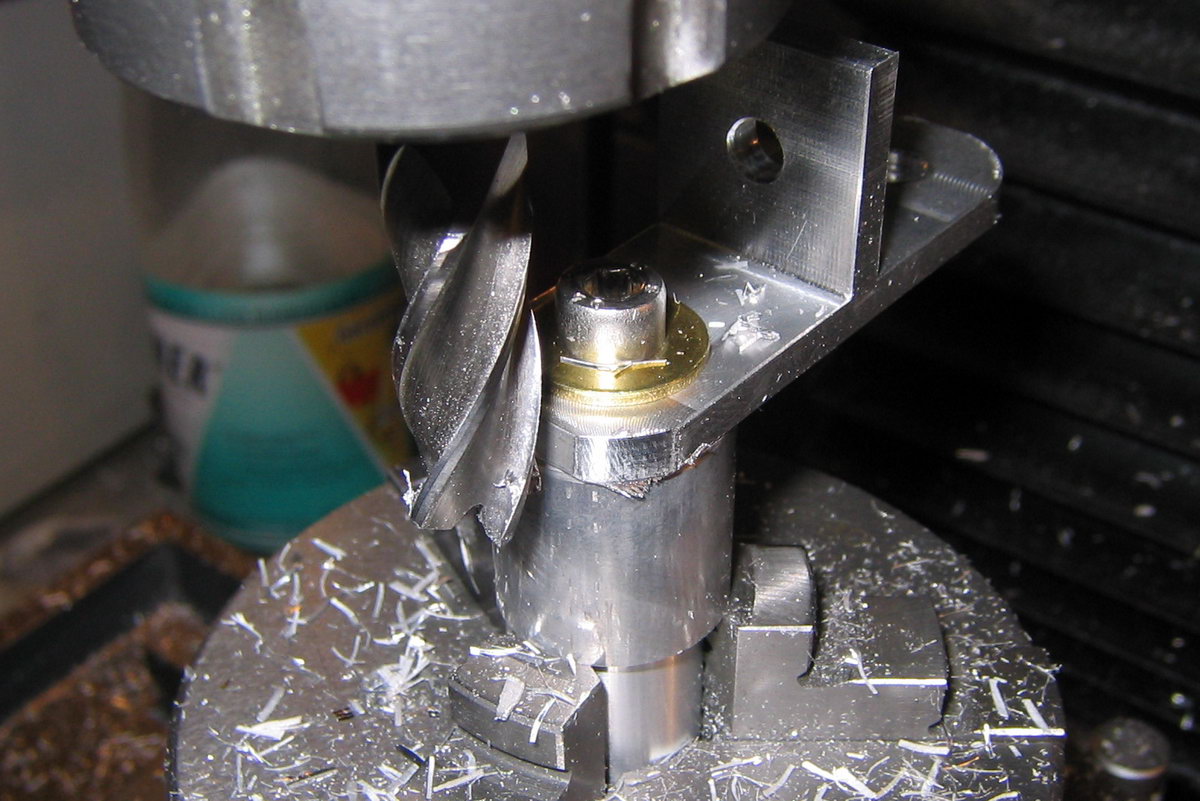
After repeating this procedure and chamfering all edges the bracket is ready for mounting on the boat.
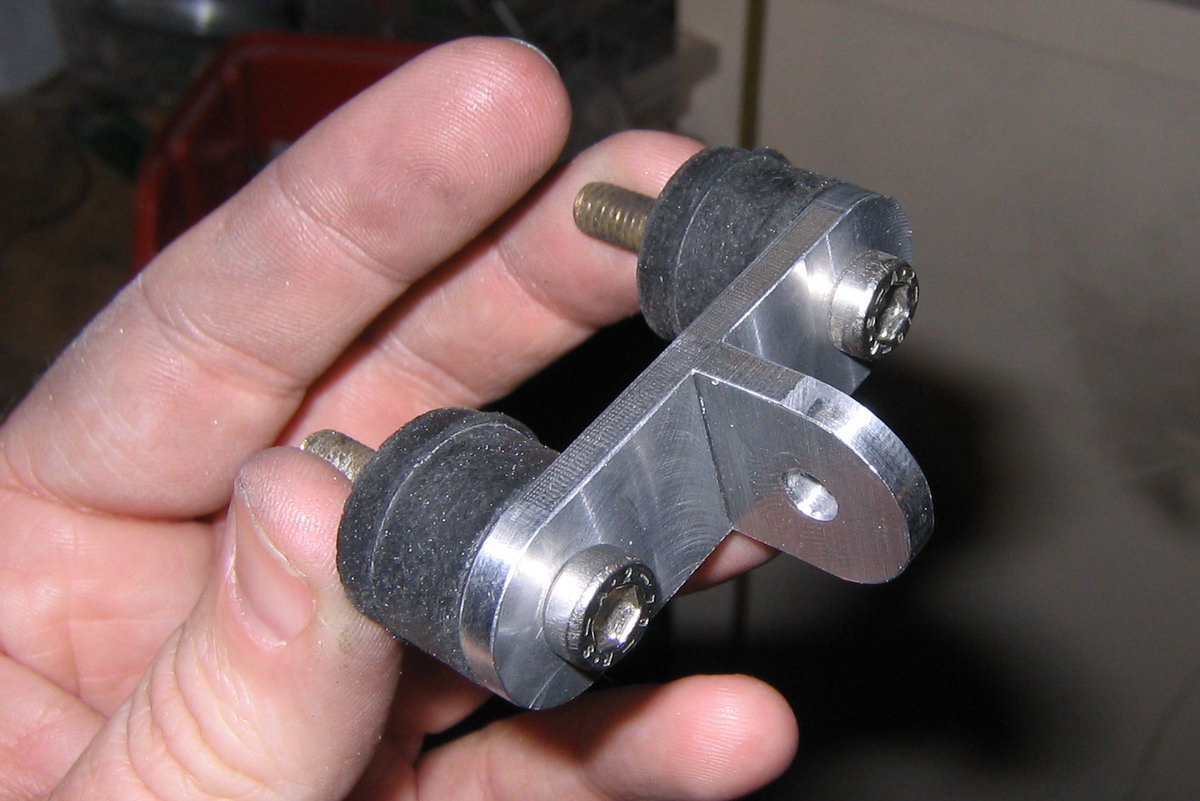
The clamp for holding the pipe is mounted with a strip of aluminium required for getting the correct positioning.
