How-to Article... by Frank E. Mintz
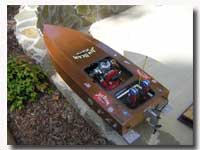
A reader shares valuable techniques on how to build your own hull...get the satisfaction of making it yourself from scatch following these tips and tricks!
For
those of us who enjoy building models, scratch boat building brings special challenges.
Even if the boat is not intended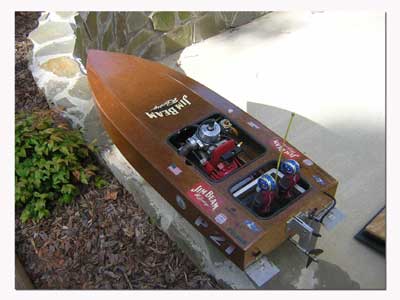 to be a scale replica, boat hulls have few, if
any, 90 degree angles and lots of curves.
Creating it can be very challenging. The hull shape is everything and
dictates the performance in the water. I have seen attempts to shape a hull
from a block of foam or wood. The
problem here is that it must be symmetrical and material, once removed, is gone
forever. So you hack away. At best, you may have some templates to test
the shape against, but where did they come from? If they came from a plan, your
not really scratch building, are you?
Your building someone else's boat and that's not what we are after. Even if you luck out and get the block in a
shape that you are happy with, you haven't created a hull. What you have created is a mold of a hull or
the shape over which a hull can be created. The method described here, creates the hull
directly as you build.
After deciding on the general shape of your boat, amount of free board (distance from the water line to the top of the side), dead rise (angle that the hull makes with the water along the transom), and length, the challenge is constructing a hull with symmetry and fairness (smooth surfaces with out humps, dimples or distortions).
If you are designing your boat from scratch, it is almost a requirement to have a computer program to help in the design to get a symmetrical fair hull in the shape you want. There are several commercial programs available that will do this for you, such as AutoCAD, but the cost and learning curve is prohibitive for hobby modeling purposes. I use a program that is available on-line at a reasonable fee from UK Epoxy-Resins called CARENE. You can download a demo version free but the save and print functions are disabled. The full program produces hard chine (angular breaks in the cross section) hull designs of any size you choose. The output of the program is .dxf files which define each panels of the hull. You need a CAD program that will print these files in full size. Most of the less expensive CAD programs will print these files in multiple 8.5" x 11" sheets which, when joined together, produce full size templates. I used a freeware version from A9Tech called A9CAD. The other option is to use the lofting coordinates of the files and plot the panels manually on template material.
After
you have designed your hull and created the full size templates, begin by
laying out the templates on the hull material you have chosen. I have used a 1/8"x 4'x 8' sheet of "bending"
plywood and also salvaged 1/8" door skins extracted from a replaced door. The door skin is the material used in the
pictures. Remember to make two mirror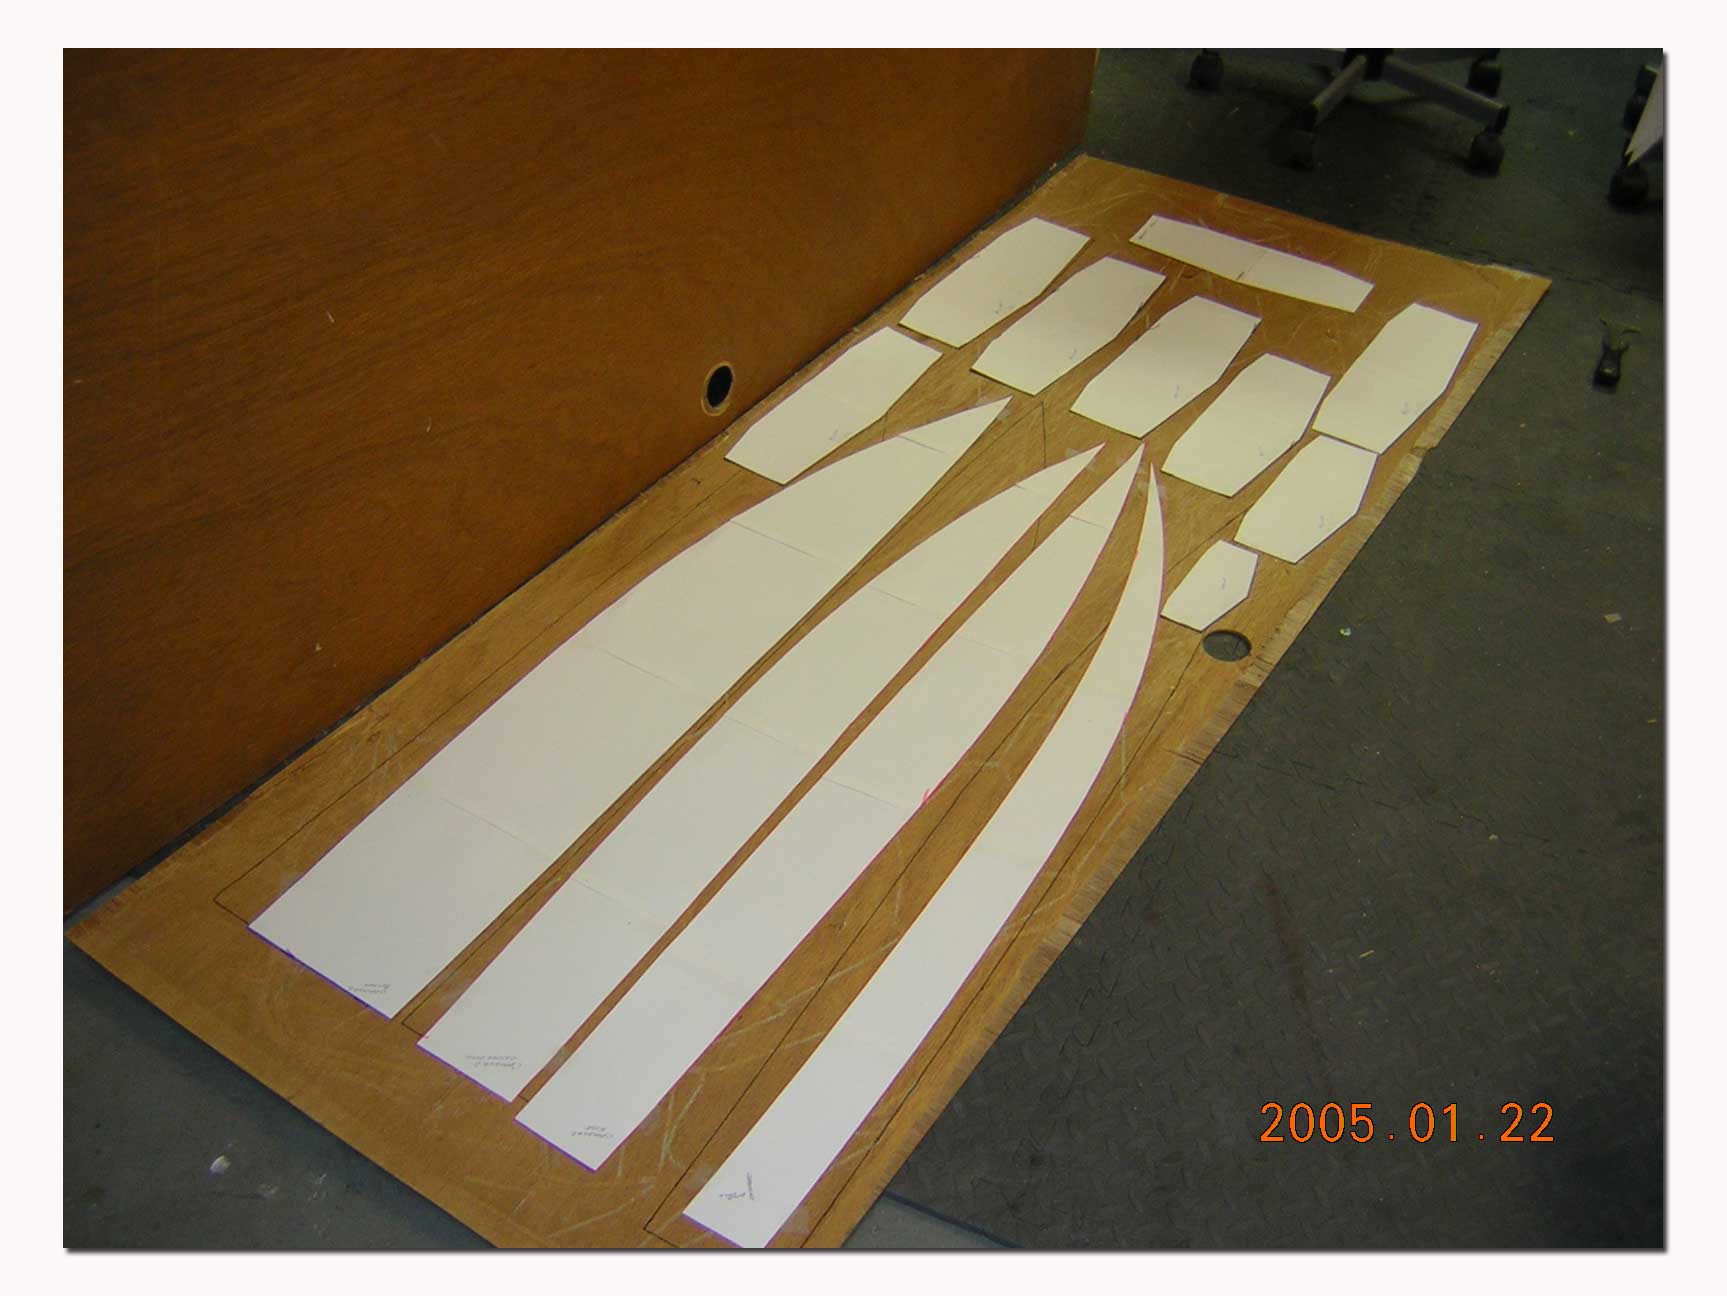 image panels of the hull from each panel template.
This is the part of the process that assures symmetry of the hull. If you care what side of the plywood is to be the exterior of the hull, make sure you make left and right sides with the proper orientation to the good side of the plywood. The door skin in the picture provided enough material for all the formers and one side of the hull and deck. A second door skin was used to cut the matching hull panels with those templates reversed.
If you are in doubt of your design or just how to proceed, use scrap cardboard as your construction material for the first attempt. Once you have gained some confidence in the process you can go back to the design and make changes or, if you are satisfied with the design, switch to the plywood and start cutting.
Begin
by putting the center two hull panels together along the center line. When these 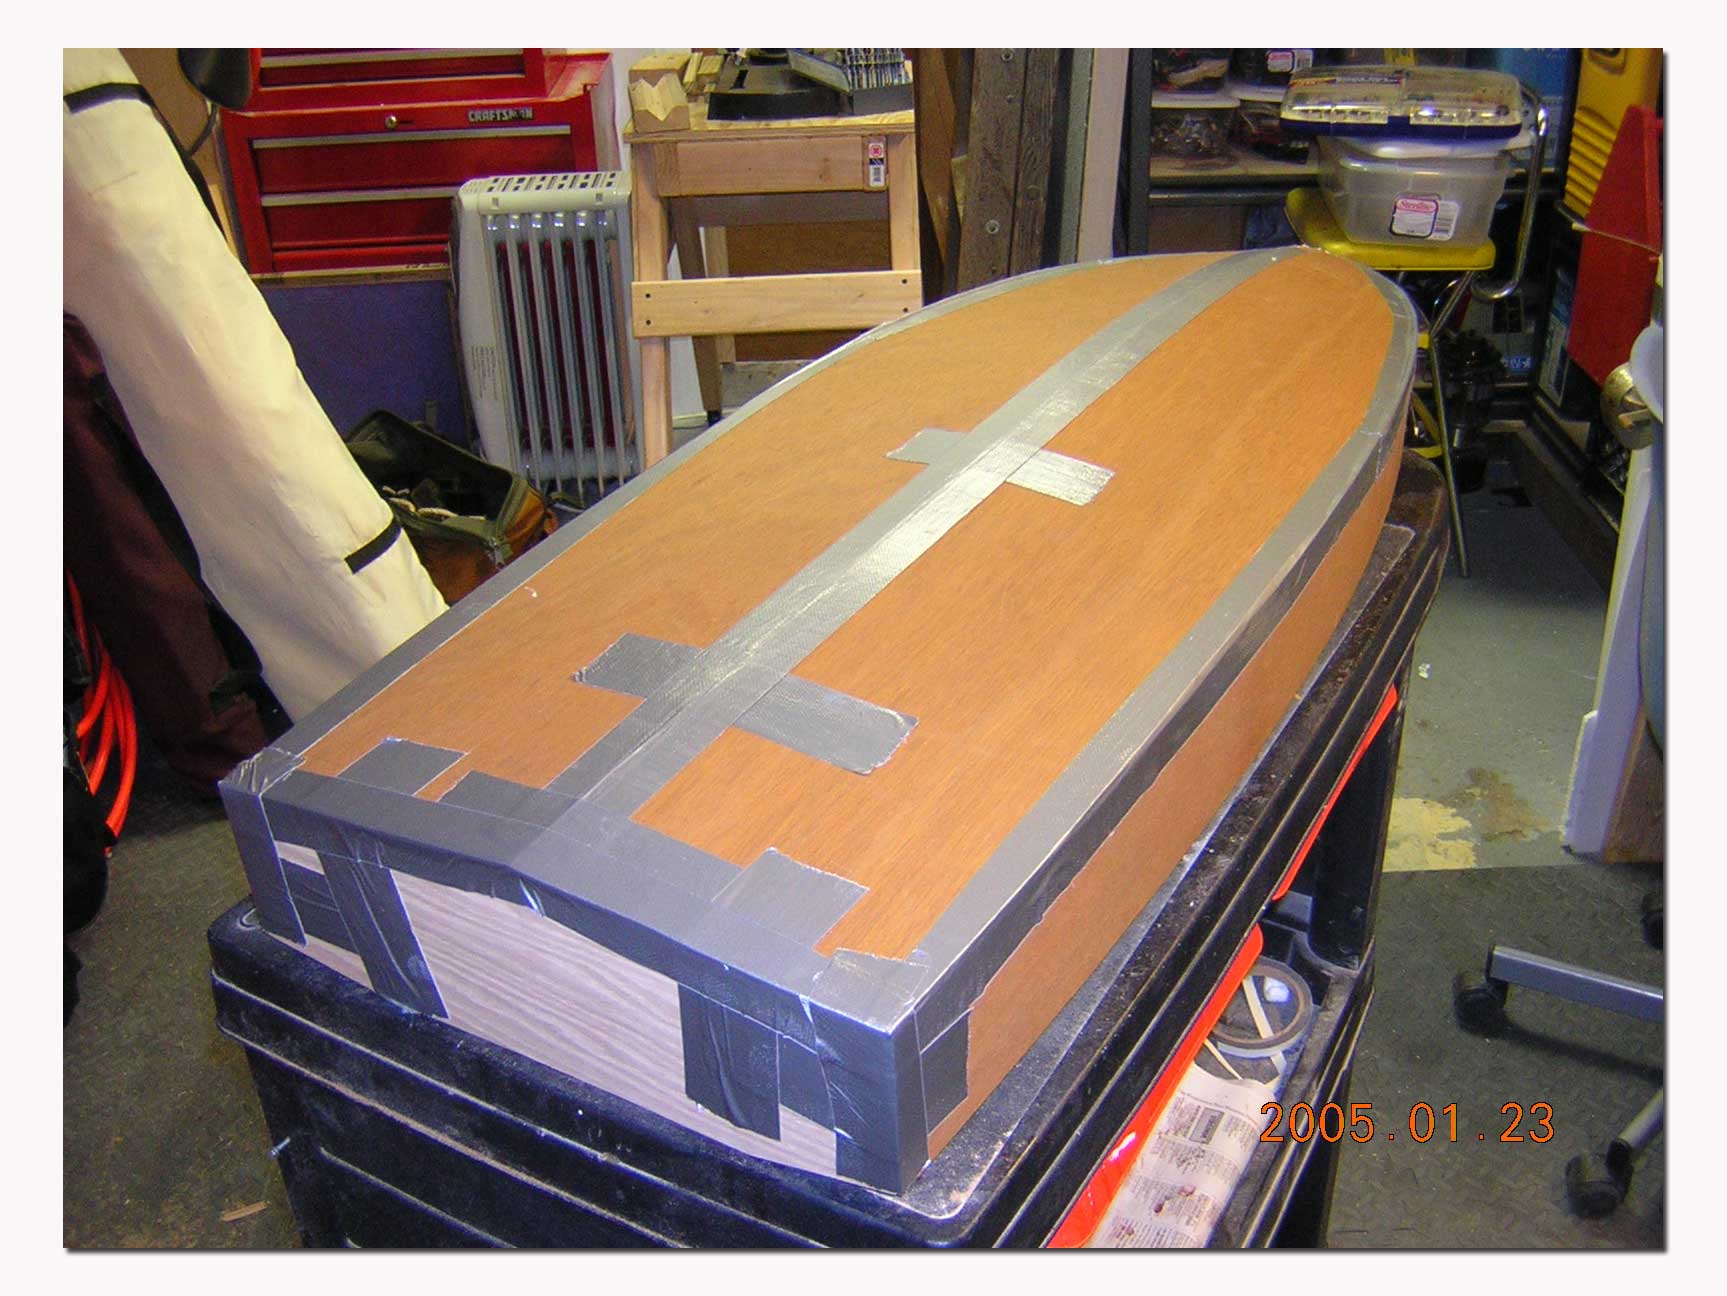 panels are pulled together completely, the hull will begin
to form. Use duct tape to hold them
together initially.
Add
the other hull panels to the center panels, again joining them along their
common side. Add the transom panel and,
EURIKA! A hull is born. By the way, the
transom should either be doubled or made from ¼" plywood. Stresses from the rudder bracket and
propeller drive shaft strut are too much for the 1/8" ply.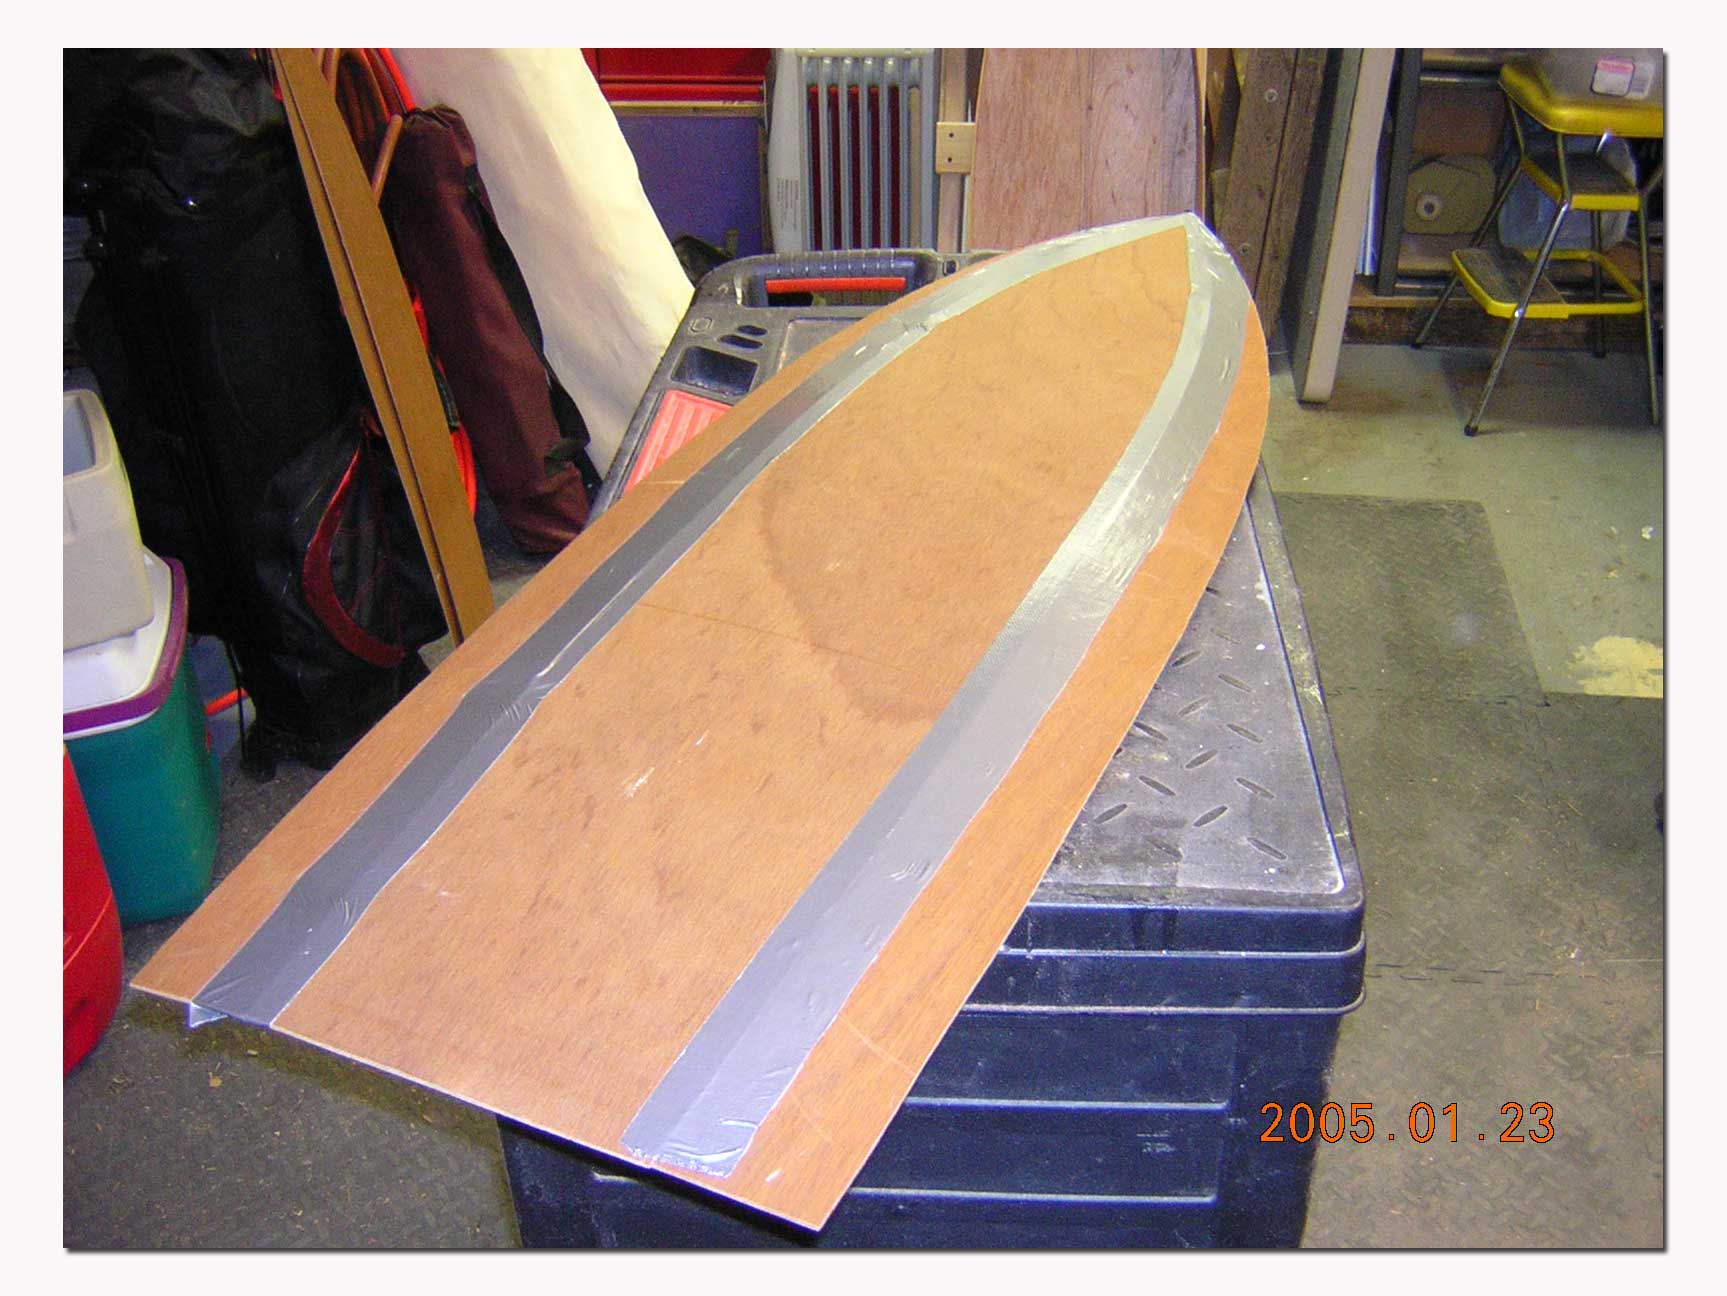
Assemble the deck separately using the same technique of joining the center then the common edges and taping them together. Don't worry about openings in the deck or stringers yet. Once we get the hull in one stable unit, then we can begin to add the required access holes and interior component parts.
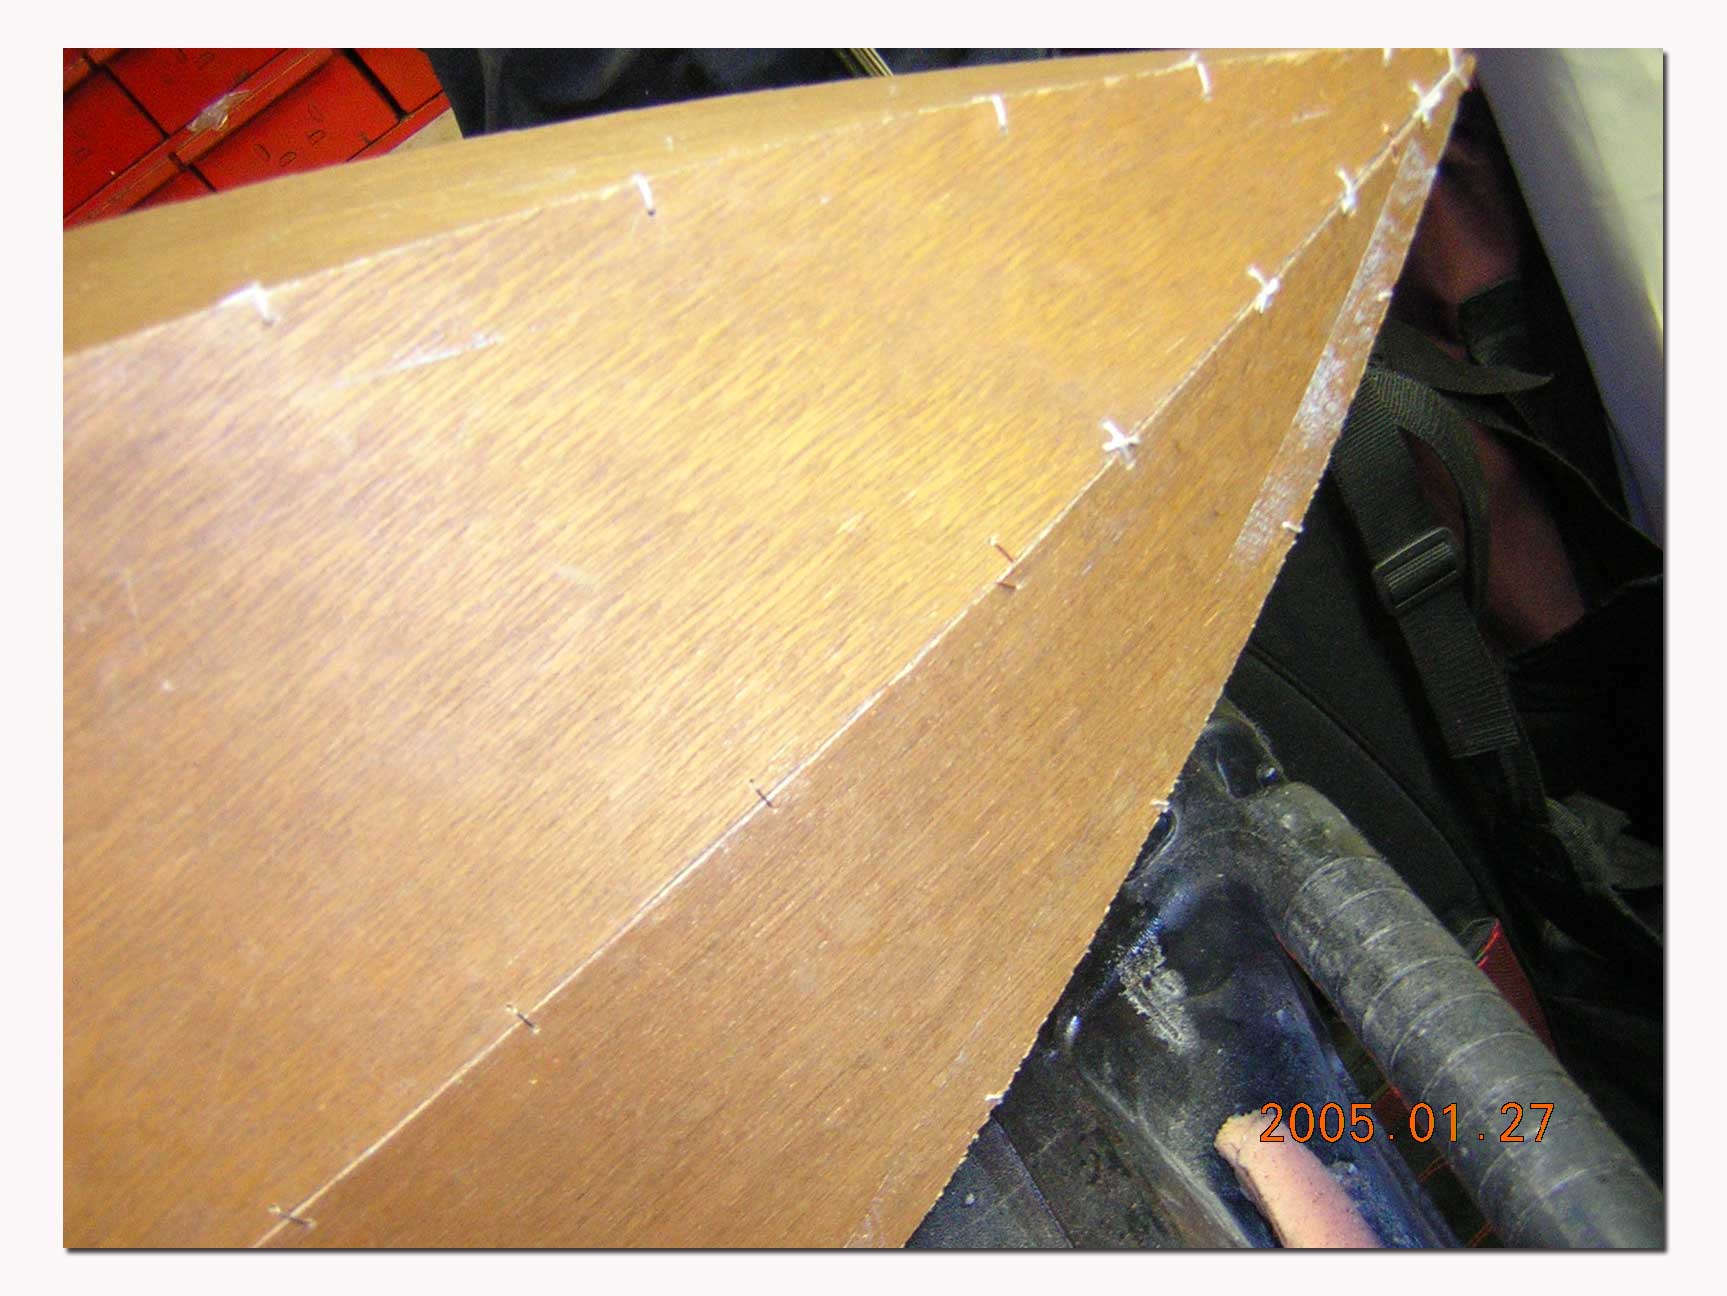 The basic construction method we are following, utilized on
full size home built boats, is call "Stitch and Glue" With the hull held together with the duct
tape, begin to drill pairs of 1/16" holes 3/8" apart, across from each other through
the tape and centered on the joining edges of each panel. The spacing of these
pairs along the joint depends on the amount of bend the hull is requiring at
that point. The more severe the bend,
the closer the pairs of stitch points need to be. Generally they should be no further than 6"
apart along a straight seam and as close as 1/2" when the bend gets severe near
the bow. You may actually need to clamp
the very point of the bow to get it to close together. Try to get the bow to
close together with stitches if you can. The stitching material can be either
steel wire (not copper, it breaks too easily) or nylon twine (not monofilament
for the same reason). I found that
florist wire is a great material to use here.
It is best to use a figure "8" tie with the center of the 8 in between
the joining panels. Using this method,
the seams are pulled together directly on the edge. If you use steel wire,
twist the free ends together and fold the twist into the seam. These ties are a permanent part of the hull
  and when covered up by the fiberglass they will disappear.
Make sure that none of the edges overlap each other. They must all join directly on the edge to
make the correct hull shape. You may not
need to stitch the transom. The tape will hold it together sufficiently for the
next step.
Use
the formers to hold the hull in shape during the assembly phase. They are not needed after the hull is
complete. The hull will form and hold
its own shape without any formers other than the transom. Test fit the deck to the hull and make note
of where a former(s) are needed to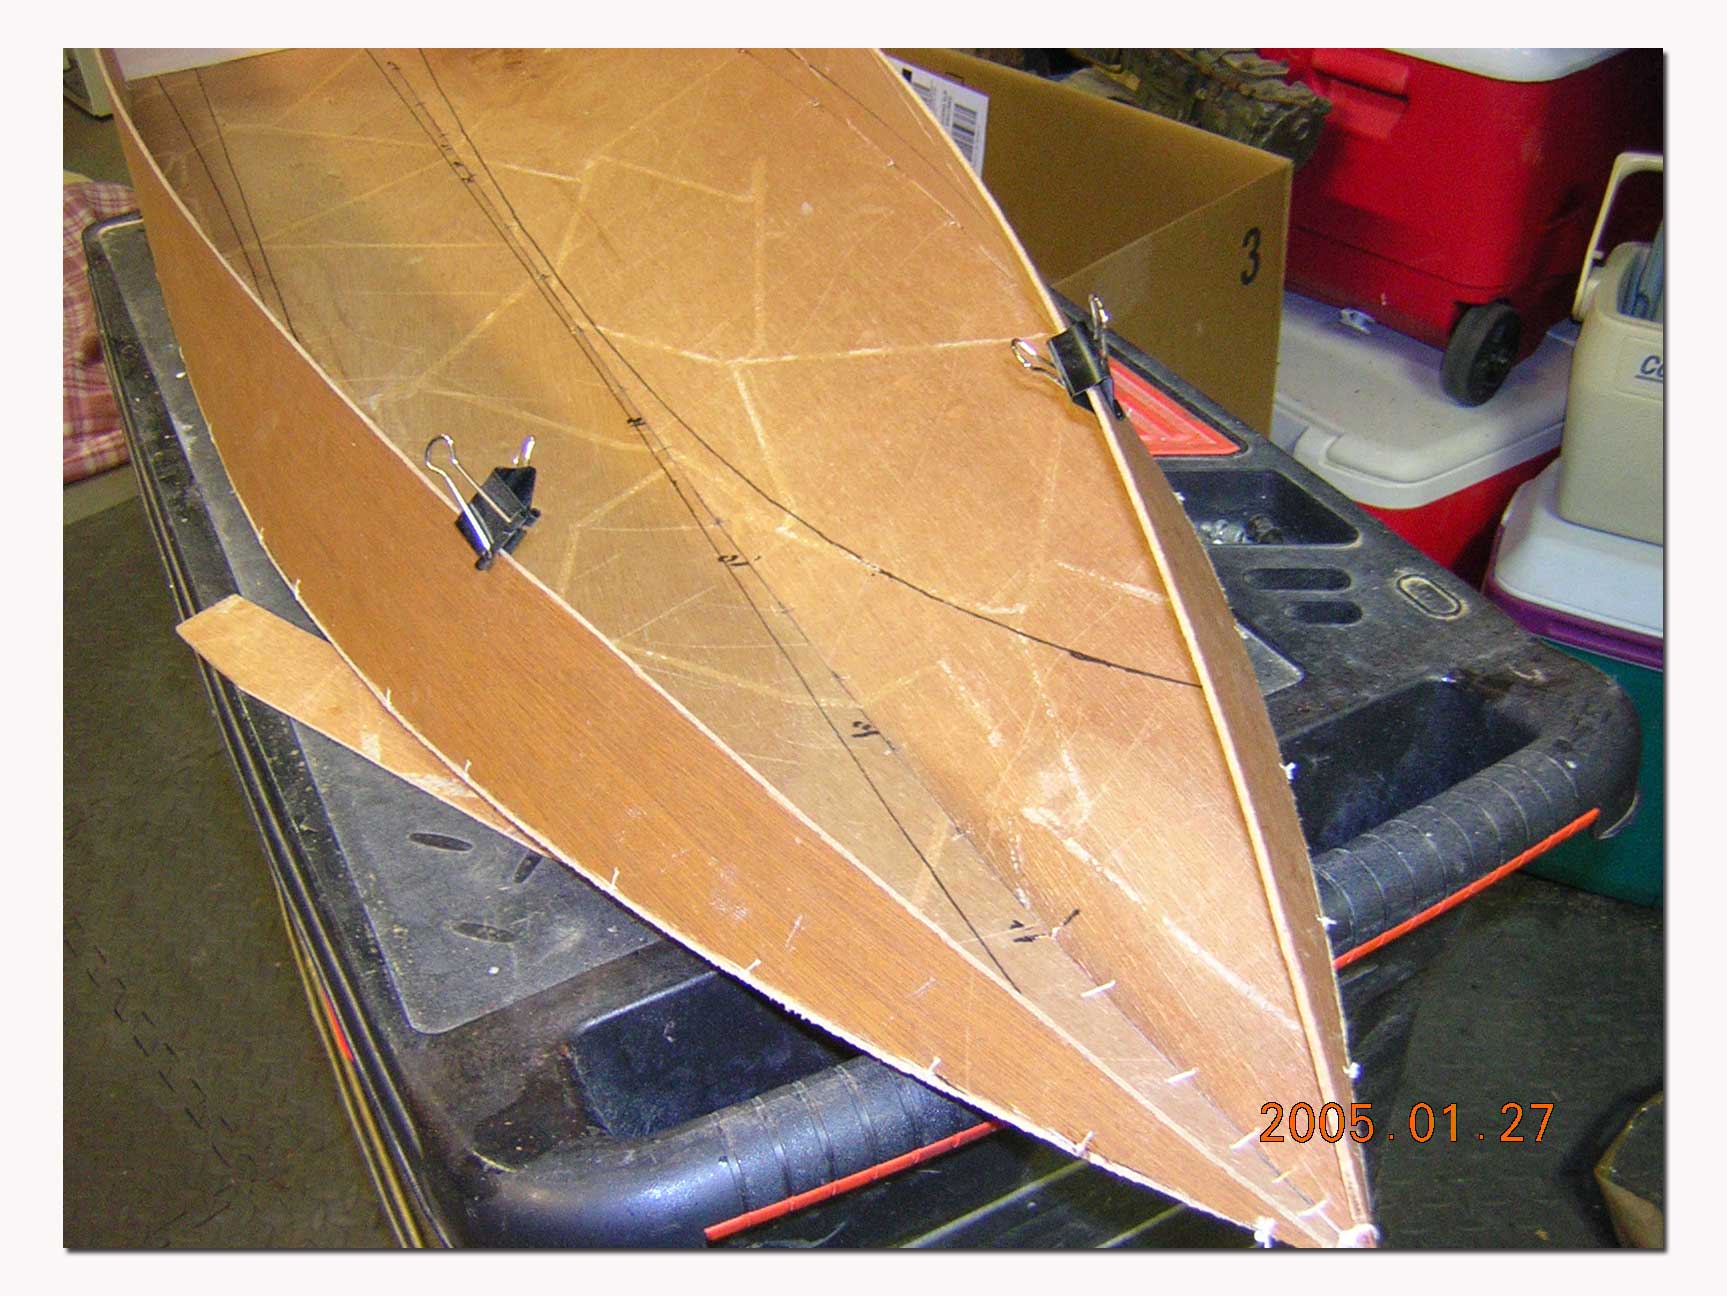
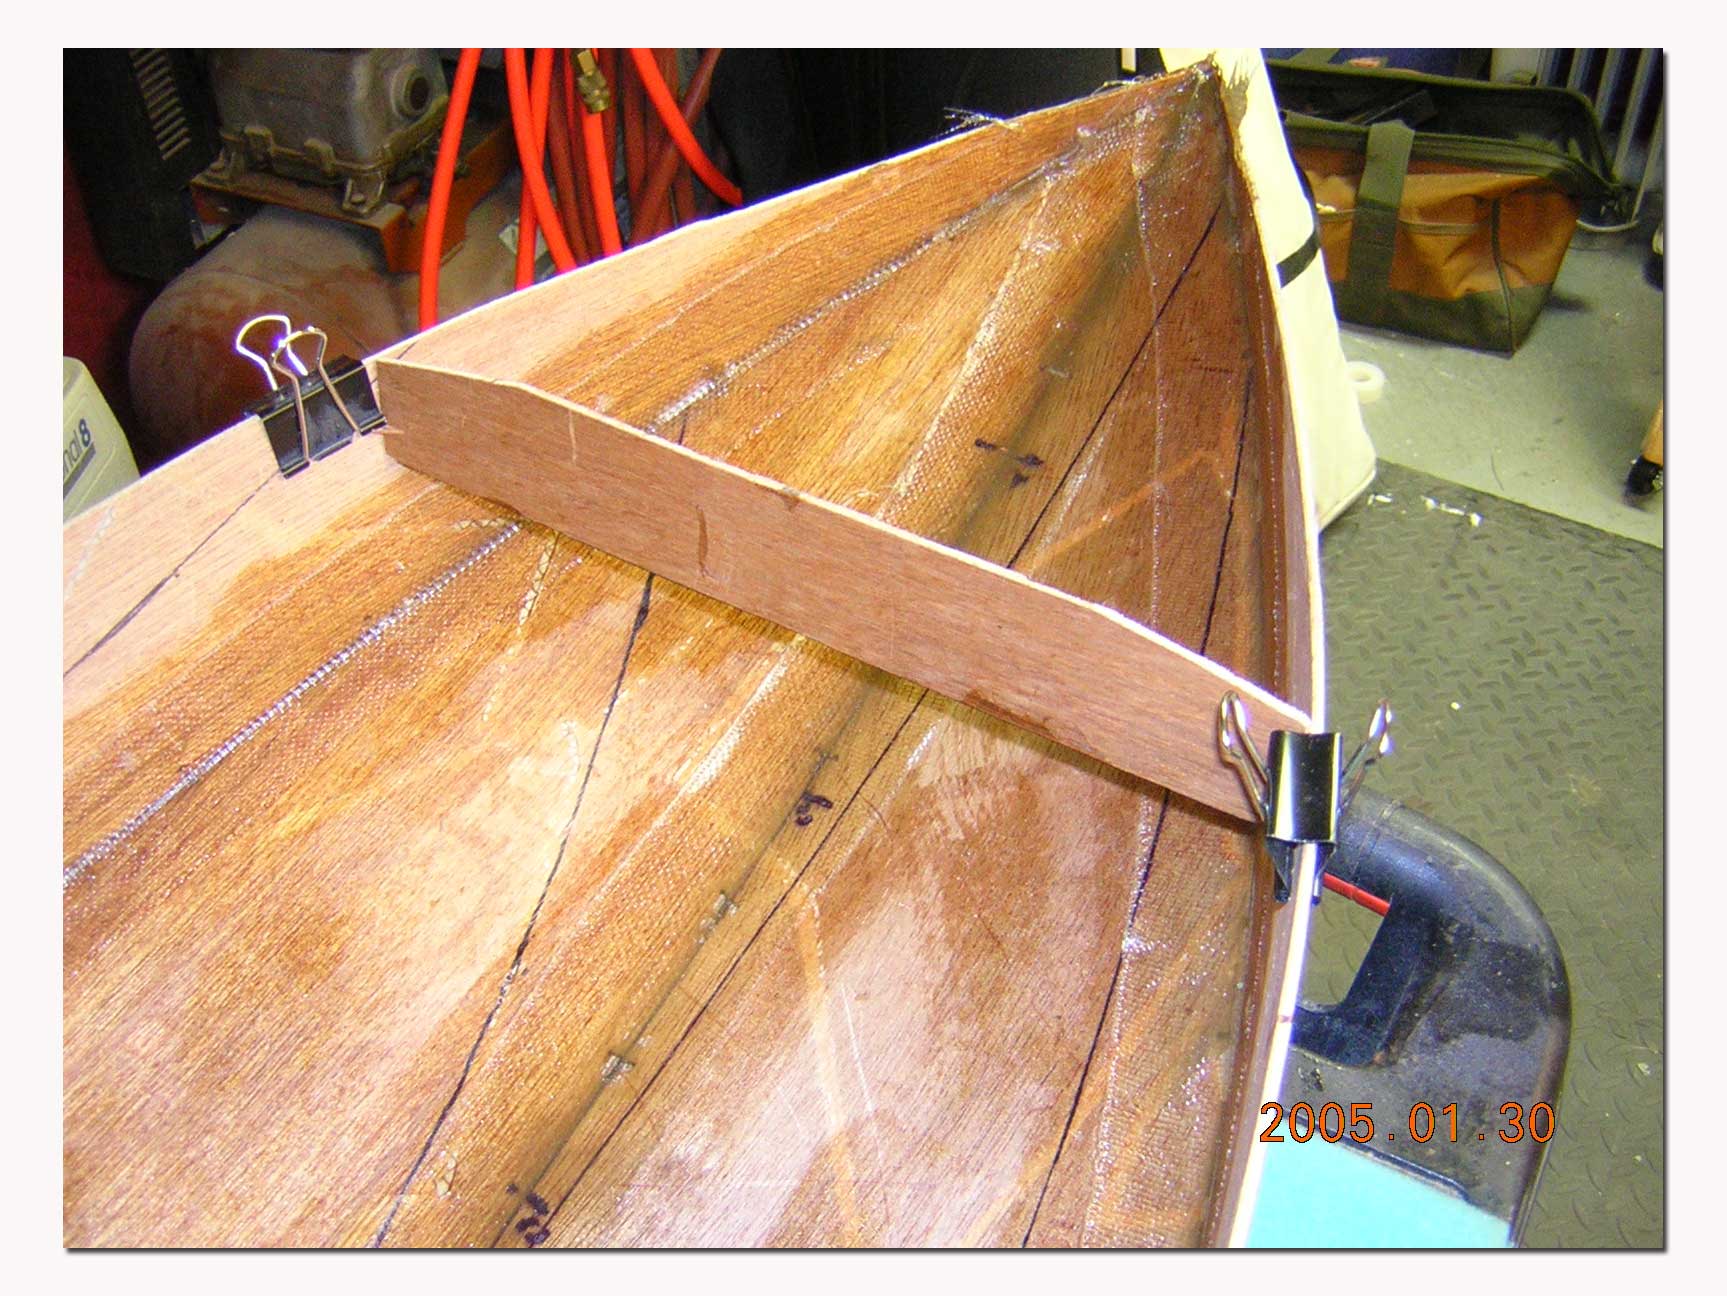 hold the hull in shape.
Choose the point at which the hull sides are most out of line with the
deck outline.
Use a former at this point to temporarily hold the hull in alignment.
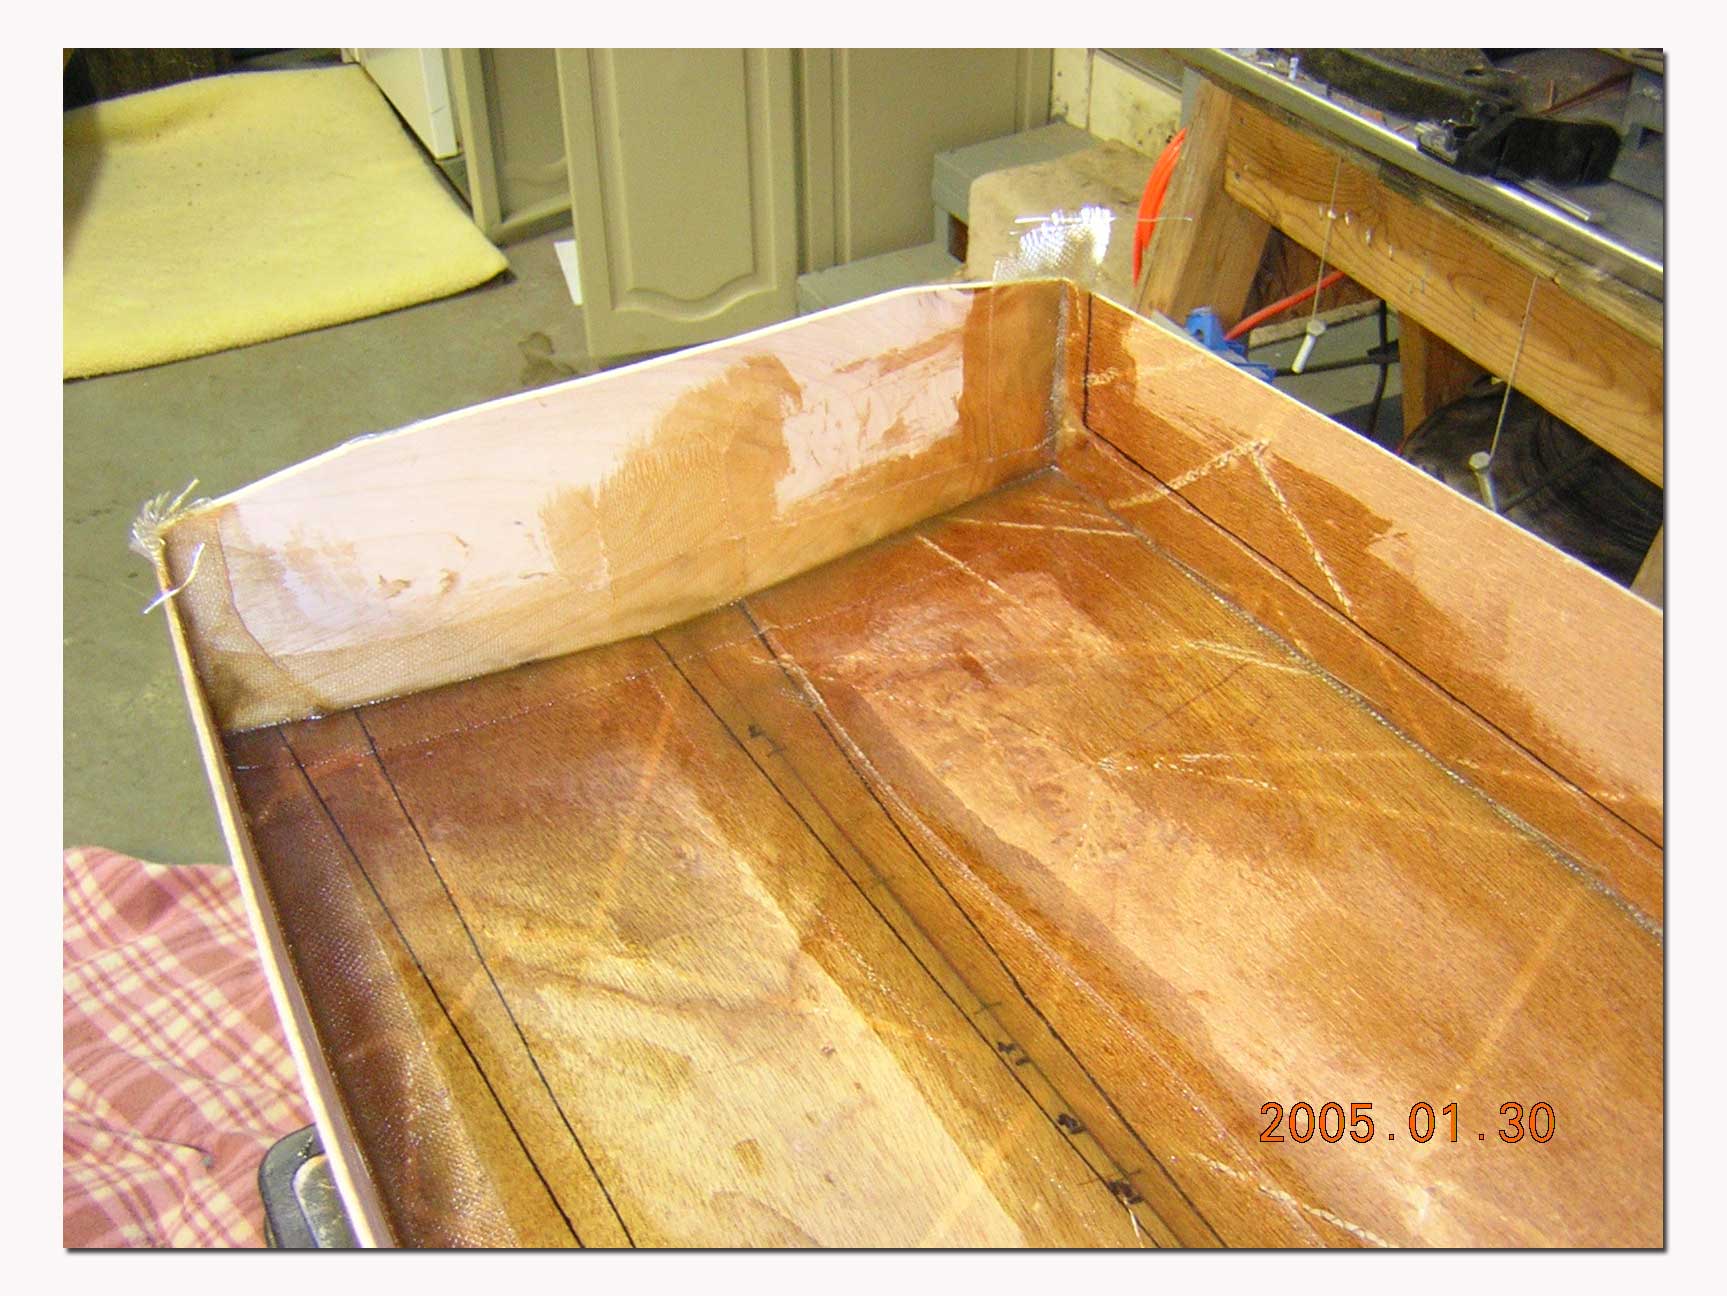 Recheck with the deck to make sure that the hull is now in
alignment and is not distorted. Use
additional formers as needed. Use only
the top half of the former because you will need to apply fiberglass tape under
it in the next step.
Once
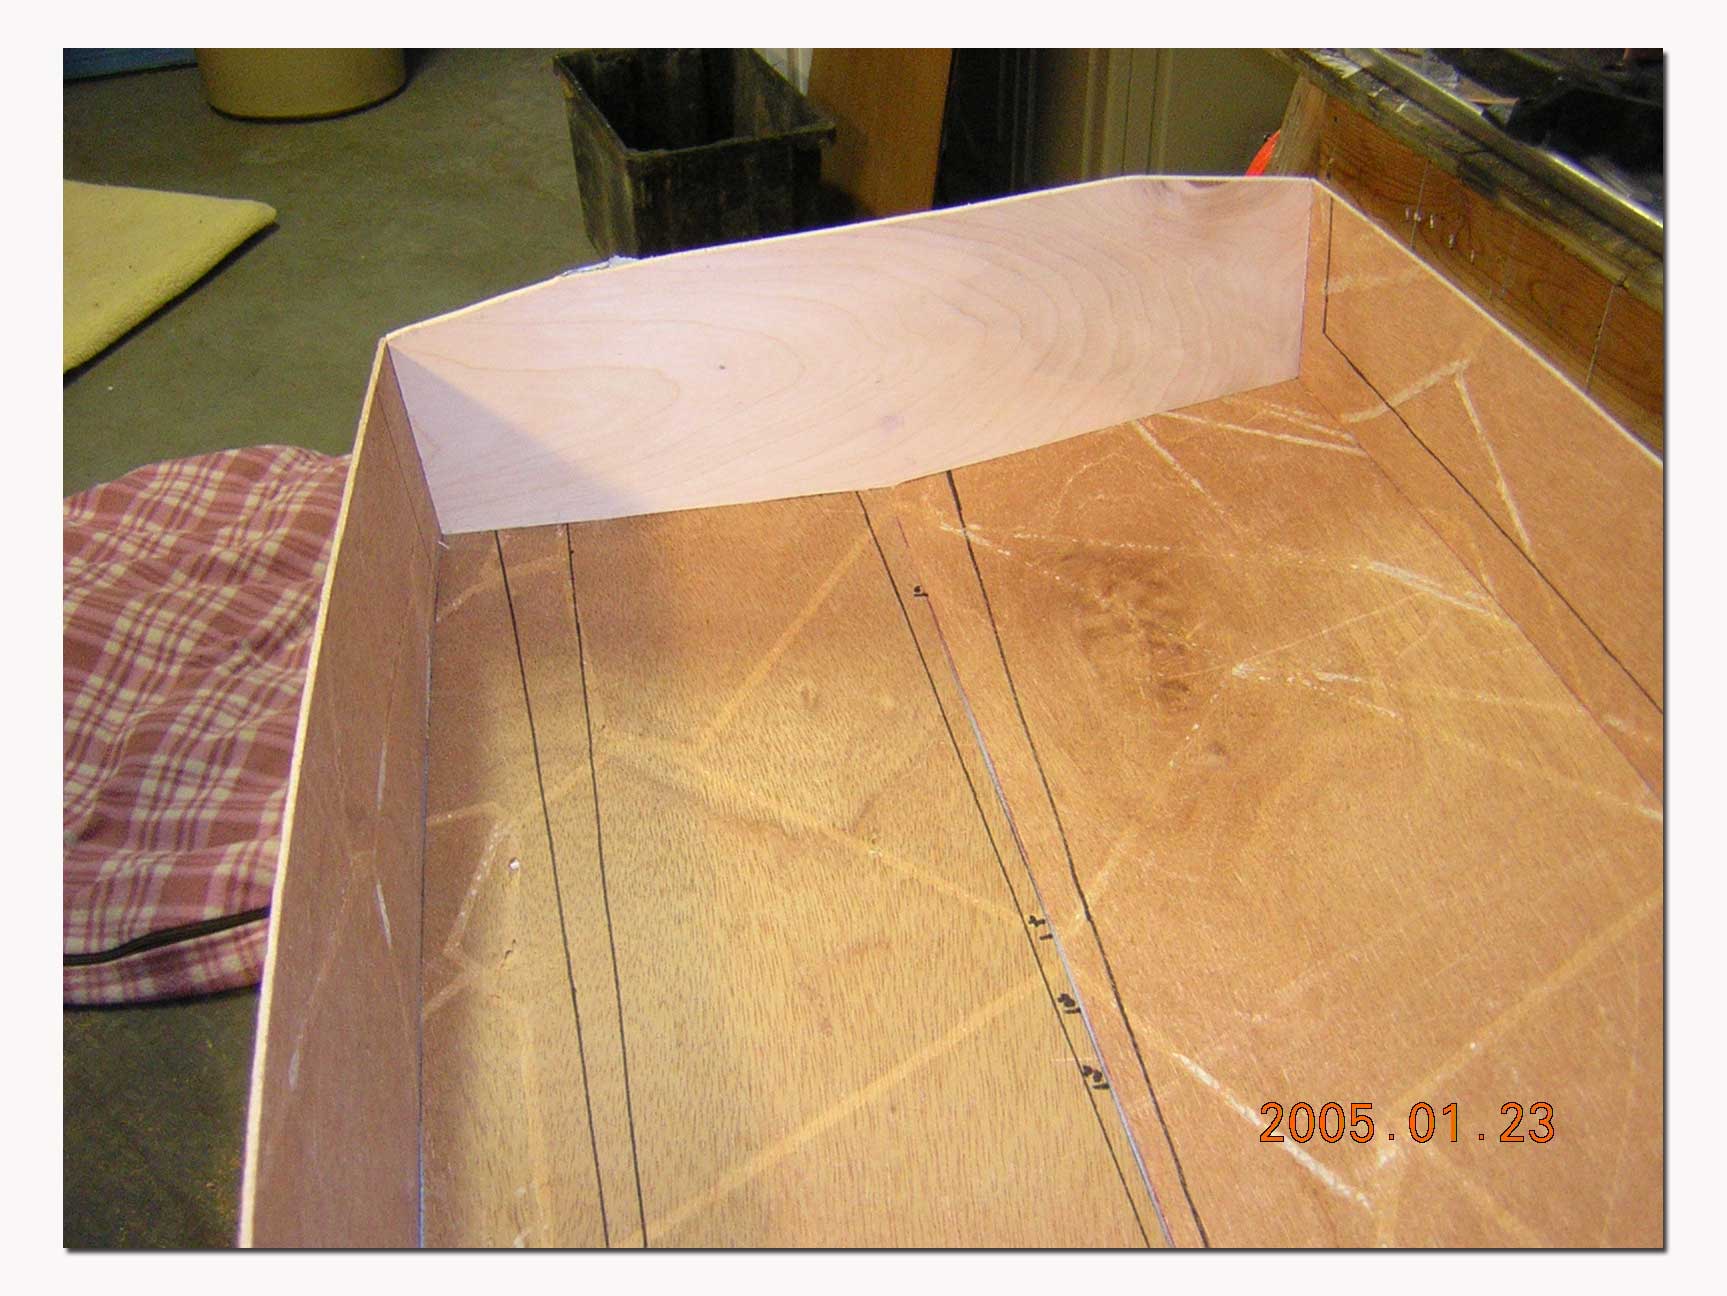
all the stitches are made, begin to add 2" fiberglass tape and resin to the
inside of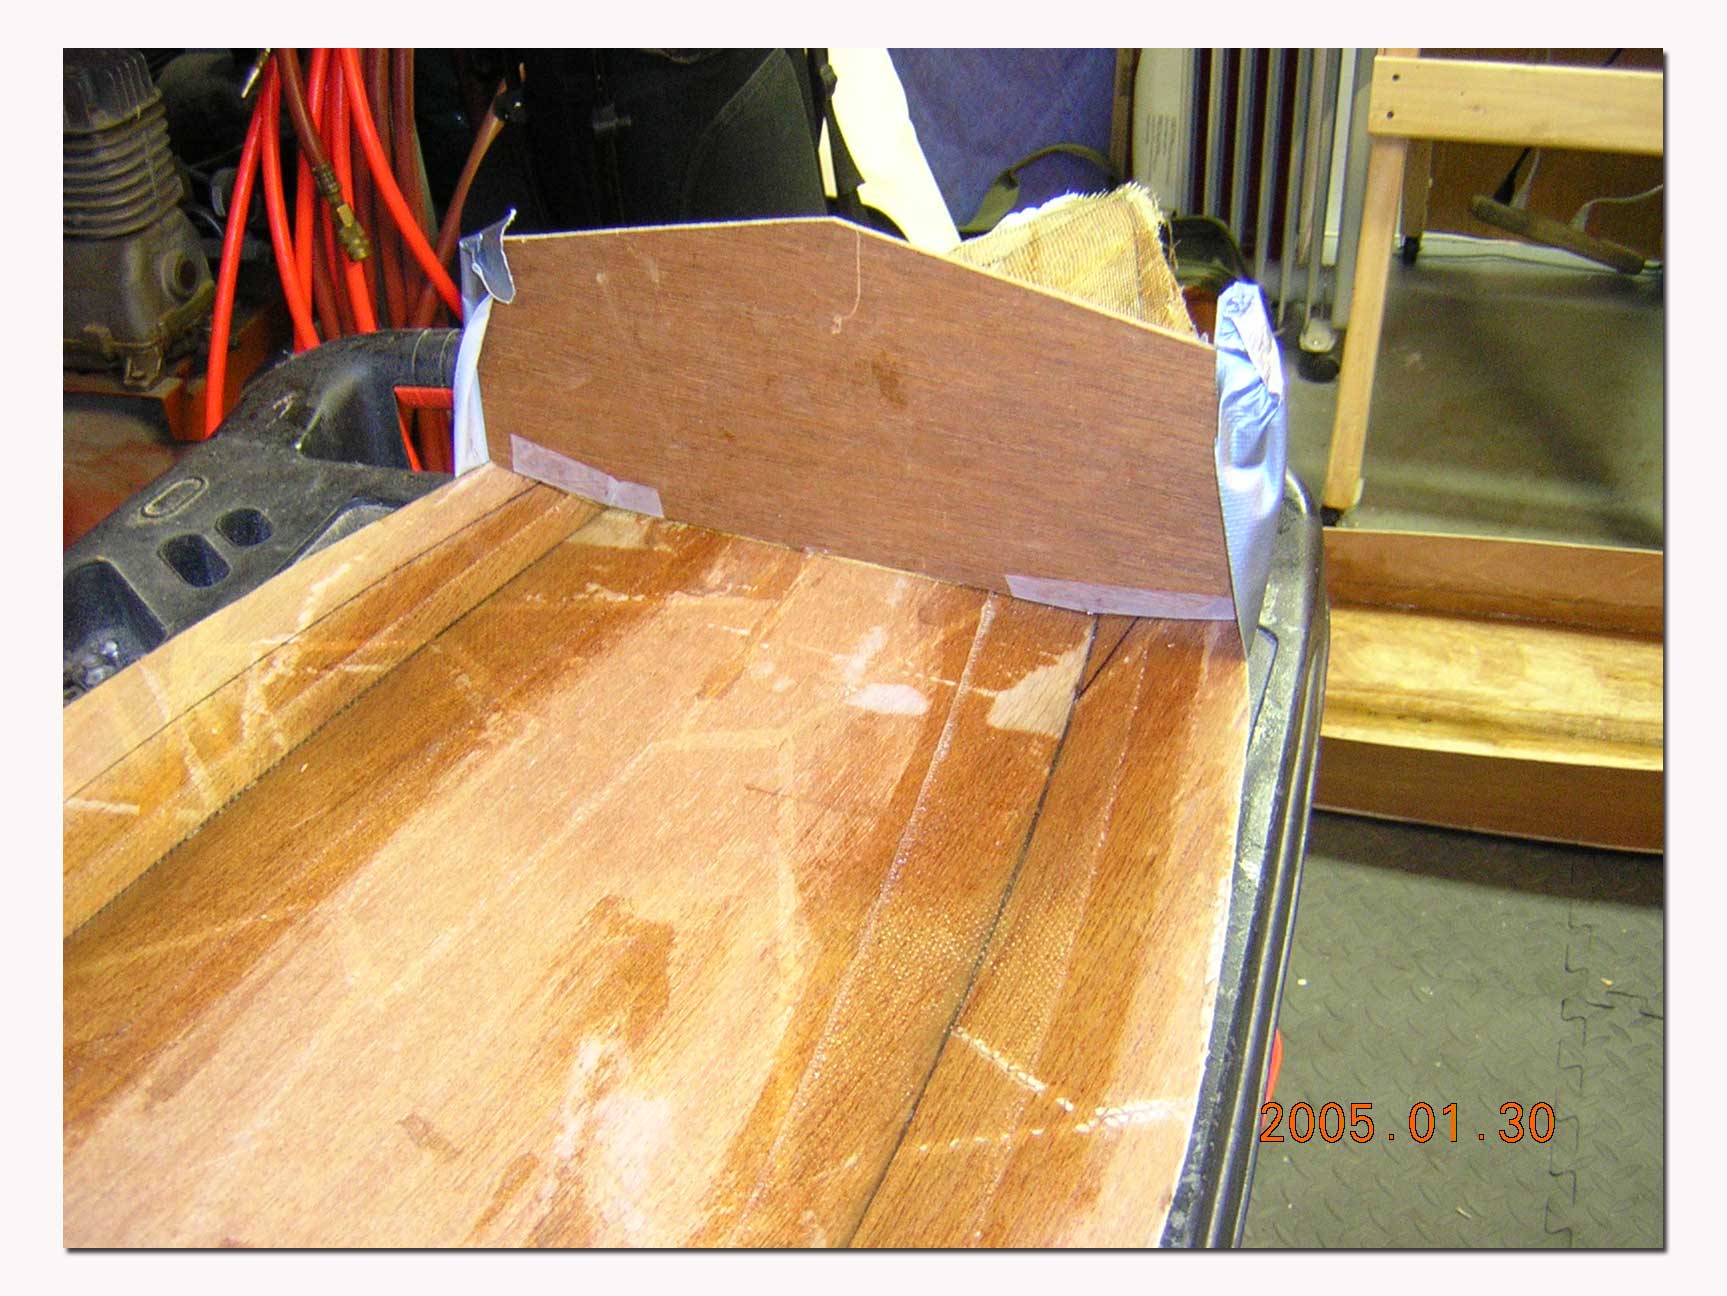 the hull centered over all the seams. In the center toward the bow, where the
angles are most severe, before taping over the seam, fill the seam with a
fiberglass putty mixture made from resin and fiber fill. This adds lots of
strength to the joint by giving the tape some angle with the hull across the
joint. This is illustrated in the picture by the dark center of the of the bow
seam. Continue with tape and resin on
all interior seams.
Complete the same procedure for the underside of the deck assembly. Temporarily use a former to get the deck to the correct angle and shape. There will be very little room under this former. Apply fiberglass tape to the seams first. Then, before it sets up, use a former with scotch tape or wax in the resin area to hold the shape until set.
After the fiberglass tape has set up completely, remove the duct tape from the exterior of the hull. Remove any residual tape or adhesive that may have been left behind. Inspect the seams of the hull and sand smooth any spots that need it. In fact, if you used twine to make the stitches, you should sand them off now. They have served their purpose and are no longer needed.
Now is the time to add any additional exterior hull components. If you are constructing a Cracker Box hull, like I have done in the pictures, apply the ride plate and flair the front with fiberglass putty. If you are constructing a deep V and want strakes on the bottom, add them now as well.
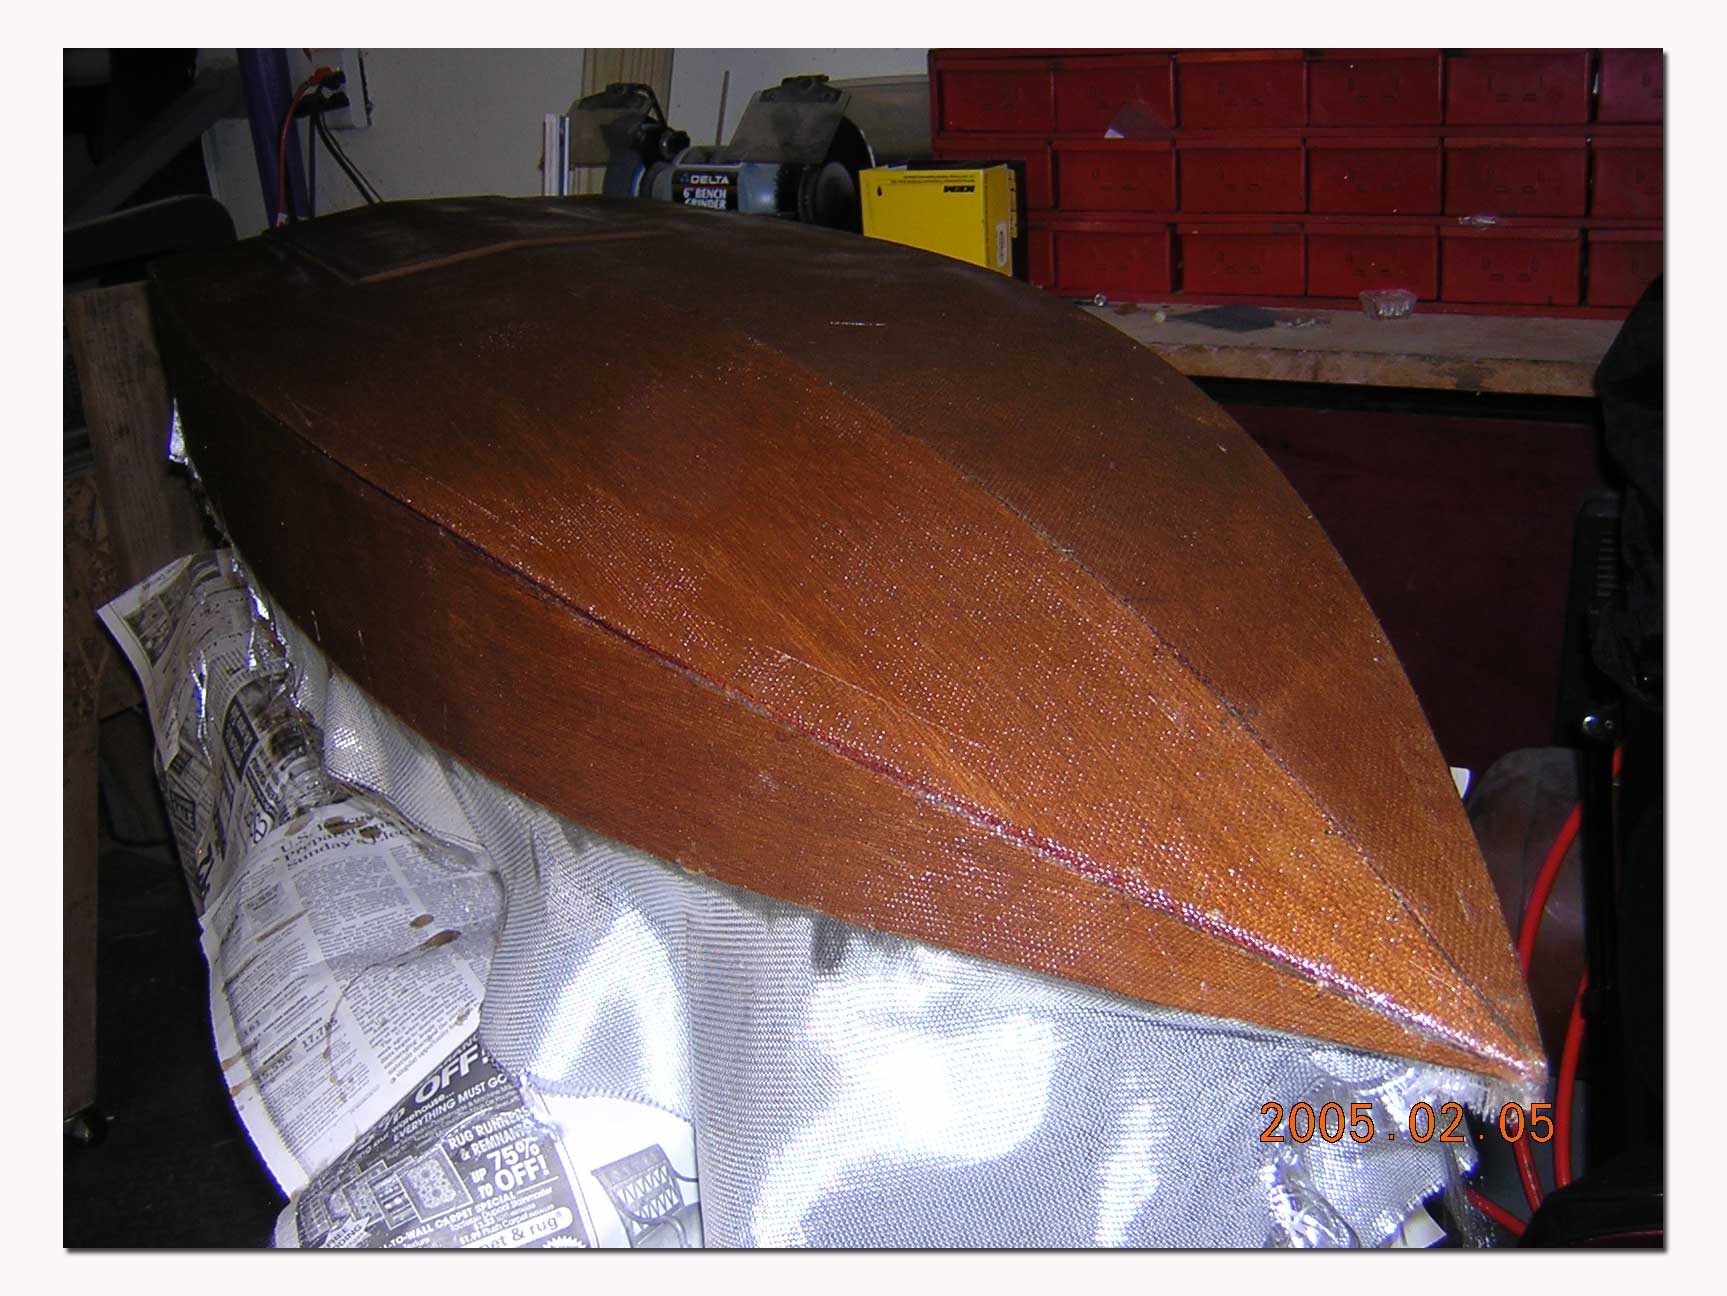
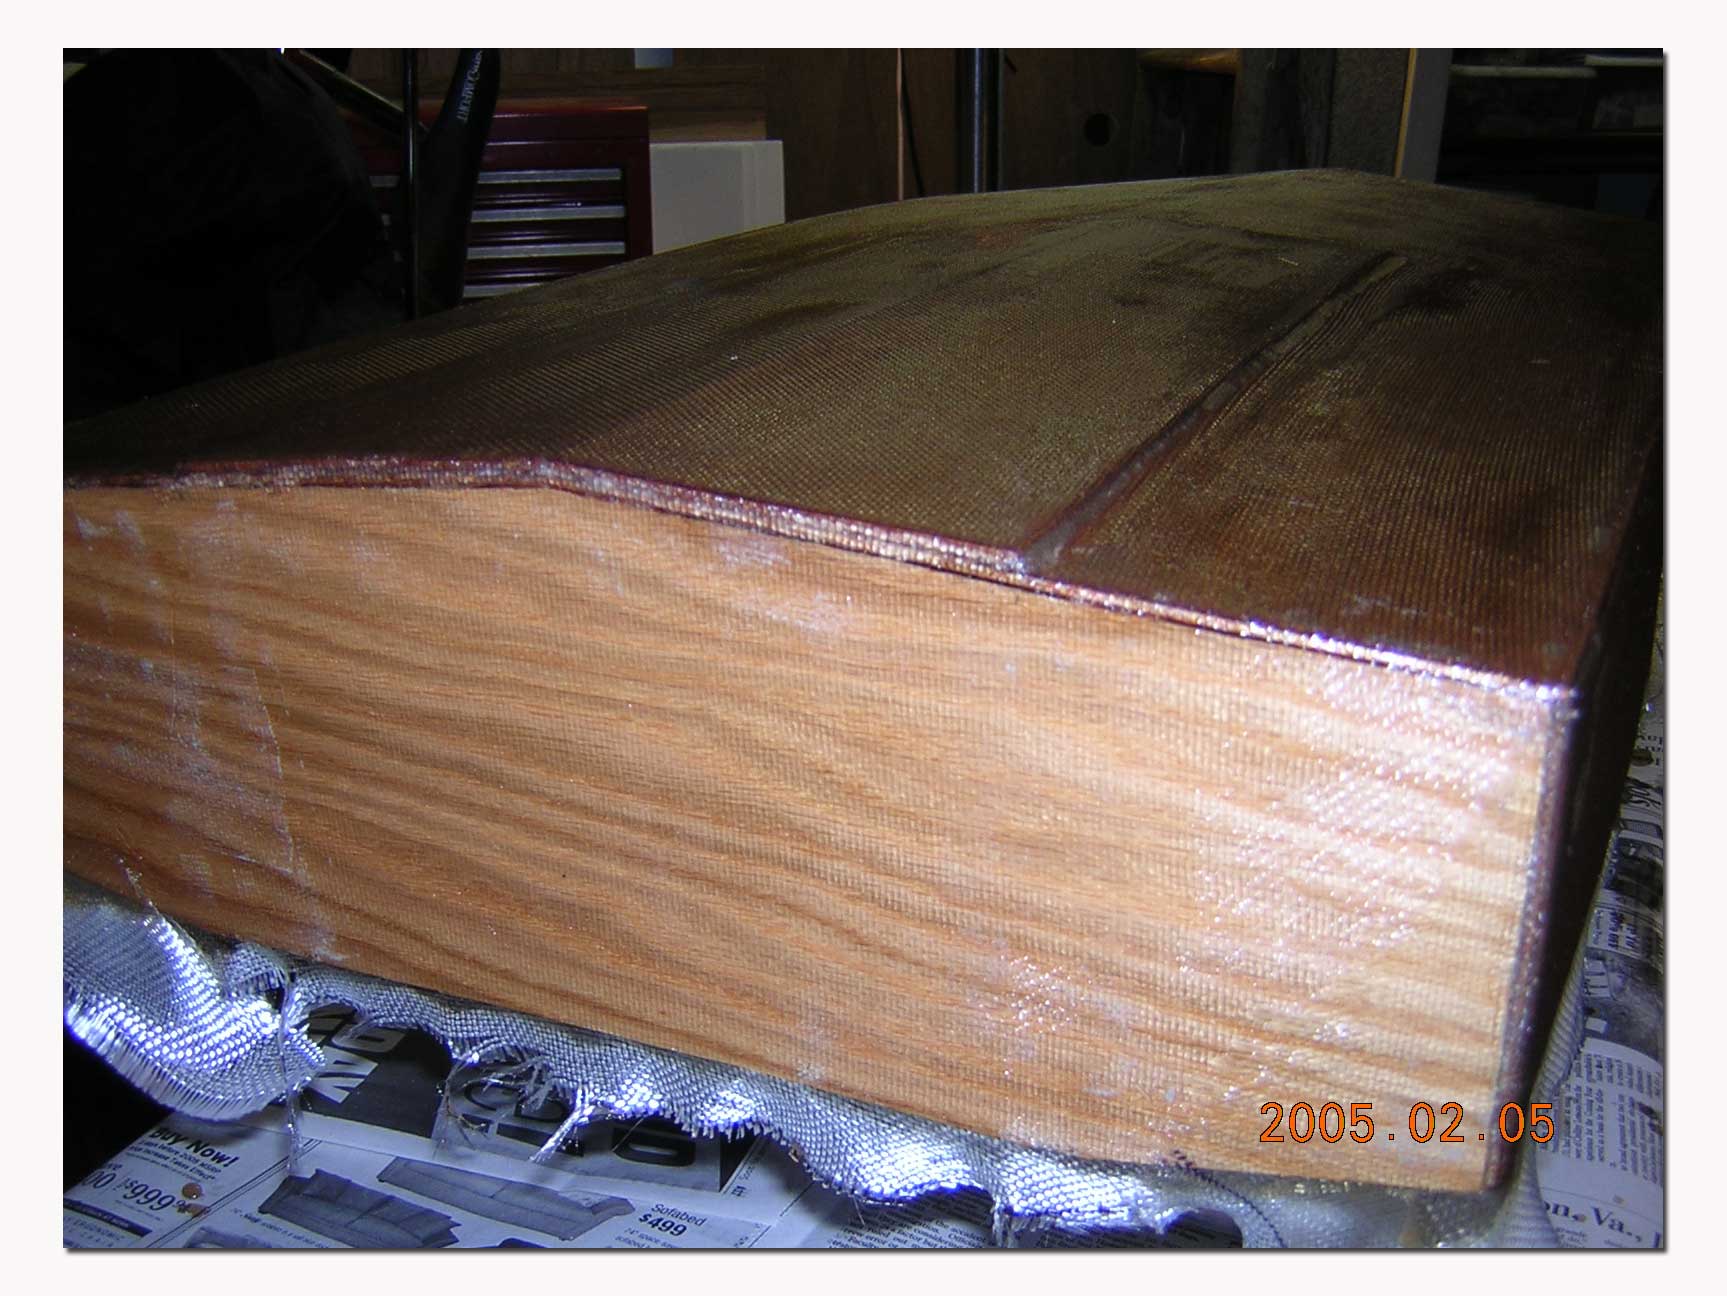
The hull will now hold its own shape and is ready for the exterior coat of fiberglass. This will be a "one off" glass application so, unlike a mold, we will be working towards a finished surface rather than starting with the gel coat application in a mold.
Turn the hull upside down and prop it up from the inside so that the sides are 2" or more above the surface. This allows room to get the fiberglass cloth and resin cleanly to the edges of the hull. I used 6 oz. cloth for all the work on this boat. It is readily available at marine supply stores and is heavy enough to be the primary finish.
Size the cloth so that the entire hull, including the transom, can be covered with one piece. You will need to fold the cloth at the transom corners. Make a cutout in the triangle that is formed at the corner so that only one layer is folded back onto the rear of the transom. Once you are satisfied with the size and placement of the cloth, mix your resin in sufficient quantity to completely cover all the cloth you have laid out. I mixed 1oz. of resin for every 50sq.in. surface to be covered
If you are an old hand at applying resin on fiberglass, then use your favorite method. I was not familiar with the process at all so I will pass on a few of my lessons learned.
- The first application of resin to the cloth requires a dabbing stroke with a brush. DO NOT brush it on. This pulls the cloth and distorts the weave, creating voids and bubbles. Dab at it and push the resin down into the cloth with the bristles.
- Try to be careful with the amount of resin you apply to the vertical portions of the hull. It will run or slide and create ugly run lumps that will be a problem to finish well.
- Fiberglass will stiffen when the resin is first applied and it will not be happy lying down in a sharp 90deg corner like it did before the resin application. Be patient, and as the resin begins to set-up keep working the corners down. They will eventually hold the 90 degree corner you want.
Trim the cloth selvage flush from the hull edges so that a clean edge is available for the deck to bond to. If you want, you can add a ½" wide strip of hull ply to the edge of the hull where the deck will join the hull to increase the surface area of the deck and hull joint. I did this and it did seem to help strengthen the joint.
The formers can now be added to the hull interior. They are not needed for hull strength but can be used to create compartments for flotation under the forward deck. Fill the void with spray foam, allow it to expand completely, and trim to fit under the deck. Make sure that you leave scupper holes in any former so the area will drain when it gets wet inside. You may also now add the engine stringers. Also consider adding any other interior hull components that will be difficult to access after the deck is added like auto bailers, stuffing box tubes, and water intake/outlet fittings.
Test-fit
the deck to the hull and trim it to fit over the hull, flush with the
sides all the way around. The deck may need support from underneath near where
the openings are going to be cut. Use
the upper part of a former to provide this support. If you don't already have a
former for the spot you need, go back to the design program and plot one! It's
that simple. Attach the former to the
underside of the deck panels. Mark or
plot their location on the top so when you cut the hull openings, you know
where they are under the 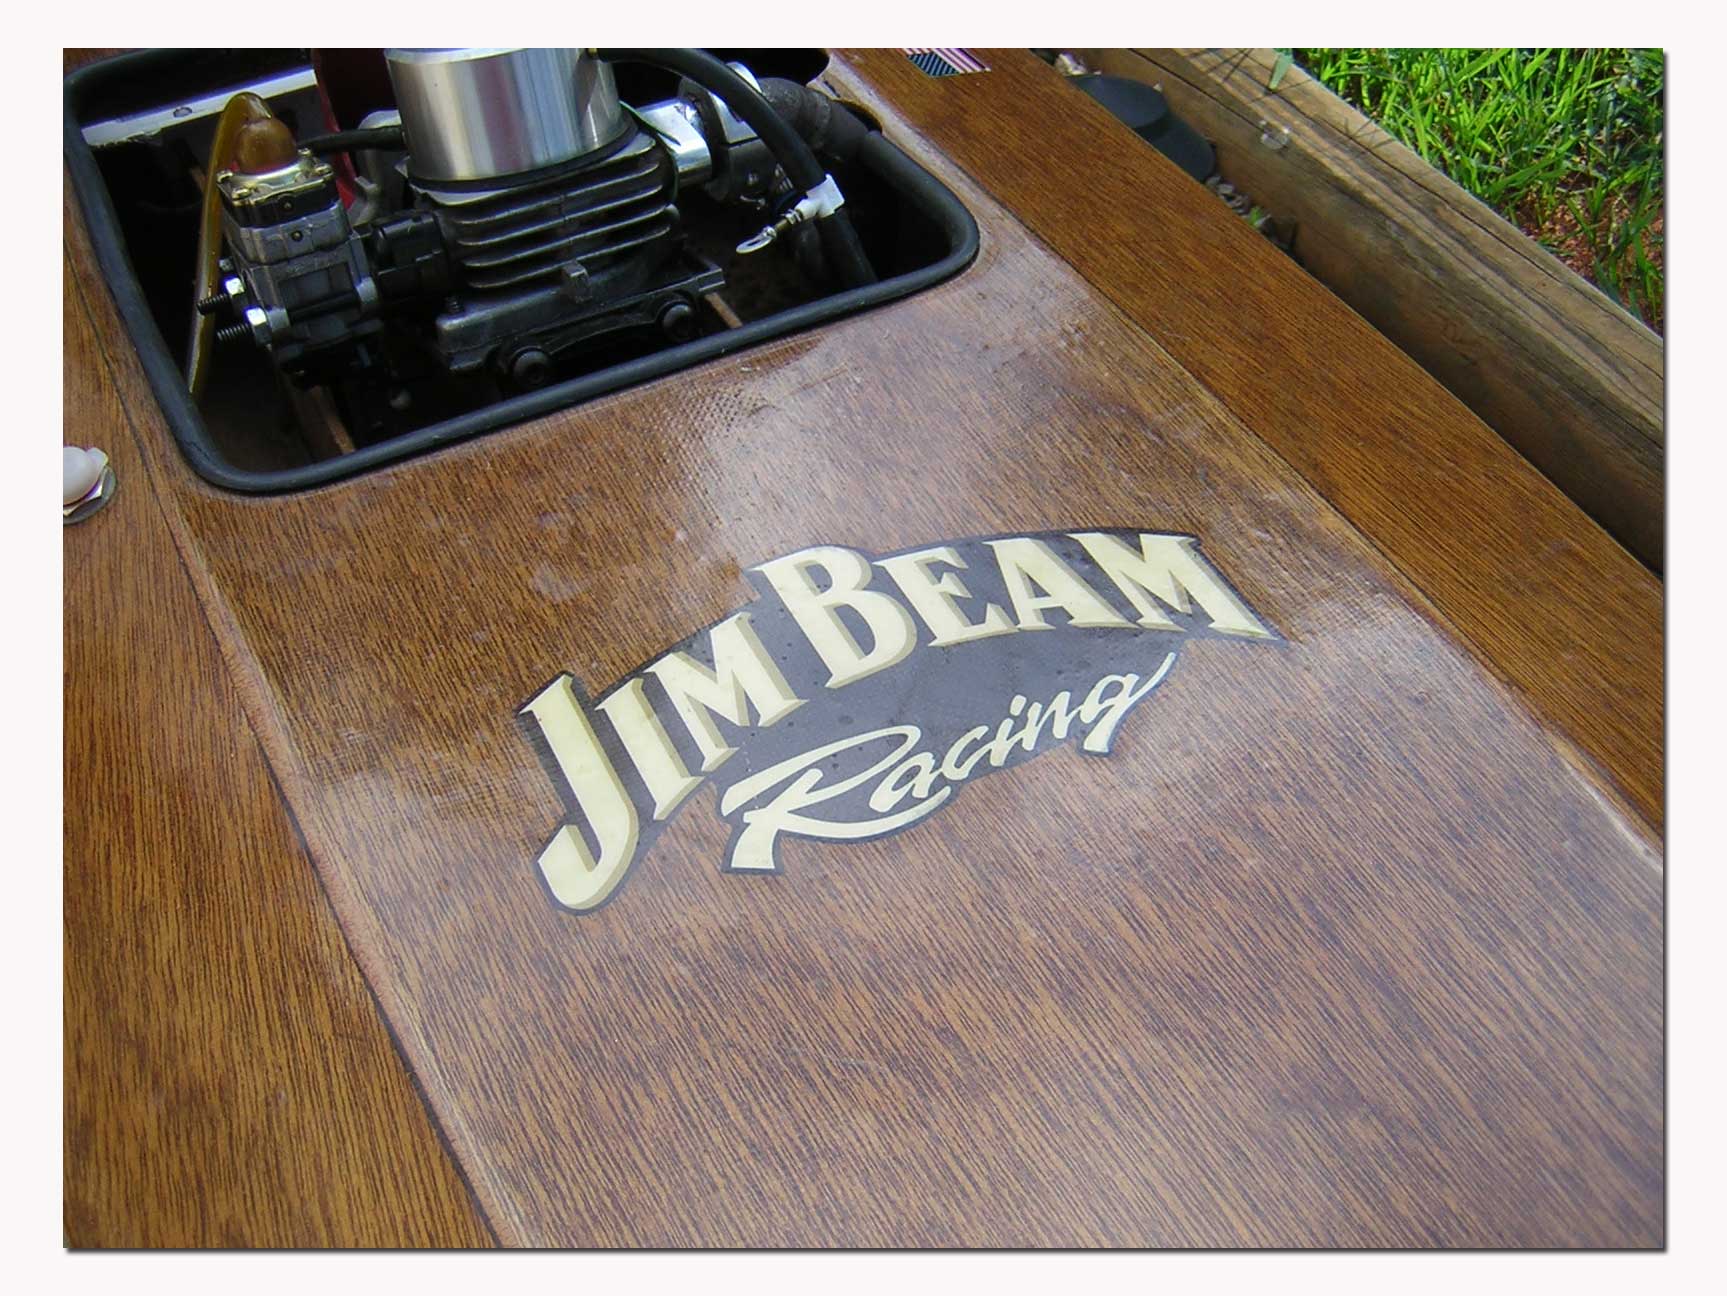 deck. On the Cracker Box in the pictures, I put 1" deep
deck formers close to the engine opening and between the cockpit and engine
openings. The only full former I used was 10" from the front to create a
flotation cell which I filled with foam prior to attaching the deck. Trial fit
the deck to the hull. Make size adjustments
as needed and mix up some more resin putty.
Using it like glue, apply it to the hull and to the underside of the
deck where the two will mate. Tape it
down and let it cure well. Wipe any
squeeze-out from the hull exterior.
Don't worry about the inside.
I
tried a finishing trick on this hull I had not done before. I salvaged the face
of a product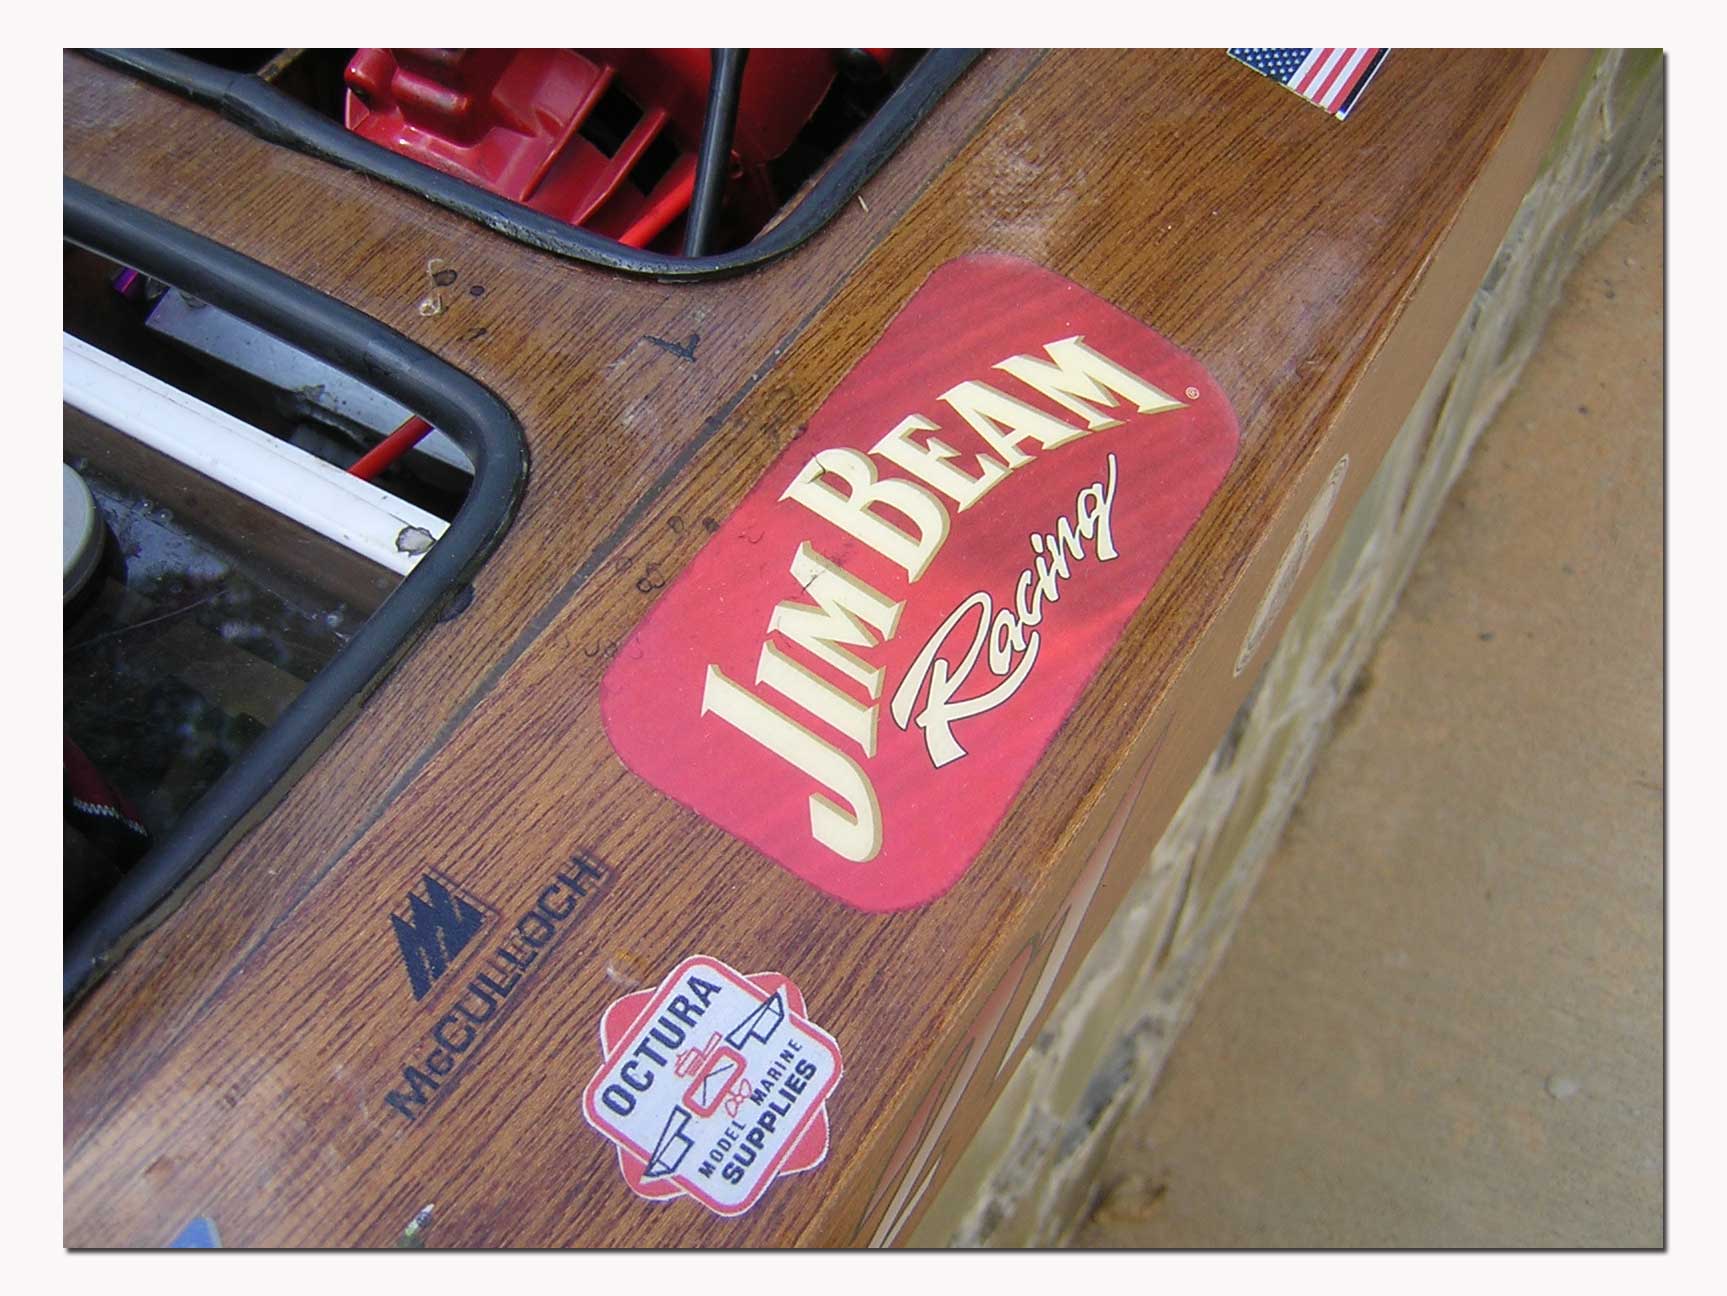 carton by stripping the printed face from the cardboard,
so all that remained was the paper face with the logo I wanted. I glued this on the deck, using very thin
glue, before I applied any cloth or resin. After applying the resin the logo
was sealed under the fiberglass and as visible as if were under pure
glass. It worked so well that the next
hull I build like this, I will put all the trim and finish decals on the hull
before I glass it. You may need to seal
the trim pieces to make sure that the decal material is not attacked by the
resin.
Apply cloth and resin to the deck topside in the same manner used for the hull. Allow the cloth and resin to overlap the hull/deck joint area just enough to get coverage of the seam and deck edge. When this joint cures, sanding will feather it so the cloth joint will disappear.
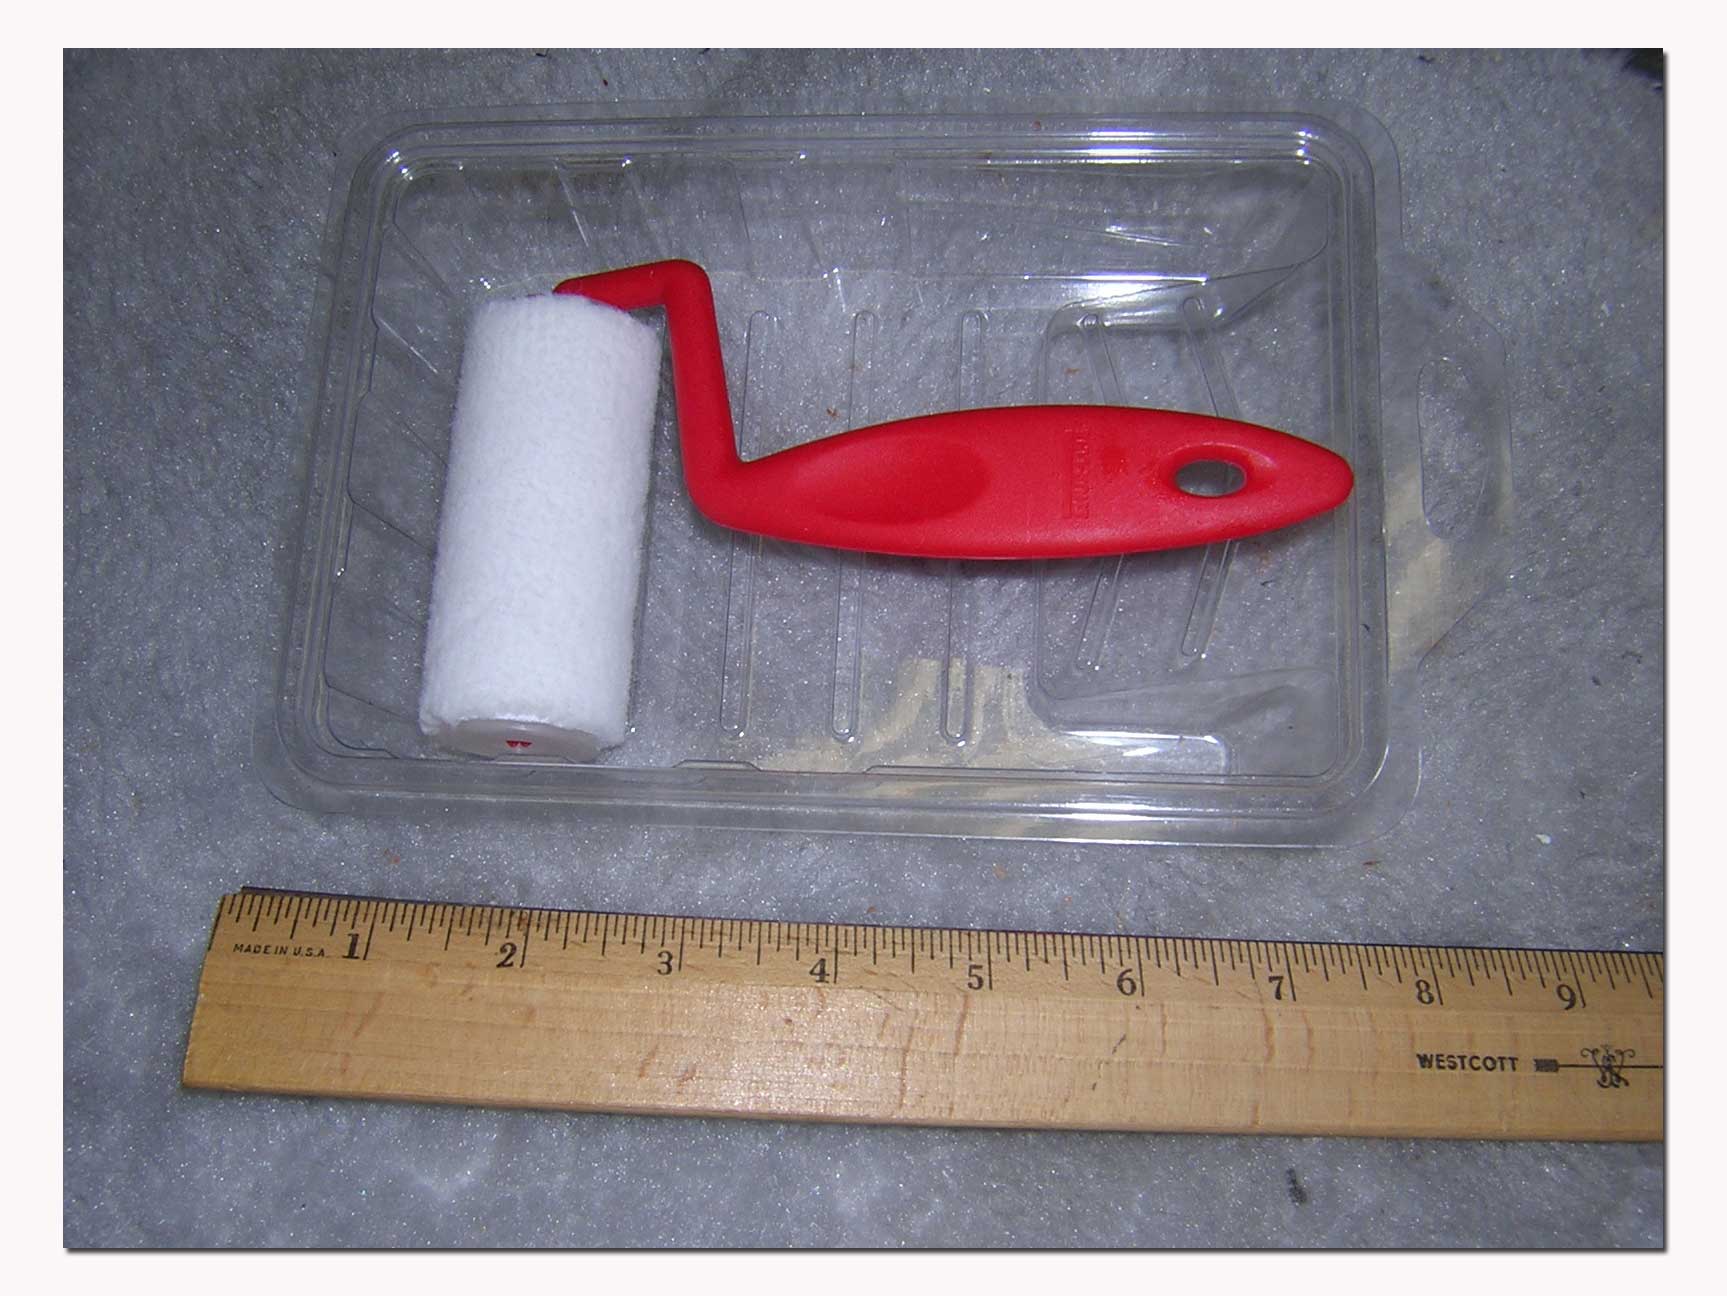 Once the initial application of resin has cured, several
more applications are needed to completely fill the cloth for a smooth
finish. After trying several methods I
found that a small diameter 4" trim roller, with a white fiber (not foam!)
surface was the best applicator. They
 are available from most home improvement stores in the
paint department. Use the roller to apply the last several coats of resin. Let the resin cure for at least 24 hours and
sand the surface to a smooth finish. You
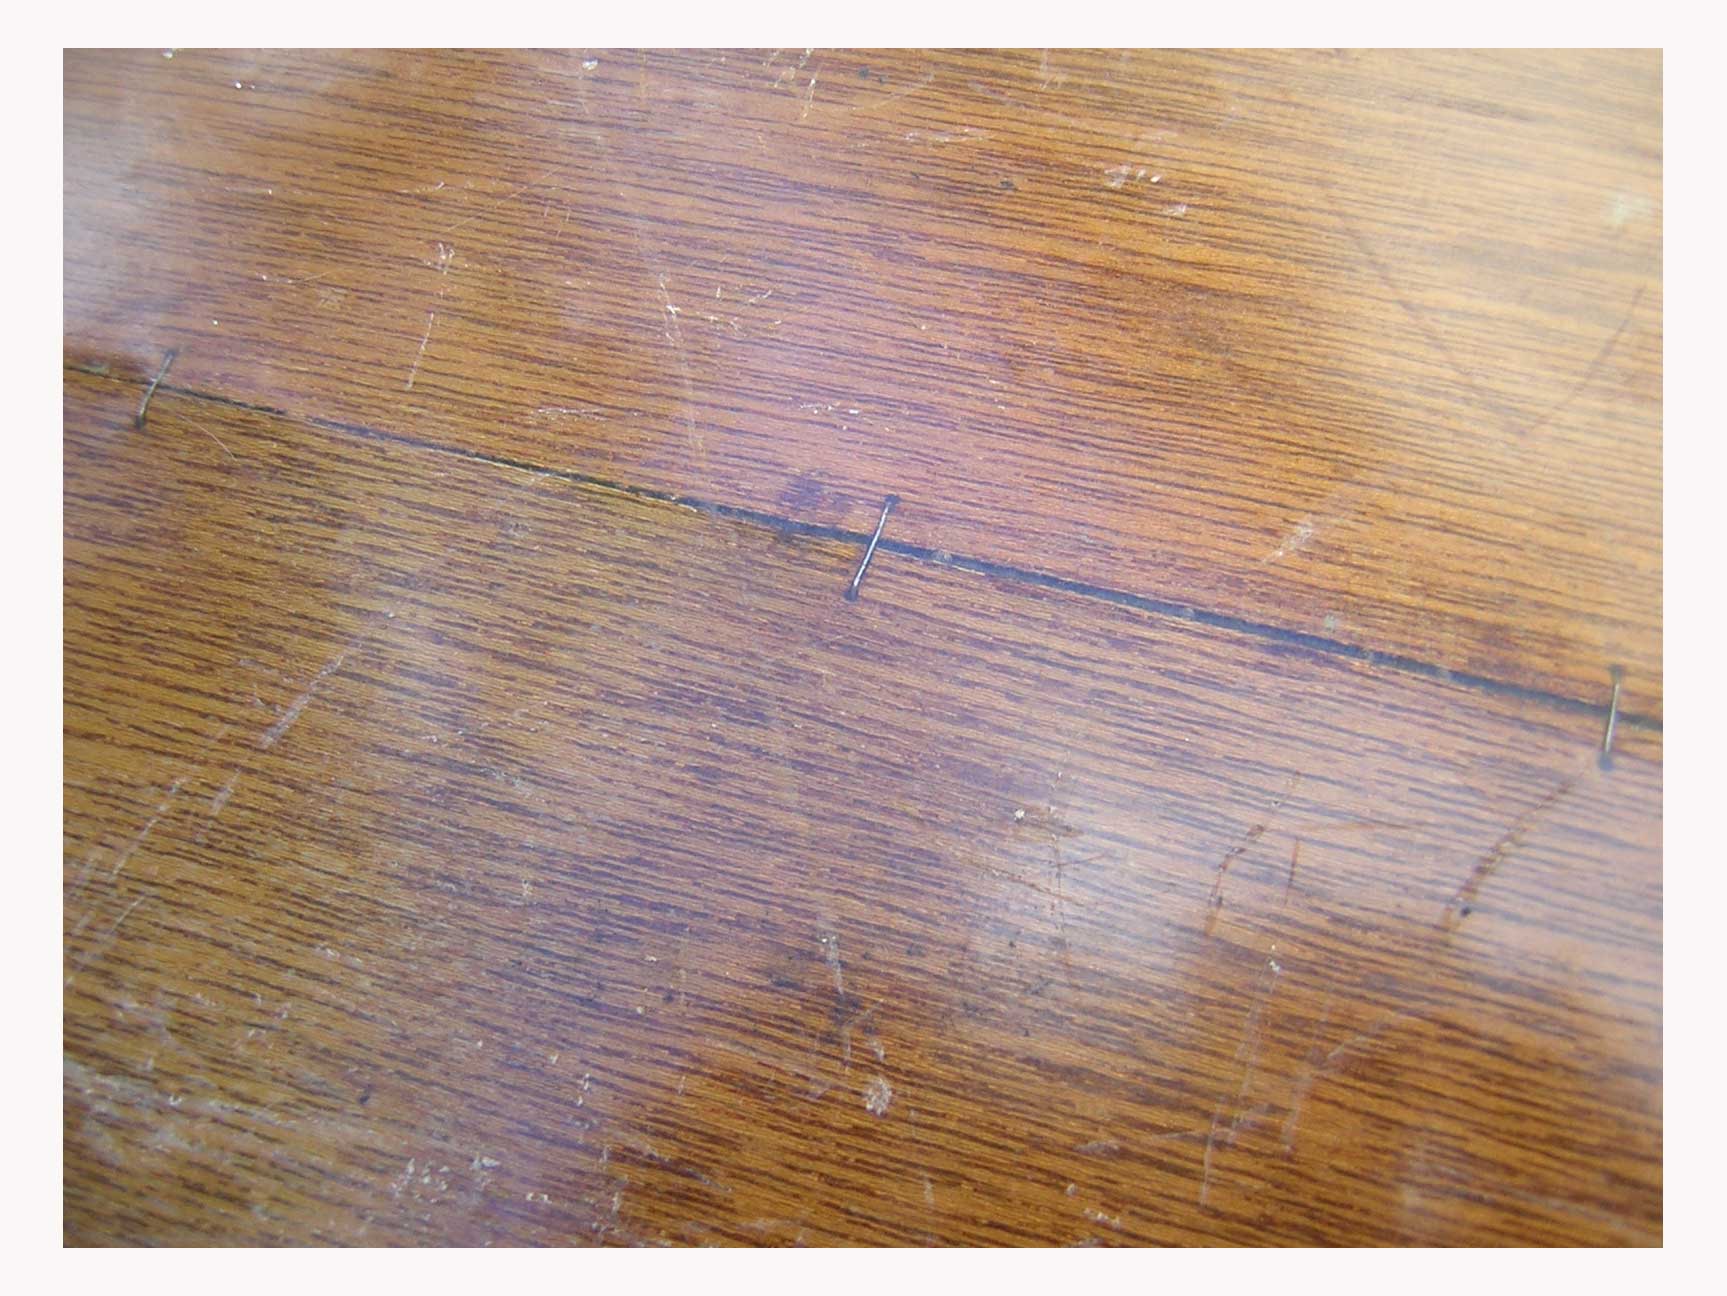
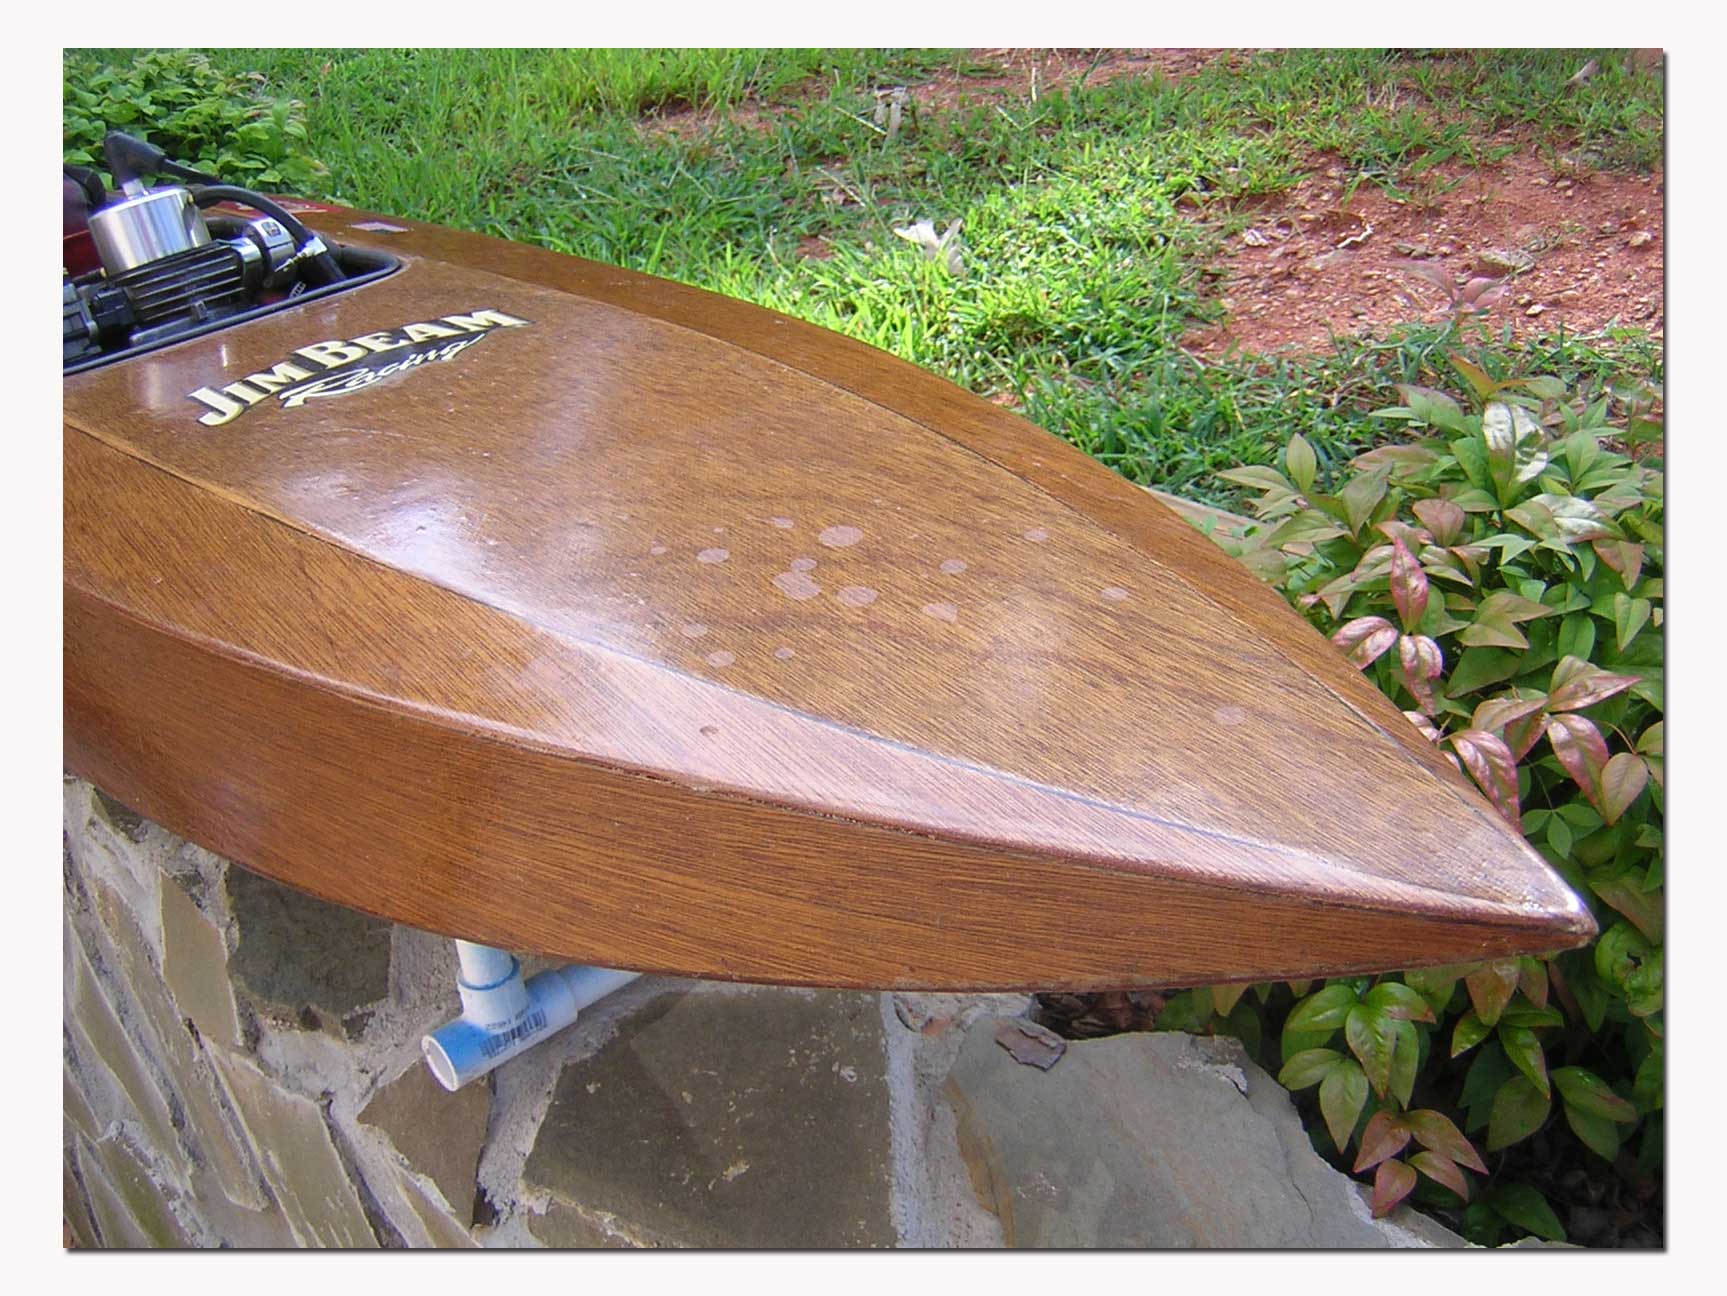
can now apply any fiberglass friendly finish you choose. I used a clear lacquer from the auto parts
store which was safe from gasoline. But,
as you can see in the picture, it did not hold up under dripped nitro methane
from another boat.
The hull is now completely sealed and water tight. It's now time to cut the holes necessary for the cockpit, motor mounts, radio box, drive system, rudder system, exhaust, and fuel tank. The finish of the hull we created is now up to you and your imagination. Oh, by-the-way, now, if you find you don't like something about the hull, go back to the hull design program, modify it and build a better one! The pictures in the article are of my second original Cracker Box design where I did exactly that and it is better and faster!
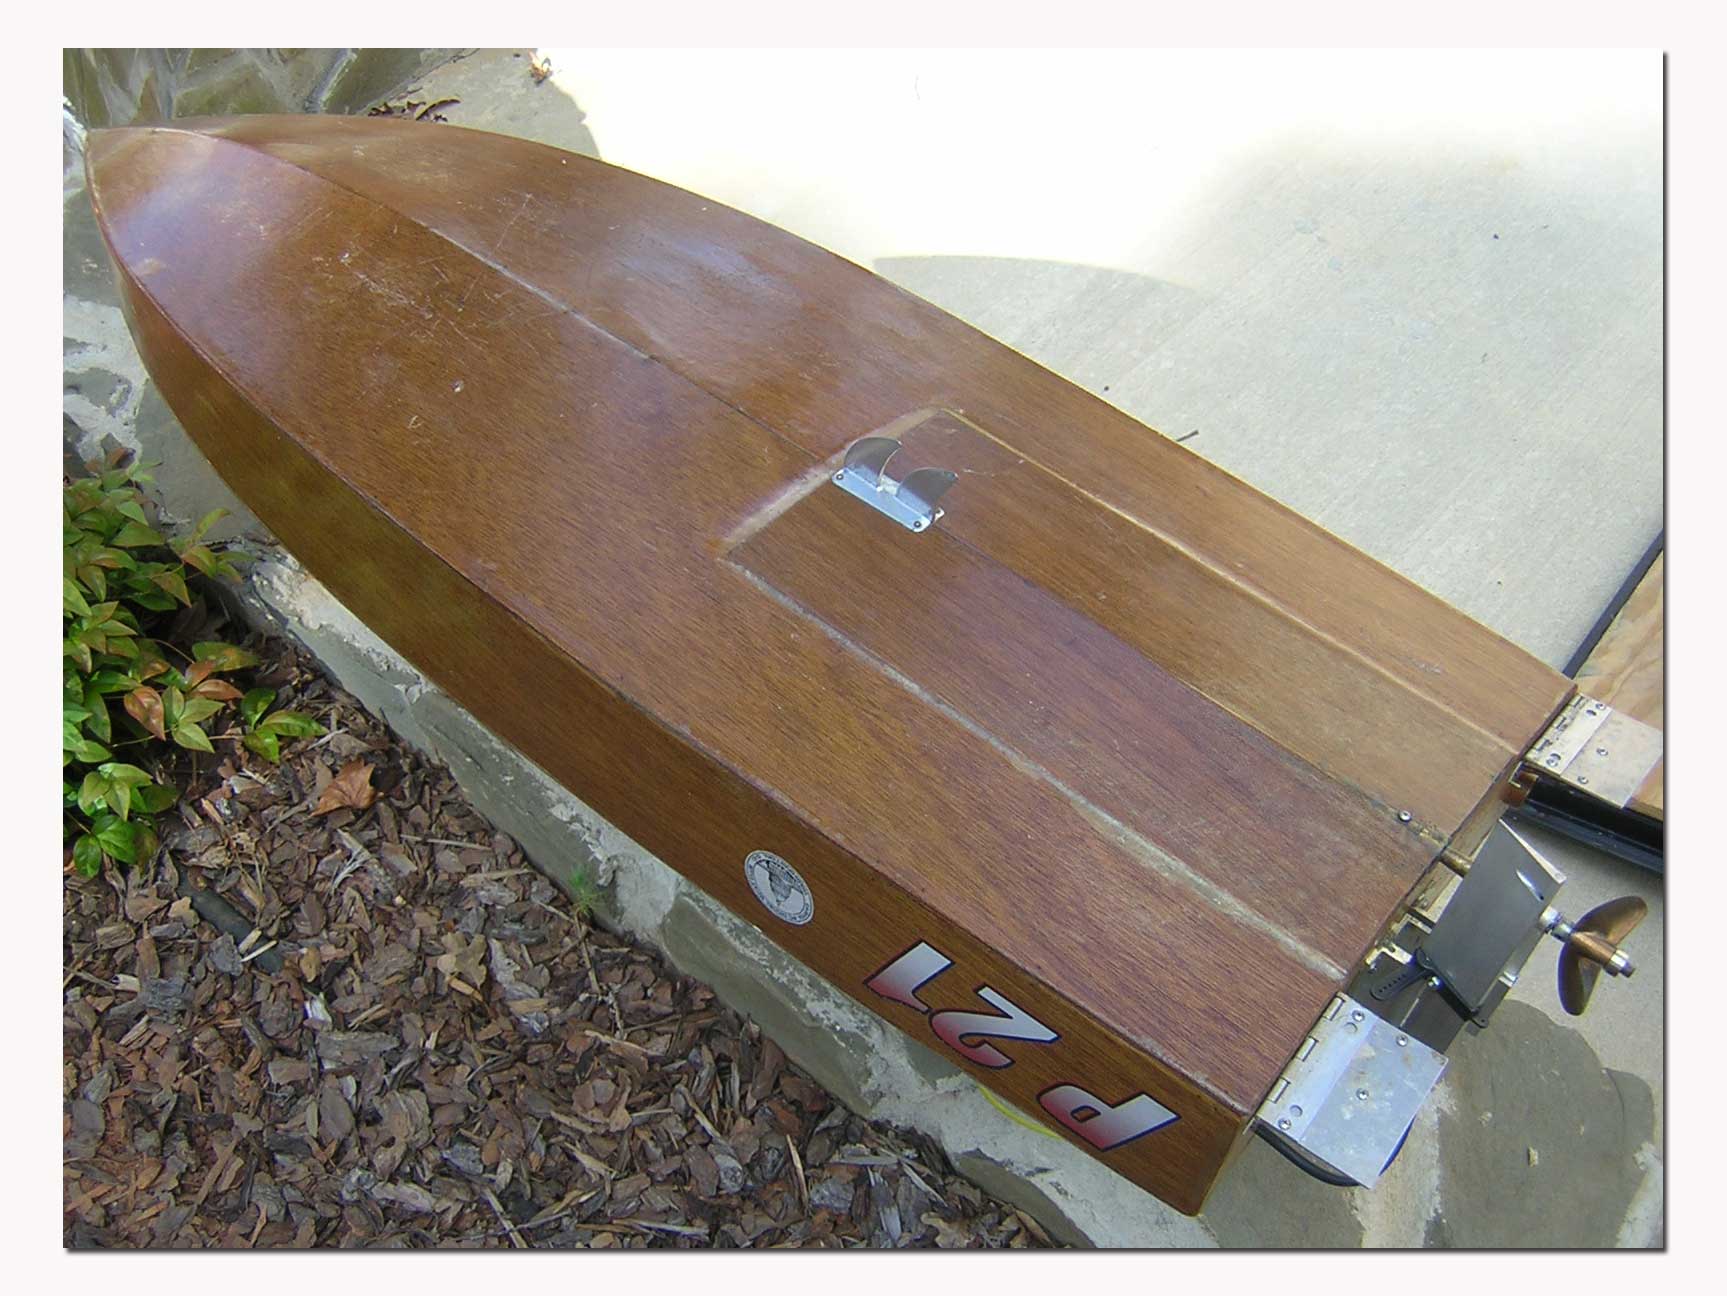
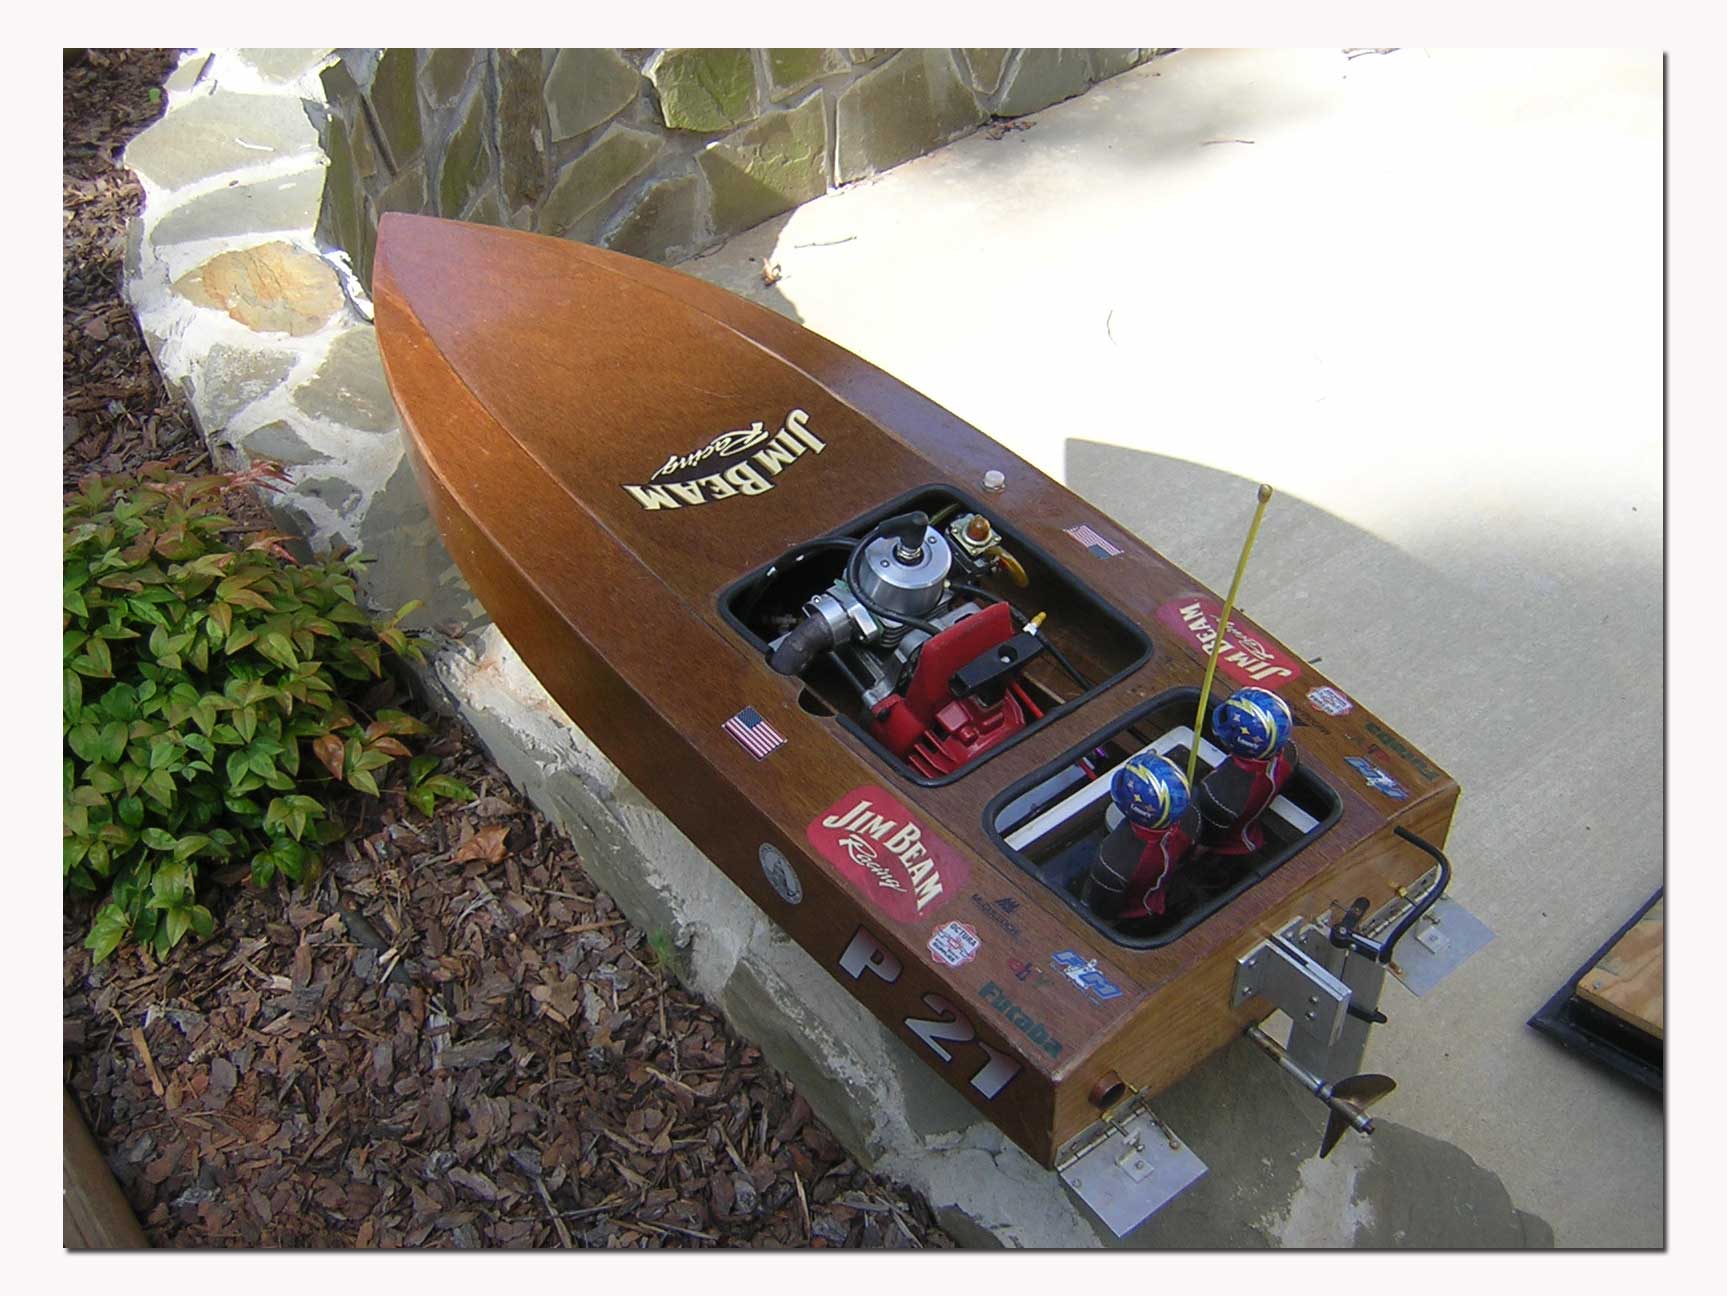
Enjoy!

