
Tech Article... by Terry Keeley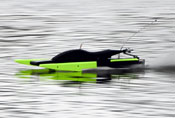
A short informative article on working with composites ...
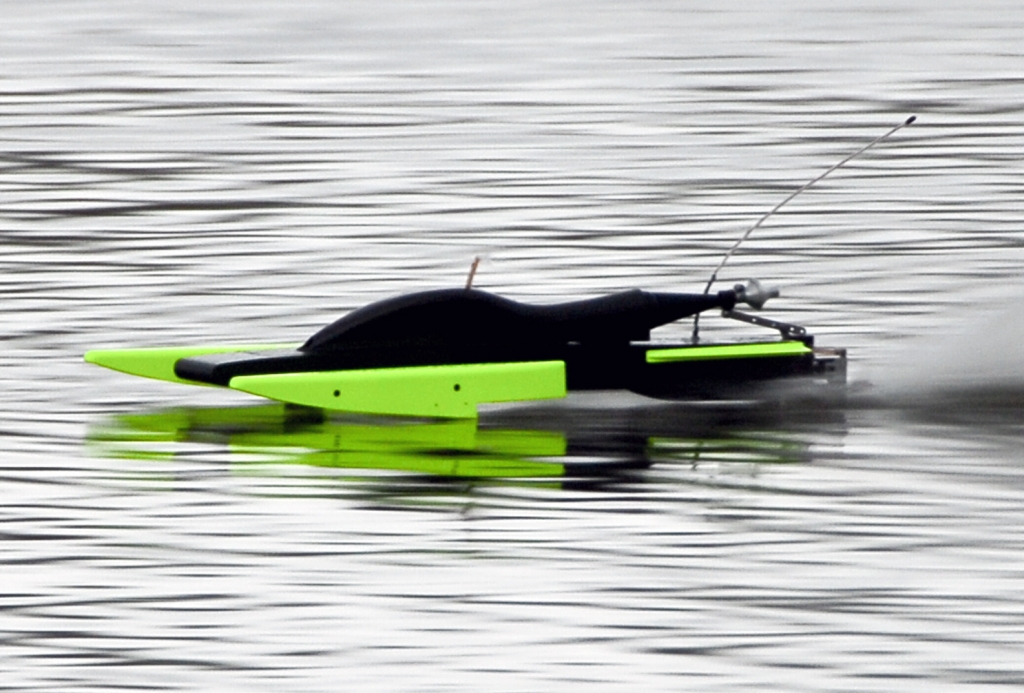
I started building my own hulls in the mid 90’s and built a couple wood hulls that worked pretty good but just when I started to really get them dialled in they were mostly used up, oil soaked, waterlogged and getting heavy. I had a little experience making cowls with fiberglass and wanted to try carbon and Kevlar as it was getting popular in all sorts of things from golf clubs to bikes and airplanes. In the beginning I did it mainly for longevity, hoping to have a hull last more than a couple seasons - boy was I right! I experimented a little making cowls and then built two complete hulls for the ’99 season; and I’m still running them today! The center sections have seen many different sponson configurations etc., but the tubs are the same and going strong into their 13th season.
Carbon and Kevlar can be laid up without bagging but the finished part isn’t much stronger or lighter than if regular fiberglass is used. Both CF and Kevlar get their strength and light weight when the finished part has a high fabric to resin content, the only way to do this is to squeeze the layup very hard and vacuum is excellent for the job. Air pressure at sea level is 14.8 psi, so a 10” square part would have the equivalent of 1480 lbs of pressure on it! A “perfect” layup (prepreg) has about 40% resin to 60% fibre by weight, but 50-50 is more realistic for hand layups. There are many articles around the web on the vacuum bagging process so I won’t go into great detail, just what works for me.
Vacuum bagging CF and Kevlar can be done either into a mold or over a form. Examples of parts made in a mold are cowls, deep V hulls and sponsons. I’ve made turn fins, brackets and my original two hulls were made over forms.
60/80 hydro with tub made over a plug and cowl in a mold:
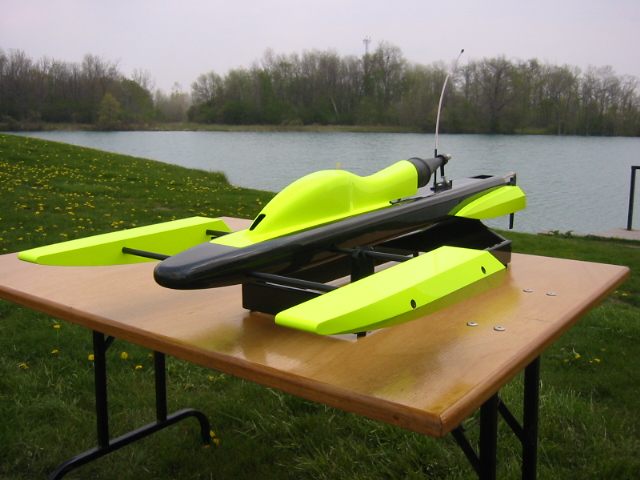
Turn fin blank made over a form:
Mold making isn’t complicated. I like to use heavy foam to make the plug and for bagging, a large base helps. Don’t get too crazy with the finish as usually you’ll be sanding and painting the finished part anyway. I finish the plug with primer sanding to 400 grit, then apply 3 coats of Partall #2 wax followed by a thin brushed on layer of PVA. I tried to skip the PVA once and had a heck of a time getting the plug out, good lesson. I’ve made molds with epoxy but it’s expensive and since have switched to polyester and just deal with the smell. I usually brush on 2 coats of vinyl ester “tooling gelcoat”, then 2 coats of 6oz cloth and finish with 2 layers of heavy 18oz. “Isophthalic” tooling resin works best and is made for layer on layer without sanding in between.
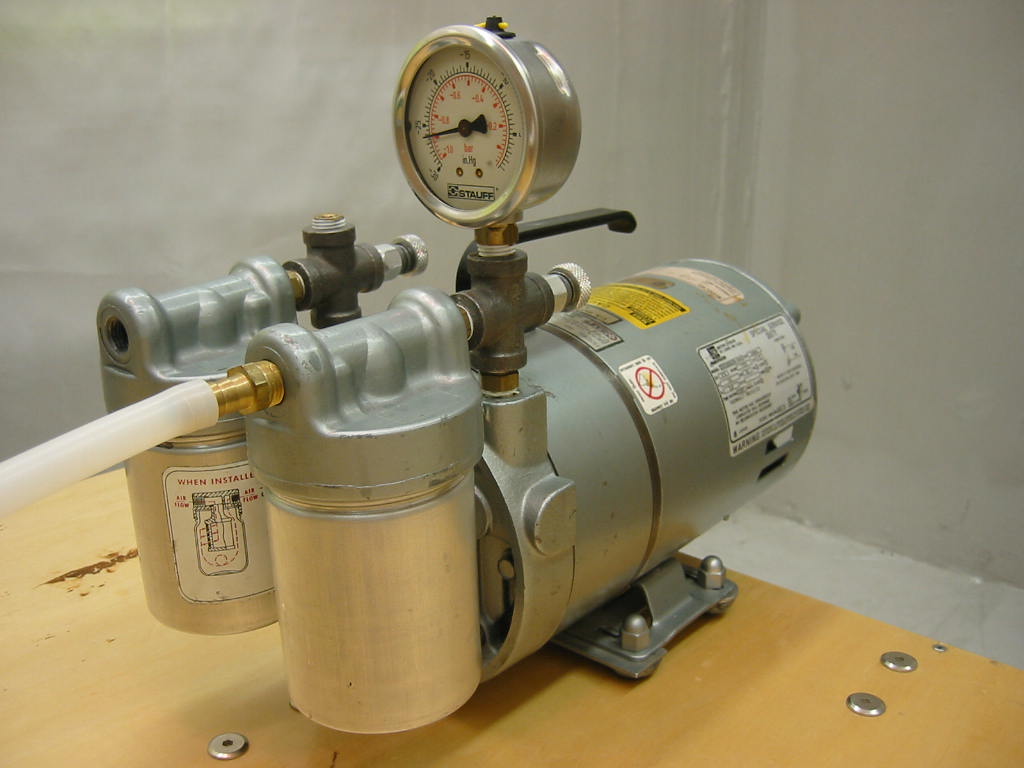 The heart of any bagging system is the pump and GAST is THE name. There’s all kinds of plans for converting refrigerator compressors etc., but if you search Flee-bay etc., a good GAST 0523 can be had very reasonably. Oil less is best as the oiled versions put a fine mist into the air.
For fittings I use little suction cups available at the hardware store and drill a ¼” hole in them. Brass fittings and rigid plastic tubing complete the plumbing.
I made a Kevlar cowl once and swore I’d never work with the stuff again, and haven’t! It’s impossible to cut, fuzzes up when sanded and can’t be drilled or worked easily, and unless you’re making a bullet proof vest it’s useless IMHO. Carbon is strong, light and stiff; just what we want, and contrary to urban legend it doesn’t shatter on impact.
There are several “flavors” of carbon cloth but the two I like are 3.8 oz and 6 oz twill. The “3oz” cloth is very fine and works great on the outside of parts because it takes a lot less filler to get smooth and fill the pinholes. A good cowl layup is 2 layers of 3 oz with one or two layers of 6oz in between, 2 or 3 layers of 6oz works well too. The twill is much easier to work into tight molds than regular weave and looks sweet too!
The heart of any bagging system is the pump and GAST is THE name. There’s all kinds of plans for converting refrigerator compressors etc., but if you search Flee-bay etc., a good GAST 0523 can be had very reasonably. Oil less is best as the oiled versions put a fine mist into the air.For fittings I use little suction cups available at the hardware store and drill a ¼” hole in them. Brass fittings and rigid plastic tubing complete the plumbing.
I made a Kevlar cowl once and swore I’d never work with the stuff again, and haven’t! It’s impossible to cut, fuzzes up when sanded and can’t be drilled or worked easily, and unless you’re making a bullet proof vest it’s useless IMHO. Carbon is strong, light and stiff; just what we want, and contrary to urban legend it doesn’t shatter on impact.
There are several “flavors” of carbon cloth but the two I like are 3.8 oz and 6 oz twill. The “3oz” cloth is very fine and works great on the outside of parts because it takes a lot less filler to get smooth and fill the pinholes. A good cowl layup is 2 layers of 3 oz with one or two layers of 6oz in between, 2 or 3 layers of 6oz works well too. The twill is much easier to work into tight molds than regular weave and looks sweet too!
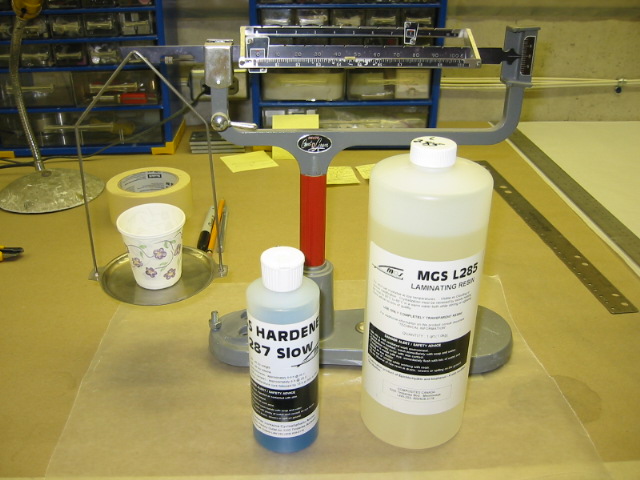 You can do layups with regular epoxy but the relatively short working time and high viscosity are tough to deal with. Good bagging resins are thin enough to soak into the cloth and have long working times to allow the process to do it’s magic. I’ve used West Systems “Pro Set” but settled on MGS, these both require post curing at 120F and a simple space heater does the trick.
The mold is prepped by rimming the outside with mastic to seal the bag and applying 3 coats of Partall wax followed by a layer of PVA. I do a regular layup by weighing the cloth and mixing up the same weight of epoxy. Next is the peel ply, a light teflon impregnated cloth that won’t stick to the part and allows excess resin to pass through. Two layers of breather cloth distribute the vacuum and soaks up excess epoxy. Next place the suction cup either off the part completely or in an inconspicuous spot as it might leave a dimple, and seal it with a ring of mastic. The thin plastic sheet or “bag” is fit loosely over the whole mess and a brass fitting connected for the vacuum. I like to apply the vacuum slowly, smoothing the part into the mold as I increase the suction, then I go around sealing leaks until my gauge reads about 28” Hg which is almost no loss. MGS takes 24hrs at room temperature then 15hrs at 120F. Let it cool then pull the peel ply and breather and wala!
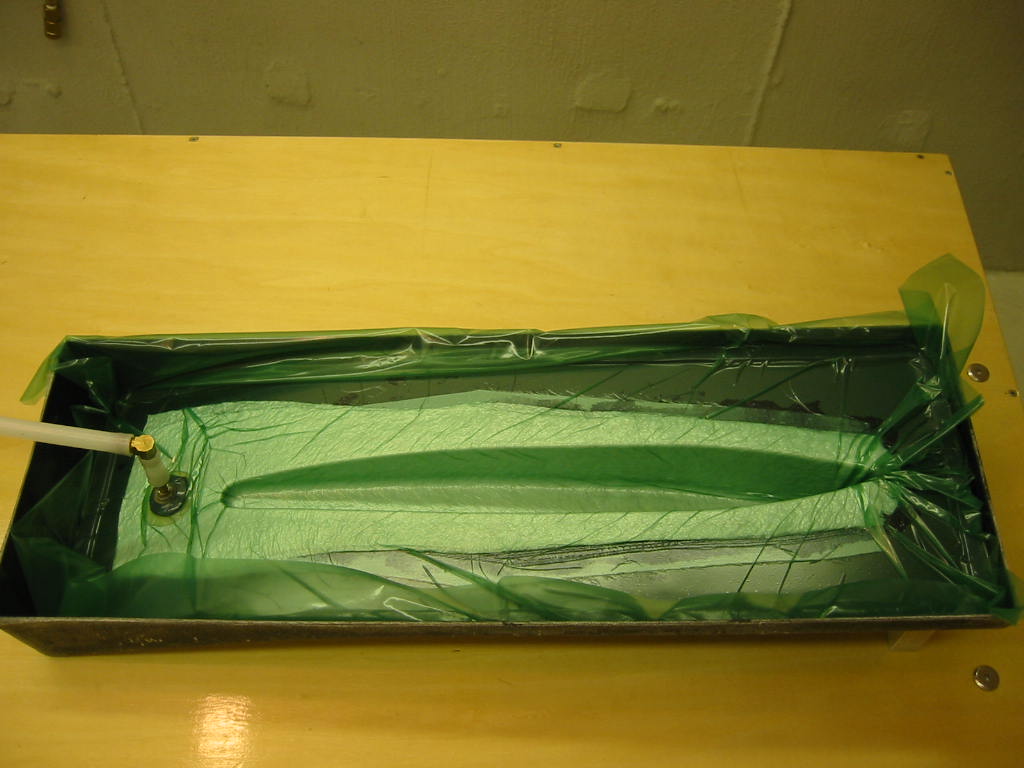

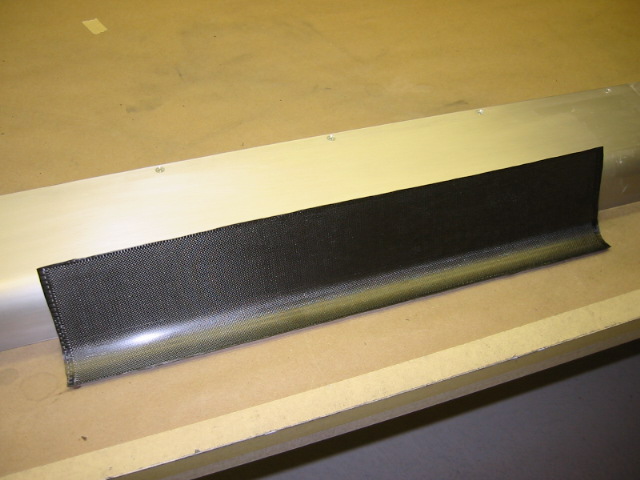
SAW boat built from bagged carbon:
Try it, I guarantee you’ll never use that “naturally occurring cellulose product” again!
Terry Keeley: Born and raised in Ottawa, Canada’s capitol.
Been messing with model airplanes and boats for 40 years and currently am a “heavy equipment operator” (Airbus pilot) with Air Canada.