Tech Article ...by Torstend Picard
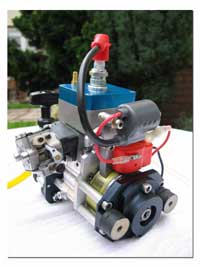
In this informative article, Torstend shows us how he converted a Quickdraw engine to counter-rotation!
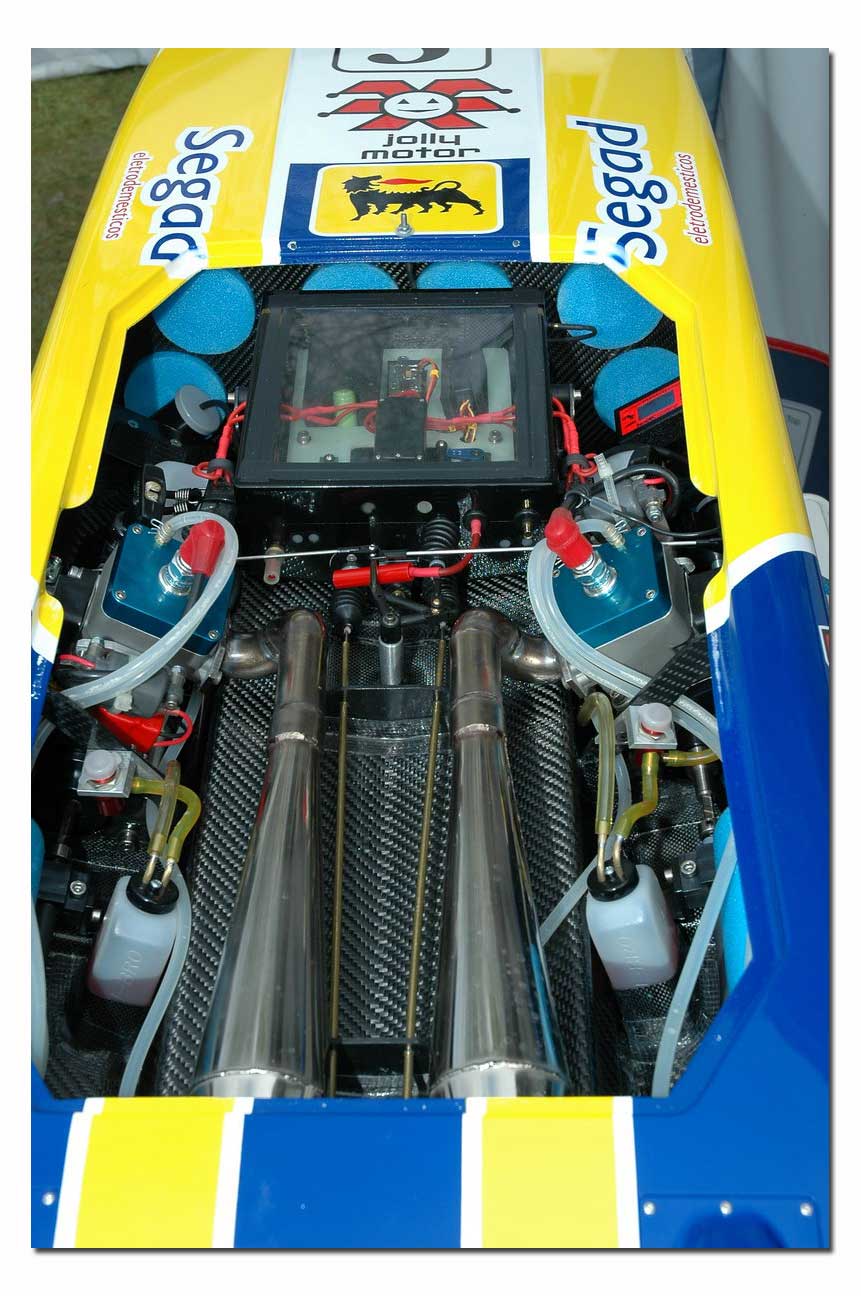
For my latest project, a 67’’ scale class-1 offshore cat, I wanted to use two QD-25cc gas engines but I wanted to have them counter rotating, so I had to convert one of my engines.
I didn’t want to change the rotation by modifying the engine; my idea was to rotate the whole engine. That meant installing a starter on the drive side and adding a flex coupling on the flywheel end.
First step: The new flange for the pull starter
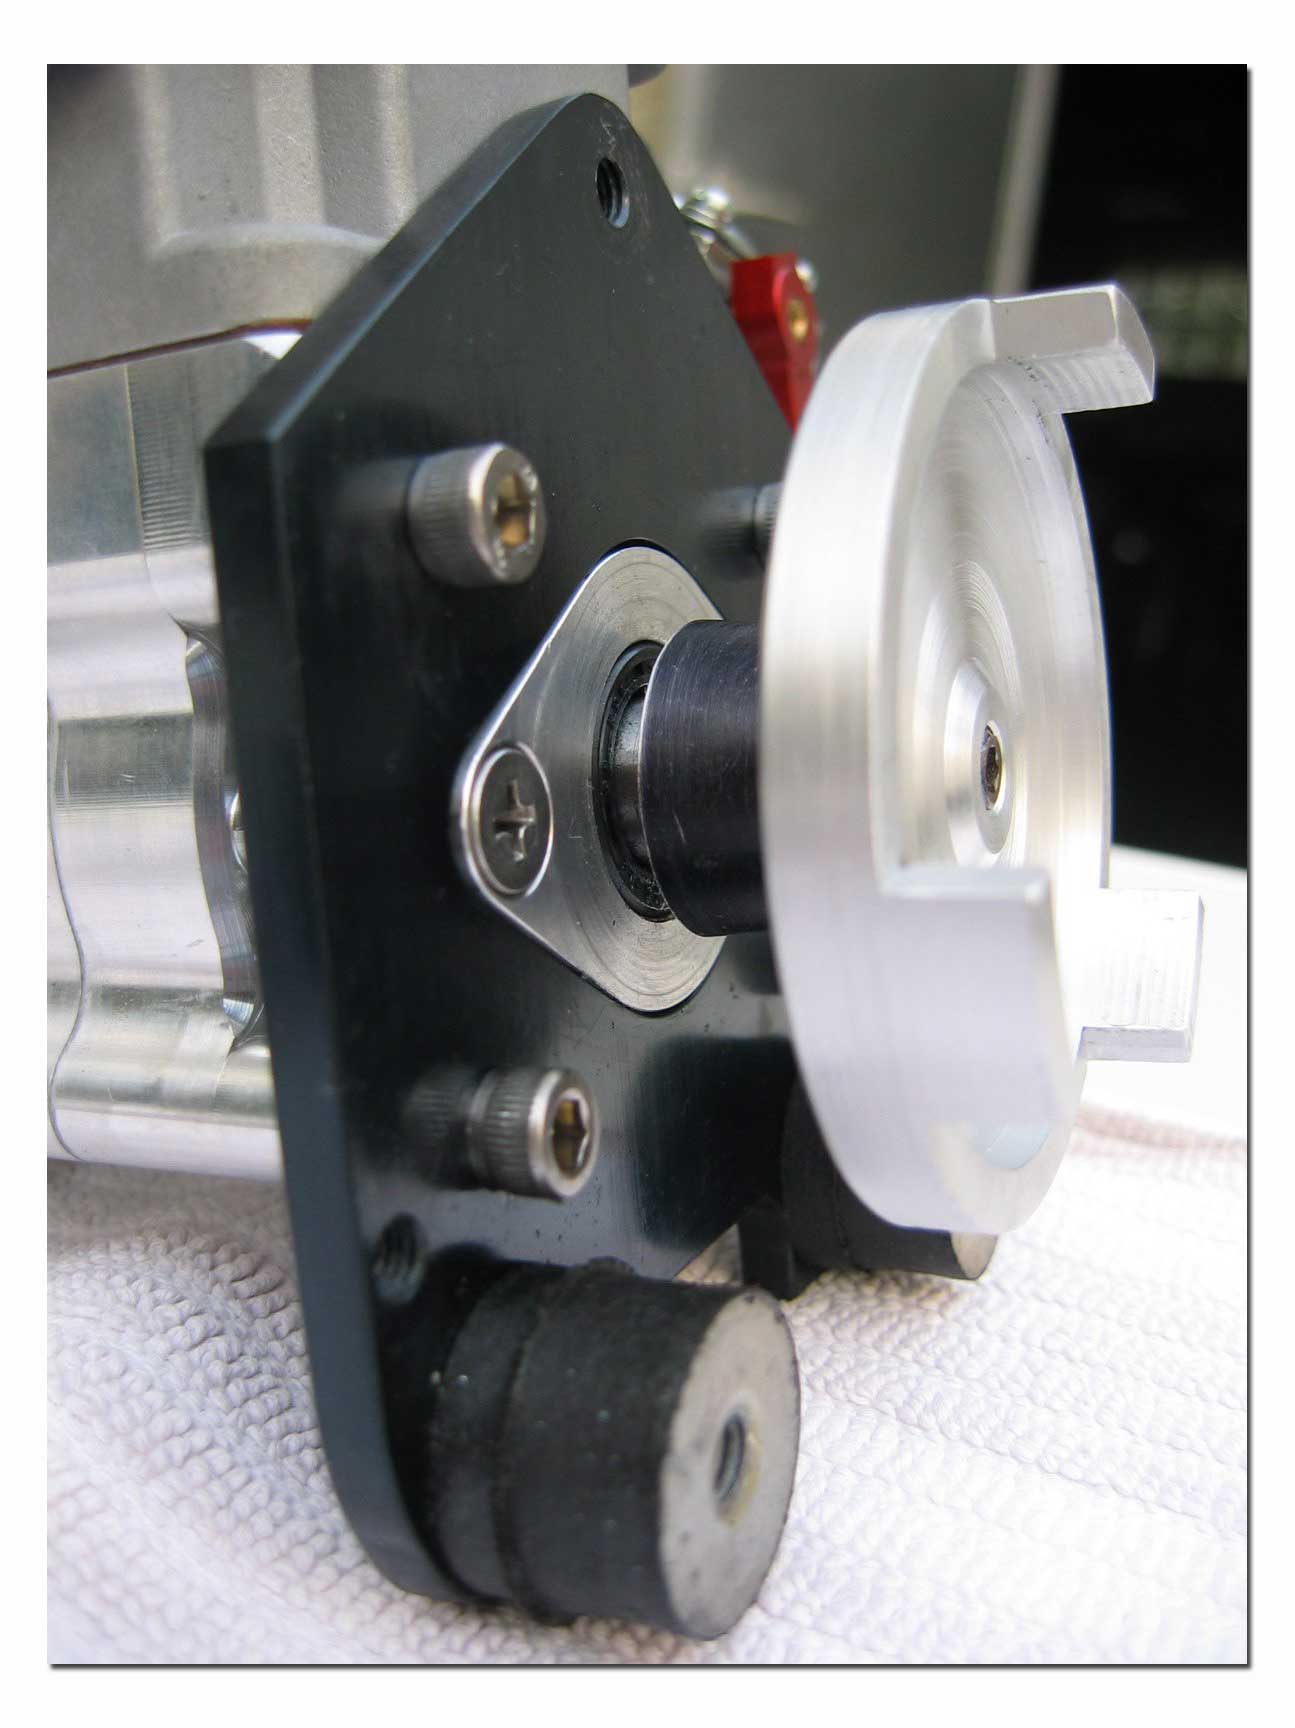 The 4-bearing QD has an additional flange for the front seal so I
made a special engine mount where this flange fits between. The mount gets all
necessary tapped holes to add the pull starter and the rubber mounts. It is made
from 5mm aluminum.
Second
step: The new flange for the ignition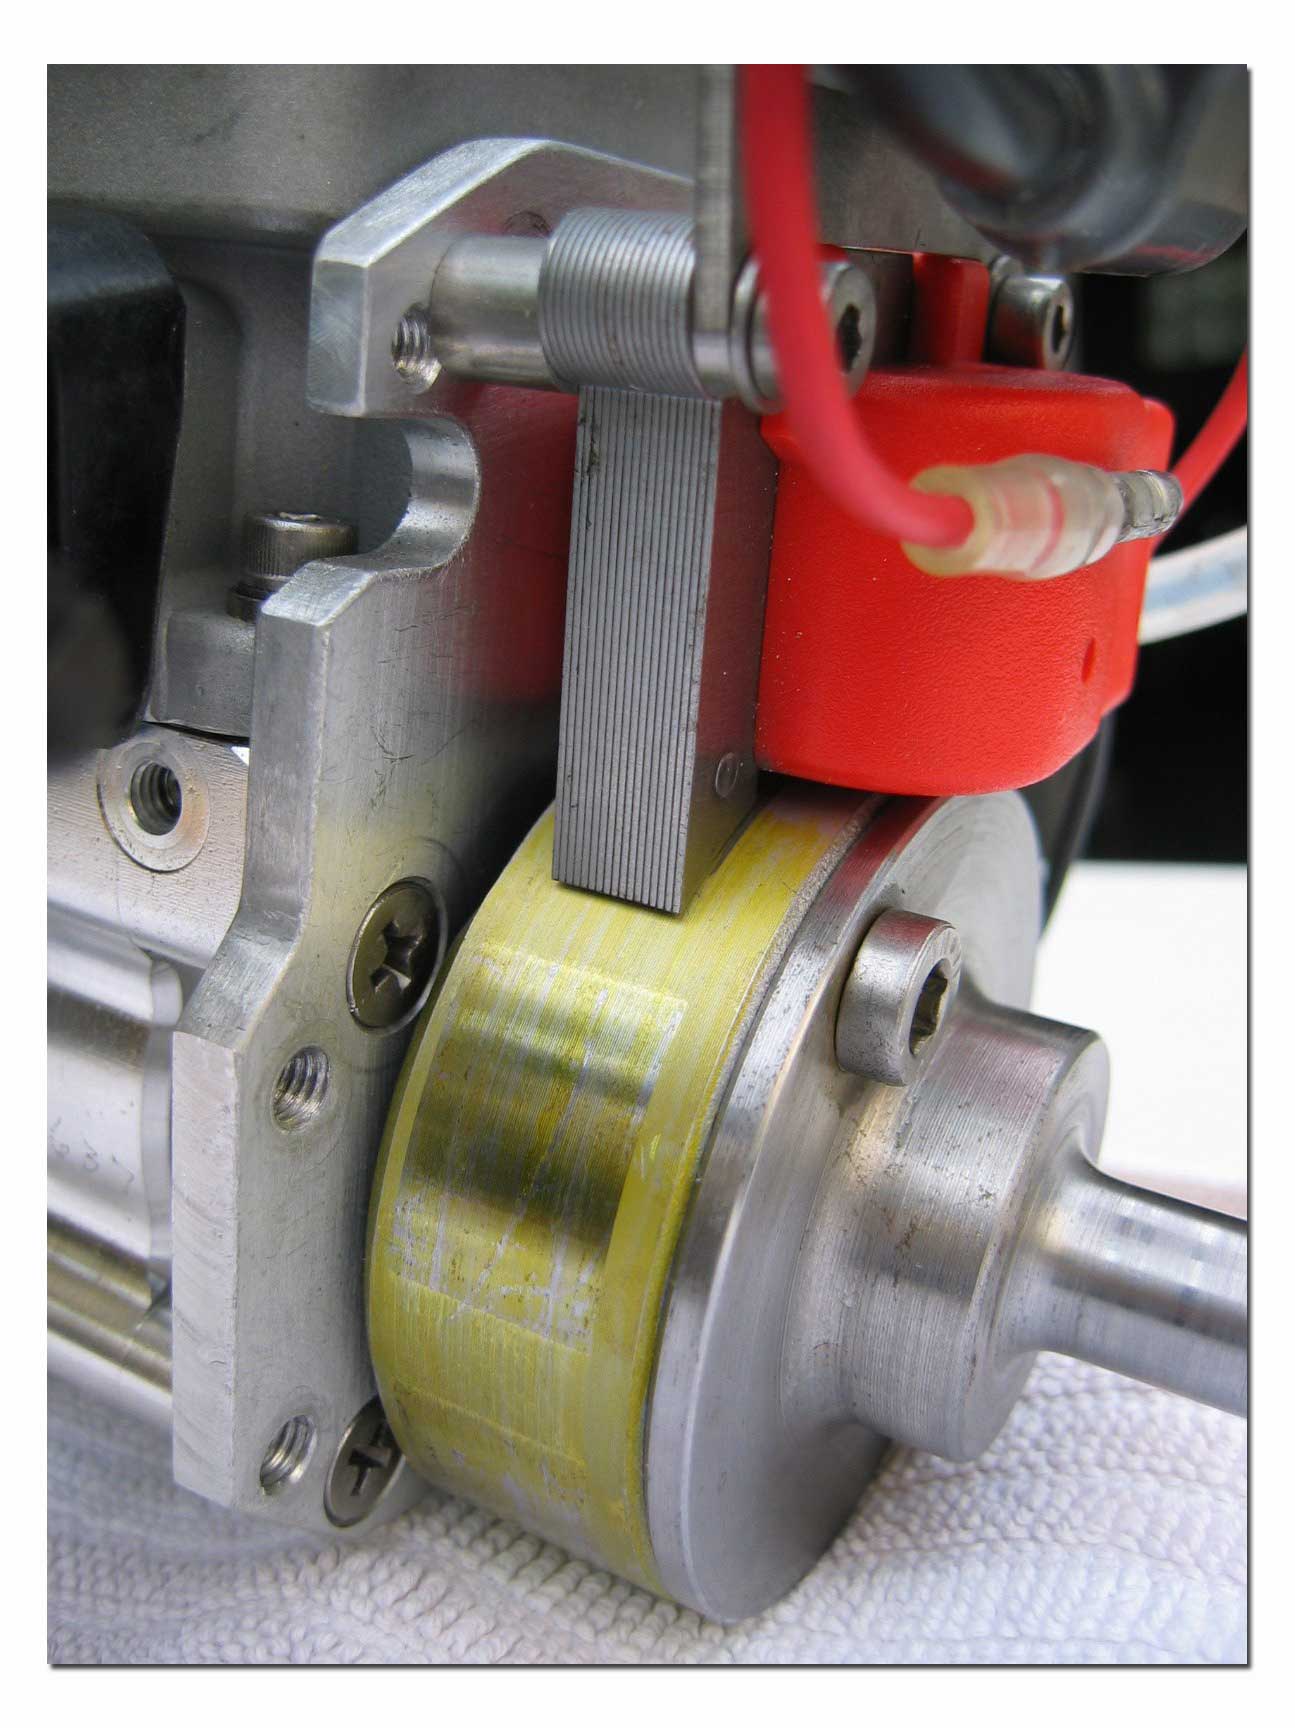
The ignition plate is completely new. It should be possible to use the original one, but I decided to make a new one. Most important step is to make the tapped holes for the red coil. They have to be placed very accuracy so that the distance between coil and flywheel is 0,3mm in all three possible positions.
On the sides there are 4 tapped holes to fix the mounting plate with some bolts.
Third step: Flex cable coupling
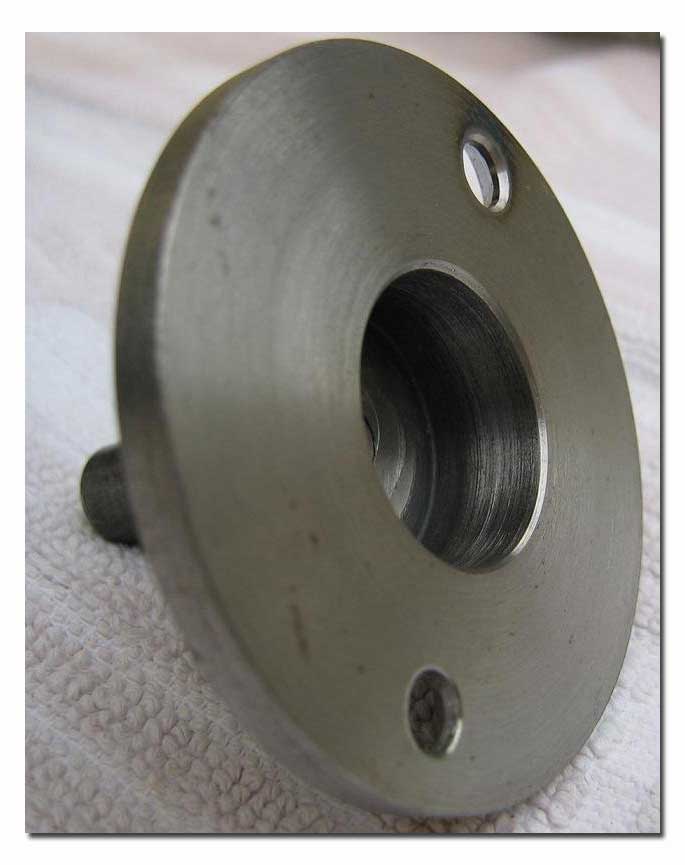
The coupling is made from stainless steel. It is bolted to the flywheel using the threaded holes already in the
stock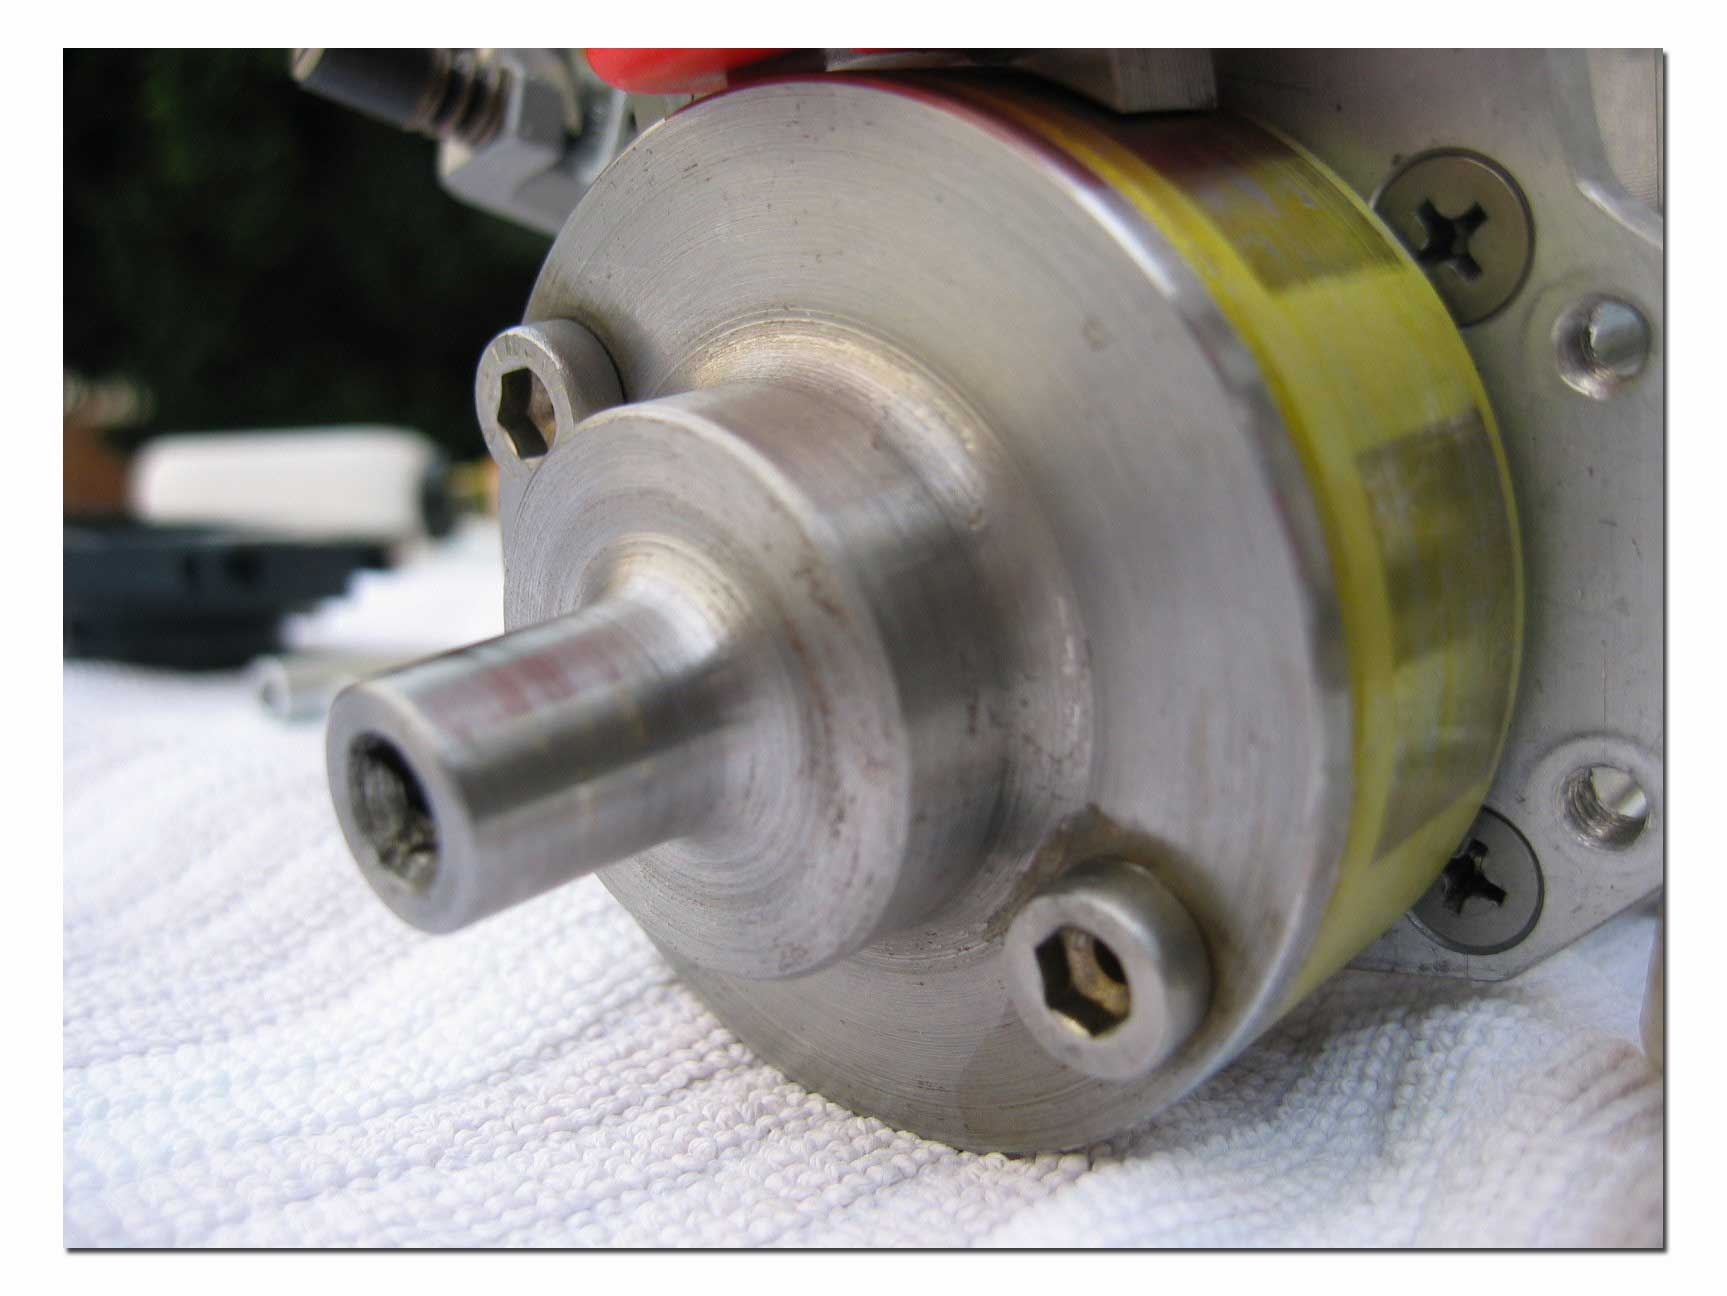 flywheel. The middle section is big enough to cover the nut that holds the
flywheel. For the flex cable I drilled a 5mm diameter hole and formed the square
hole for the square end flex cables with a special countersink tool.
Fourth step: Engine mount on the ignition side
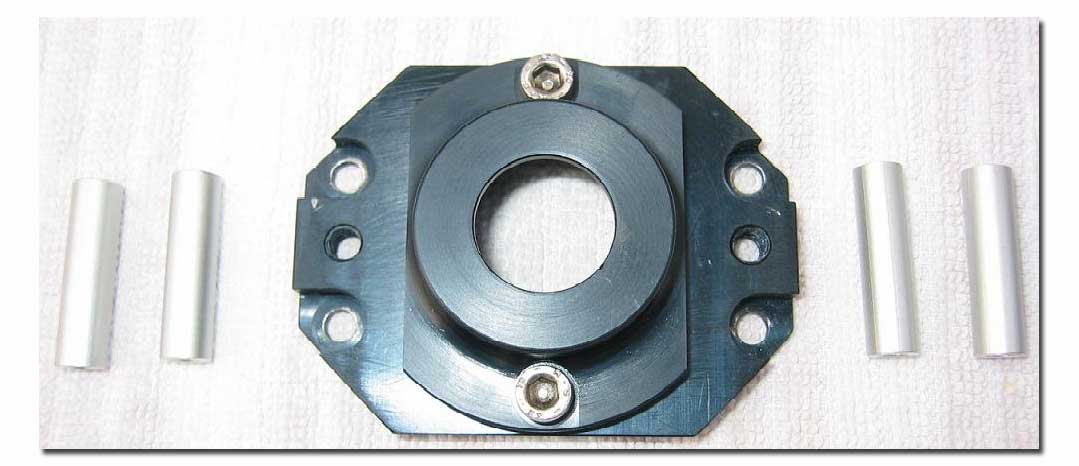
The mounting plate is made from aluminum. It is fixed to the ignition plate by using 4 distance bolts. Between the bolts there is a tapped hole on each side for the rubber mounts. In the middle there is a hole that is big enough for the flex coupling. Above and under this bore I placed 2 tapped holes to fix the additional bearing plate.
The top side of the engine mount is milled down to allow a trouble-free mounting of the red ignition coil.
Fifth step: The bearing plate
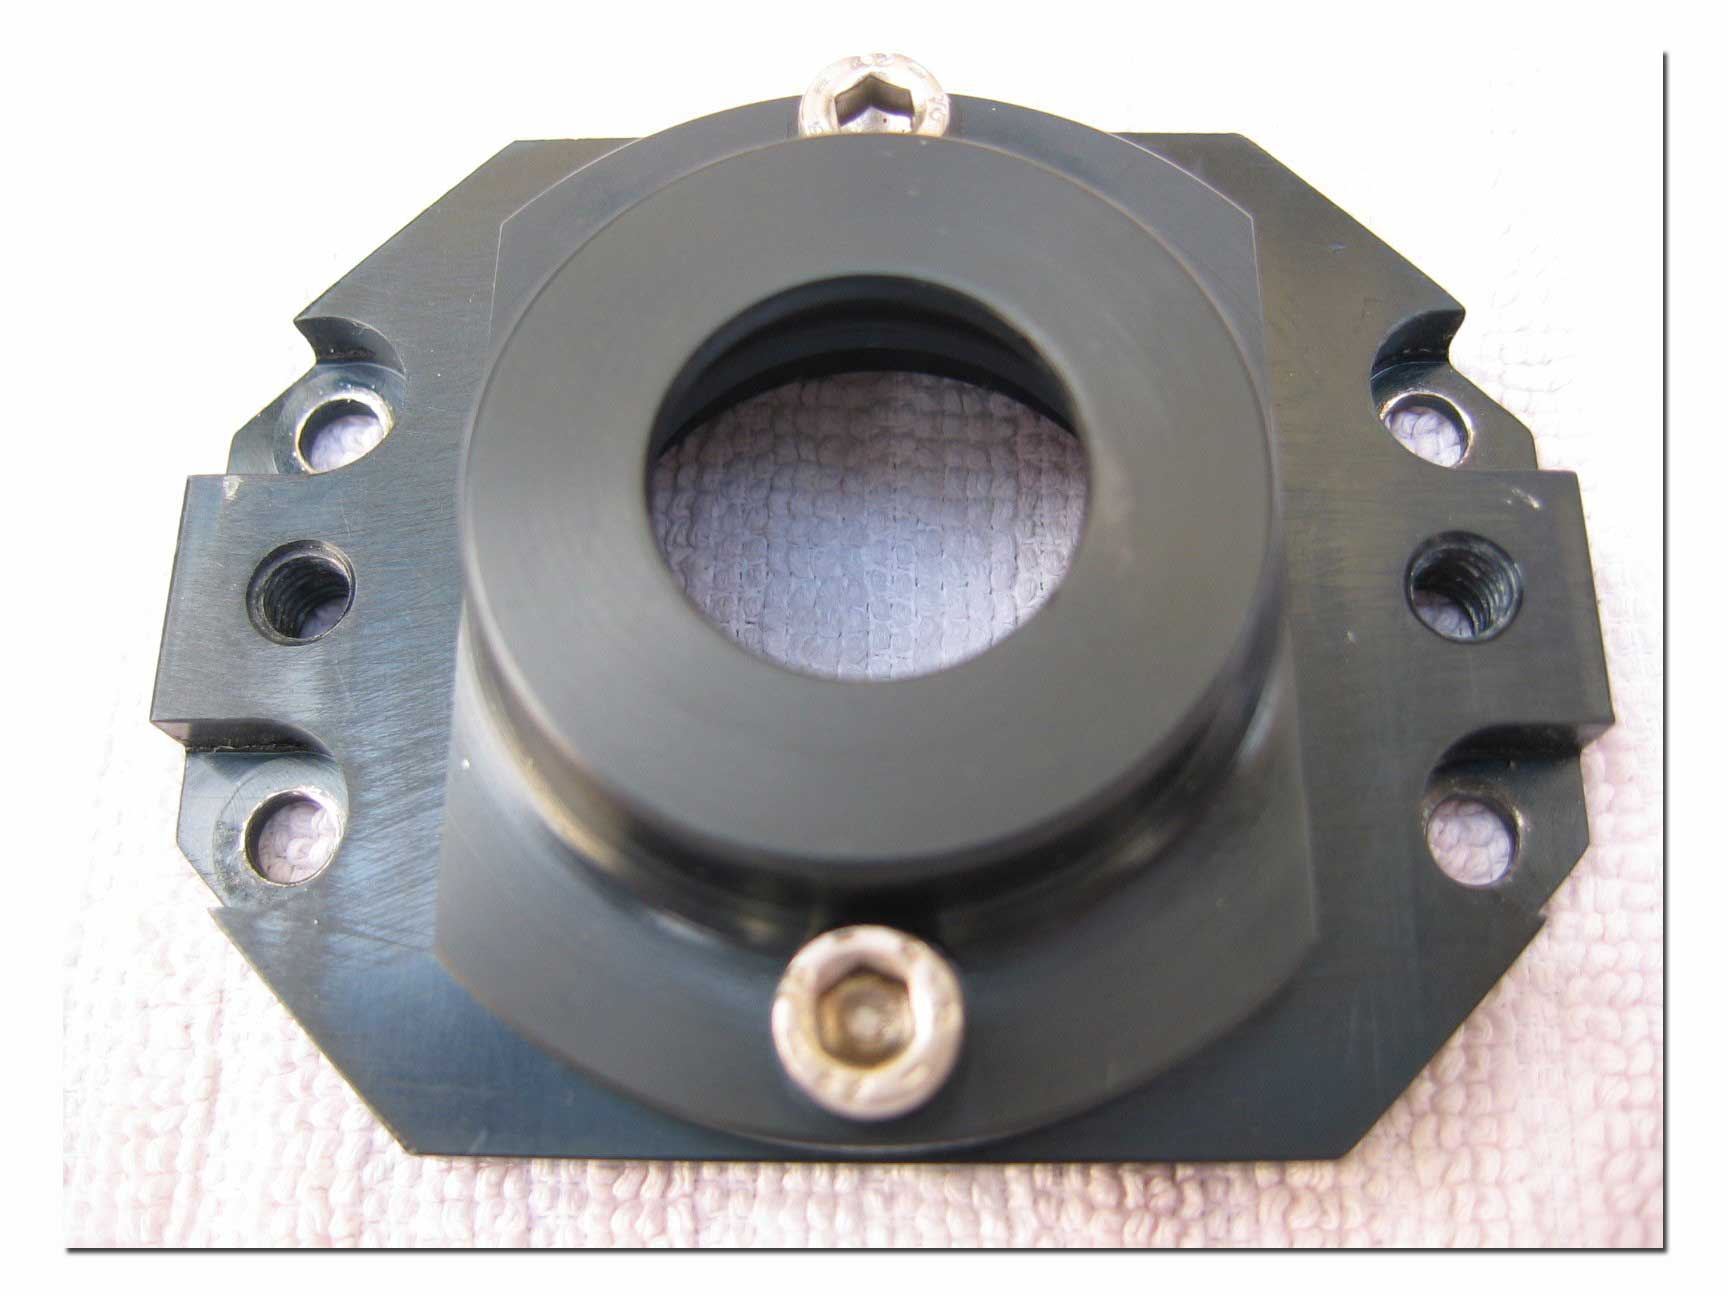
This is perhaps the most important part. If you check the distance
from the flex coupling to the outside bearing of the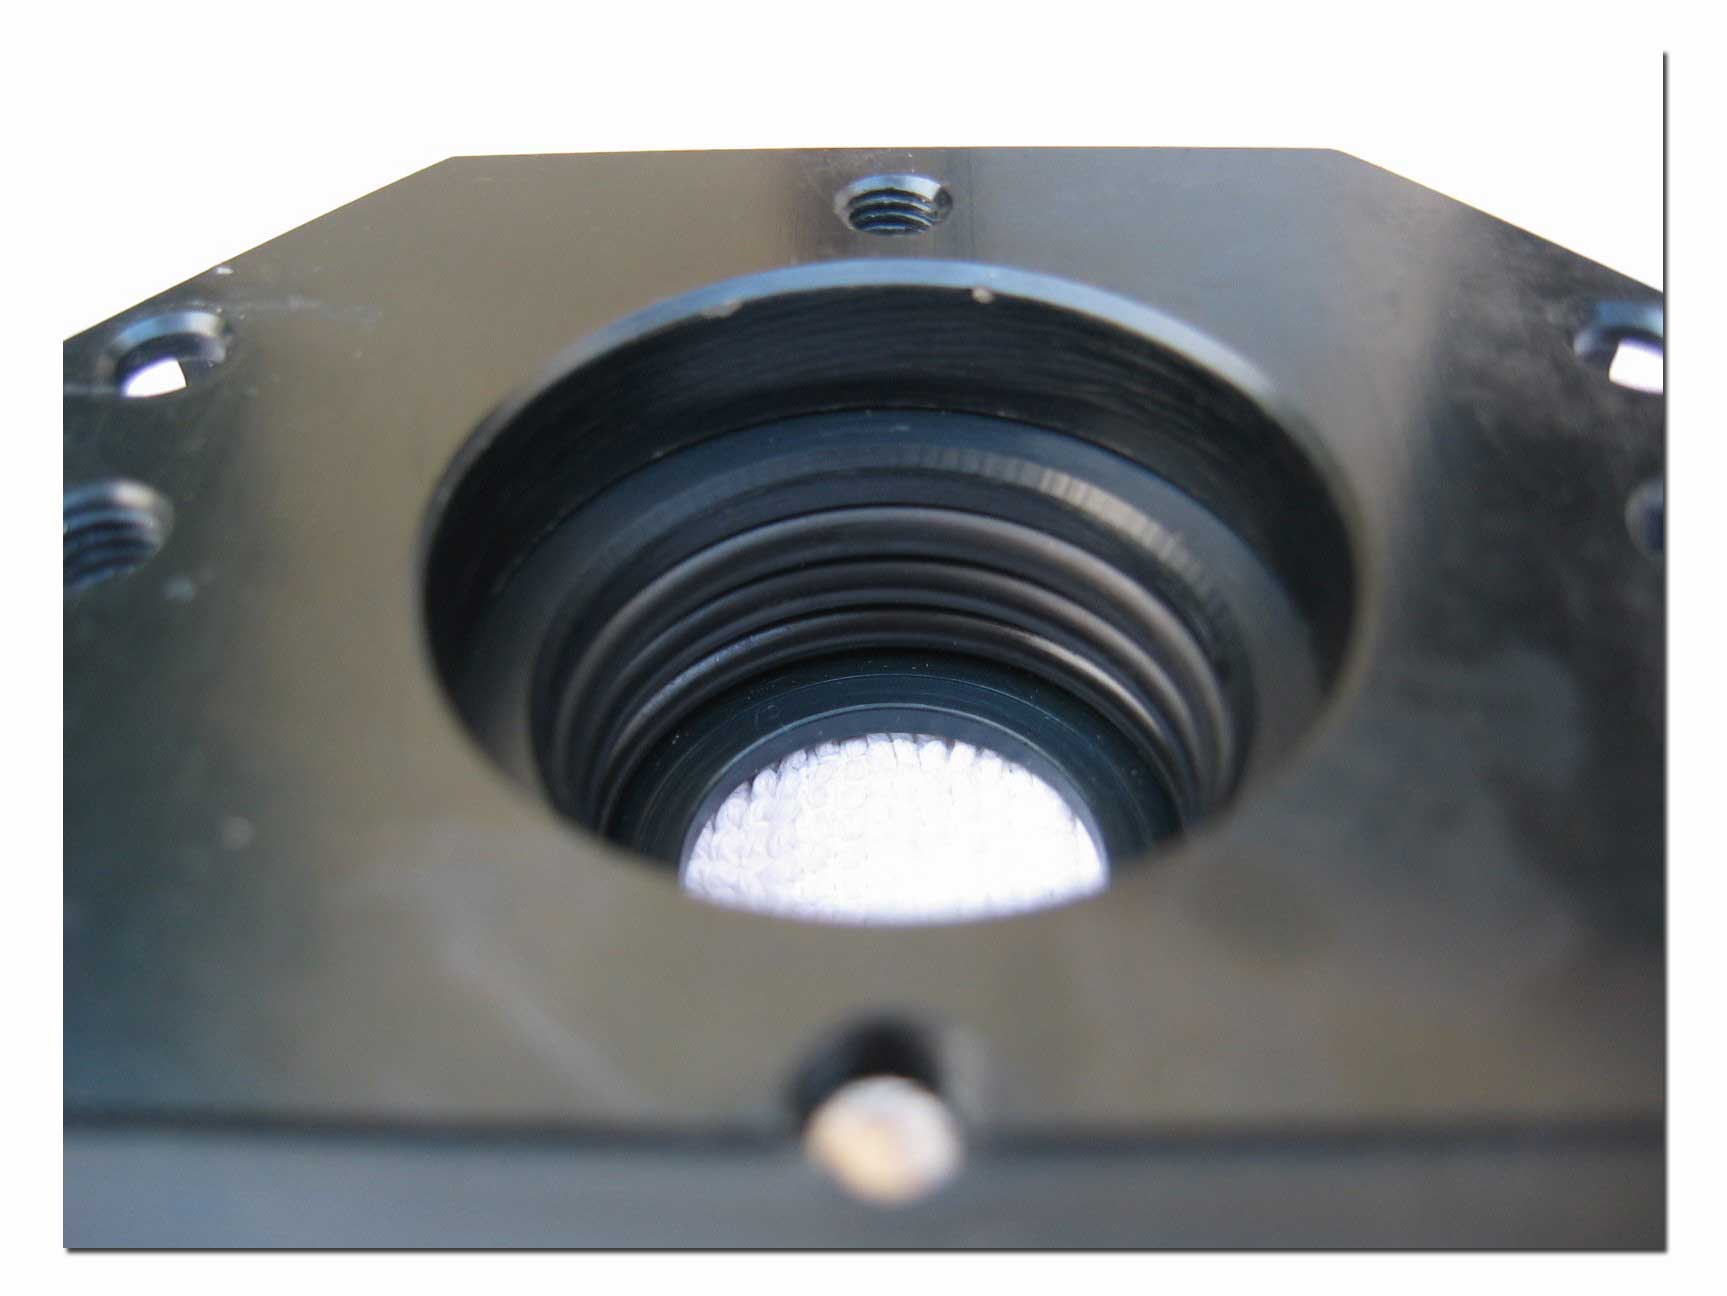 engine you will note that
the distance is much greater than on the standard rotating engine. To reduce the
possibility of an unbalanced crank on this side the flex coupling runs into a
bearing of it’s own.
The plate is also made from aluminum and is fixed with 2 screws to the engine mount. For the bearing the plate got a hole with 20mm diameter that is widened up from the engine side up to the diameter of the bearing. Inside I added 3 slots for rubber o-rings. The bearing fits, with a little bit of pressure, exactly inside these o-rings. The o-rings are necessary because no crankcase is balanced to perfection and this reduces some bad vibrations.
Sixth step: The counter rotating pull starter
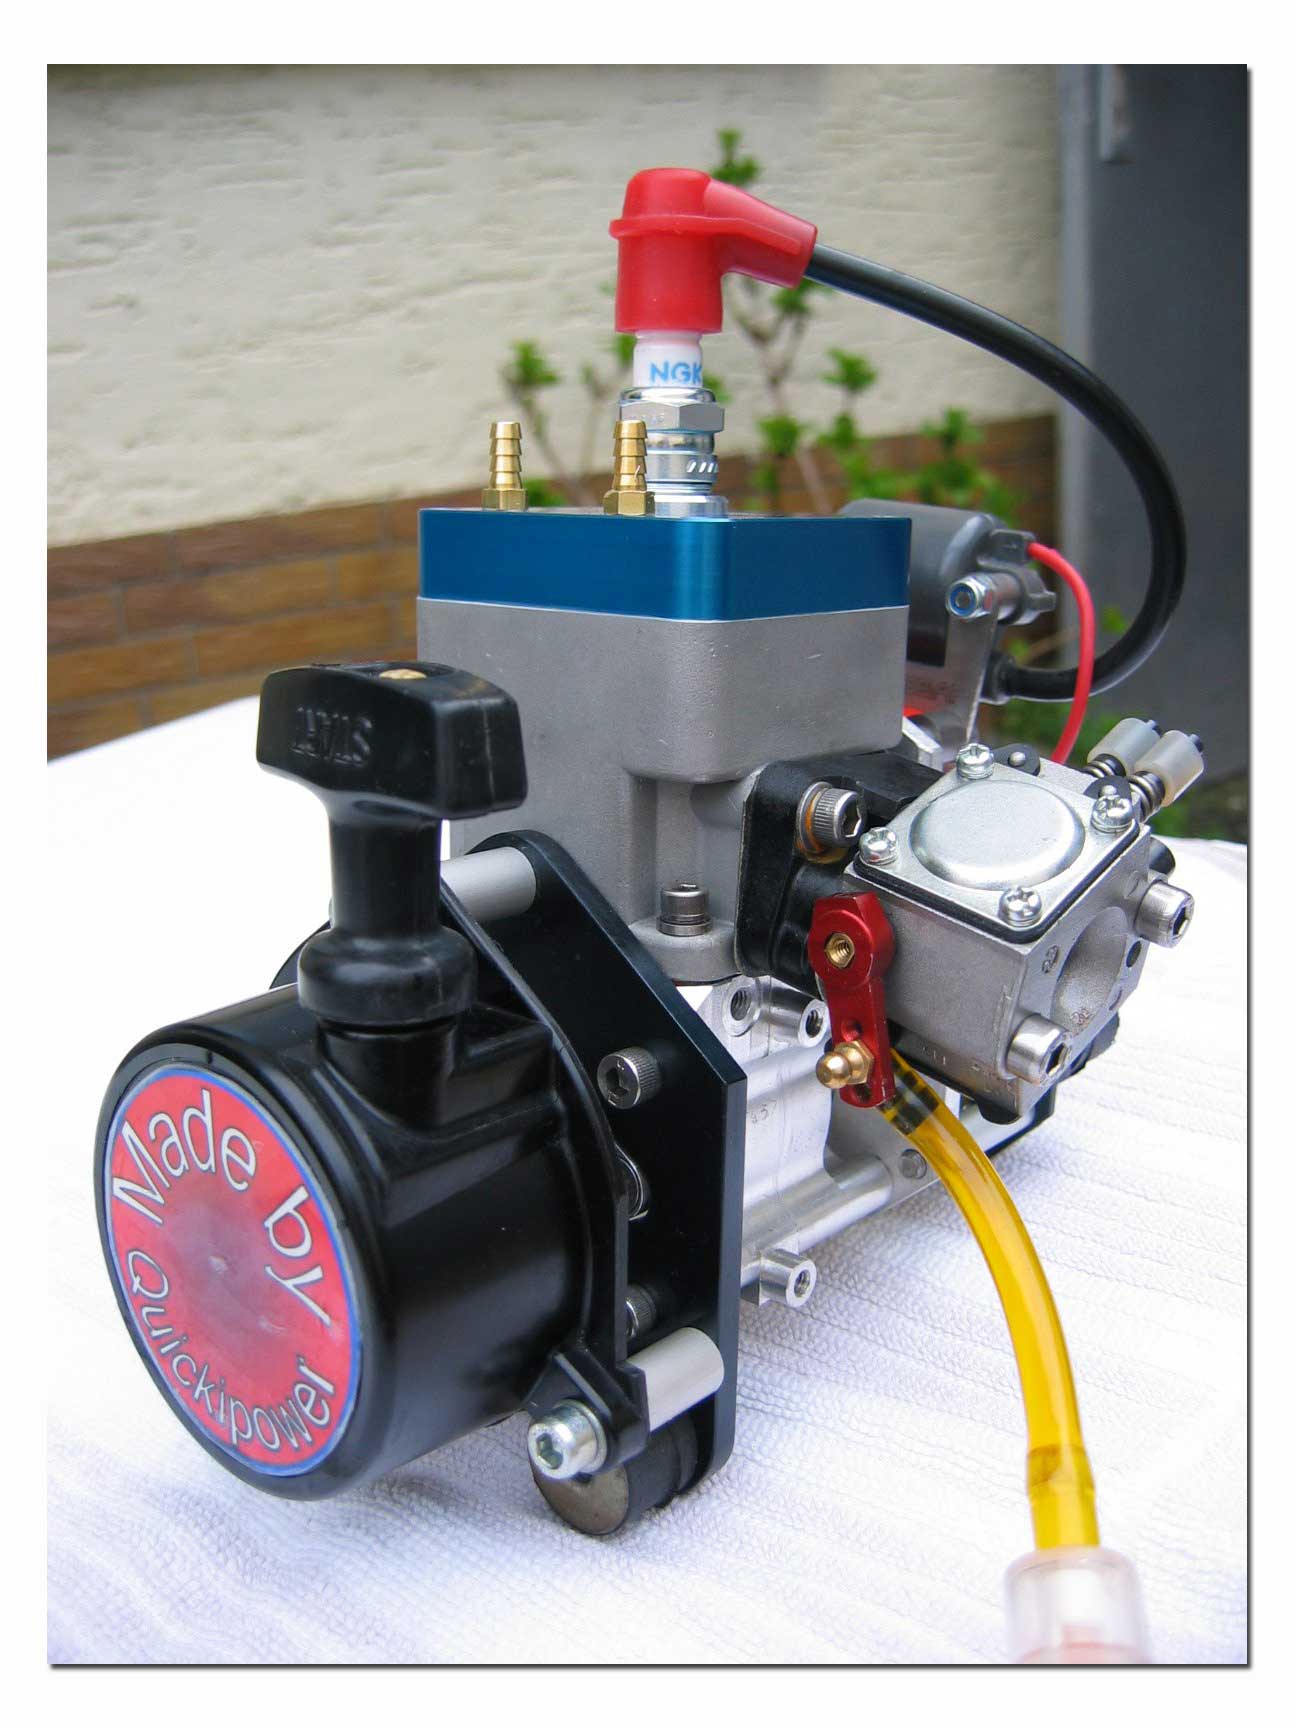
For starting the engine from the original front side you need a
counter rotating pull starter. I found them at the STIHL shop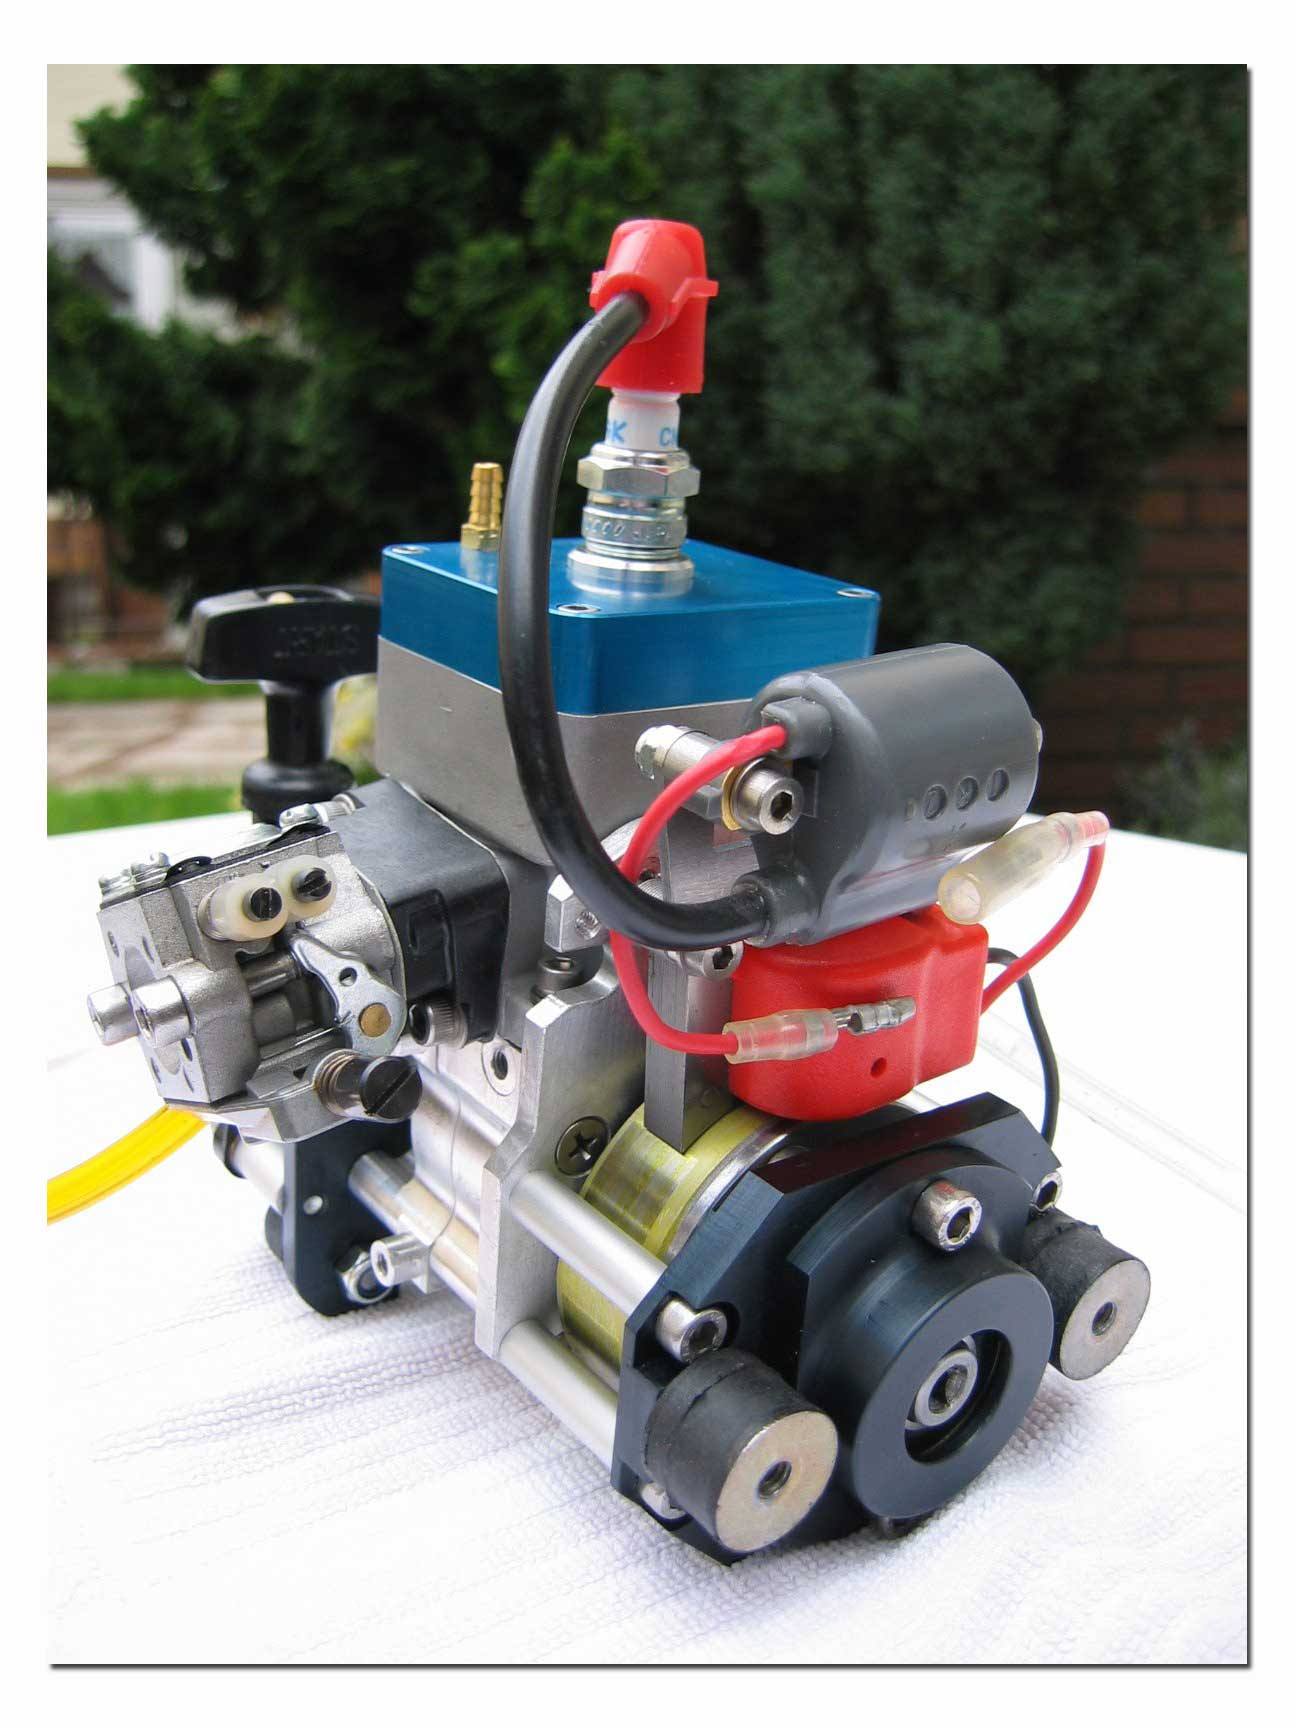 (replacement part
for chain saws). The starter is mounted to the front engine mounts by 3 distance
bolts. The starter dog is made from aluminum and is fixed to the crank with an
M6 screw. I added some Loctite 648 to prevent loosening of the starter dog.
After adding the rubber mounts and the grey ignition coil, the engine is ready for installing inside the boat. The engine rails inside the sponsons are made from carbon.
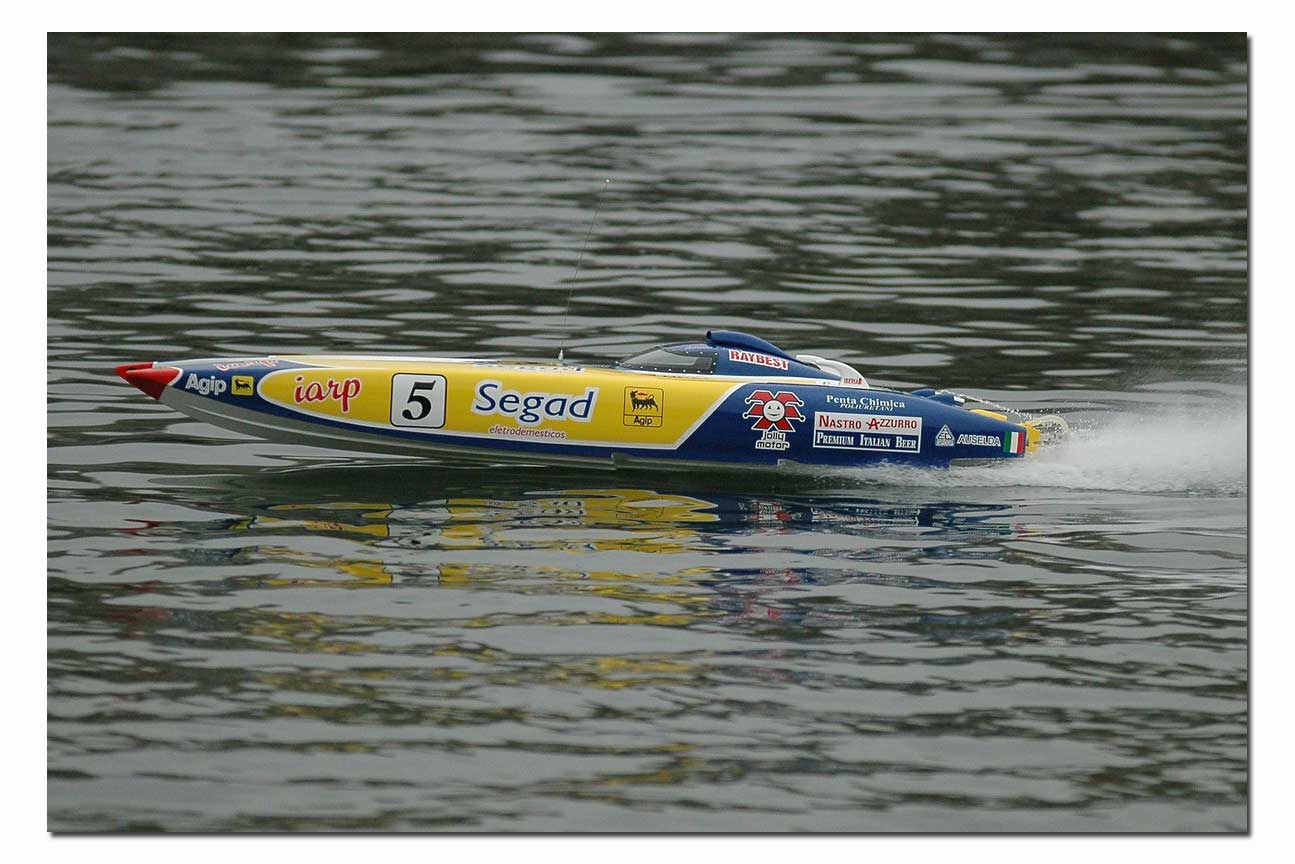
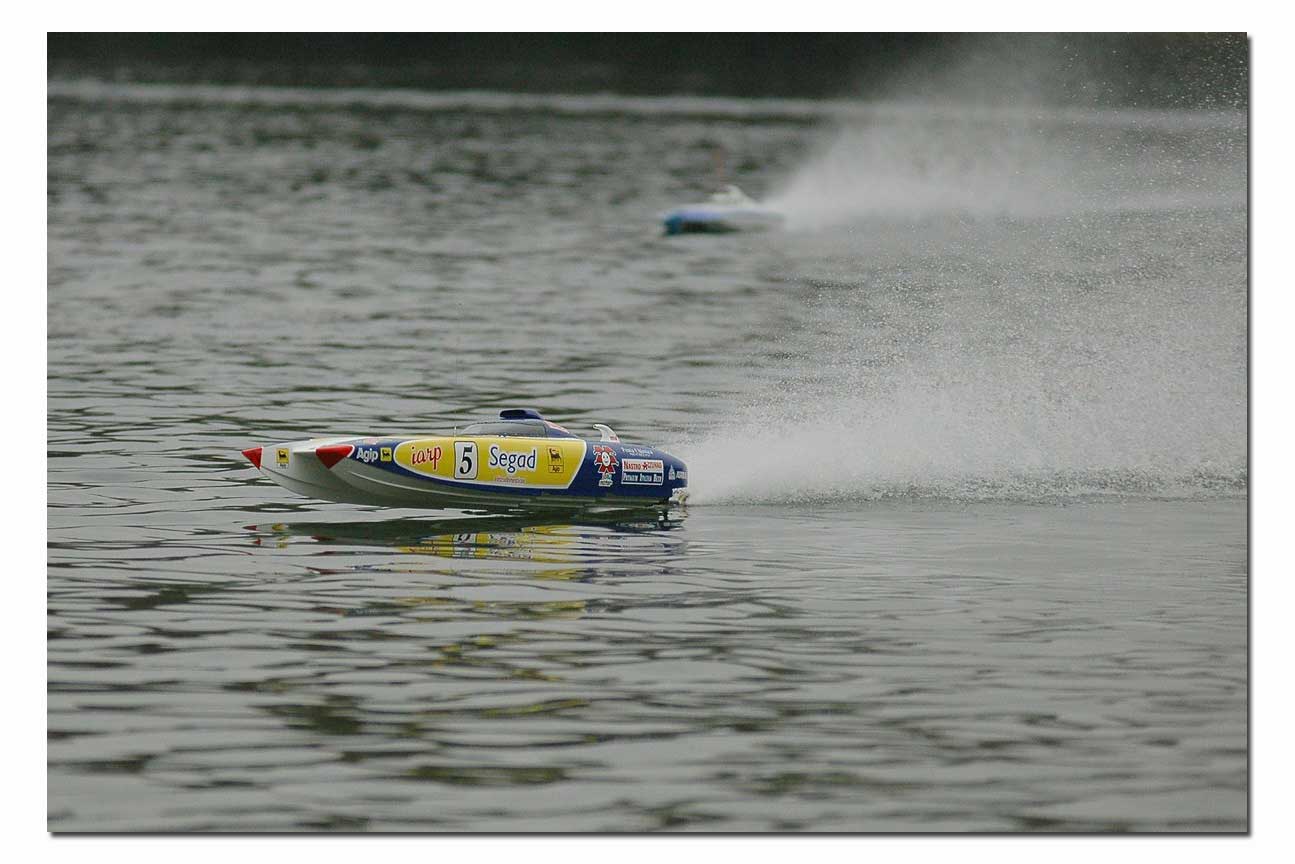
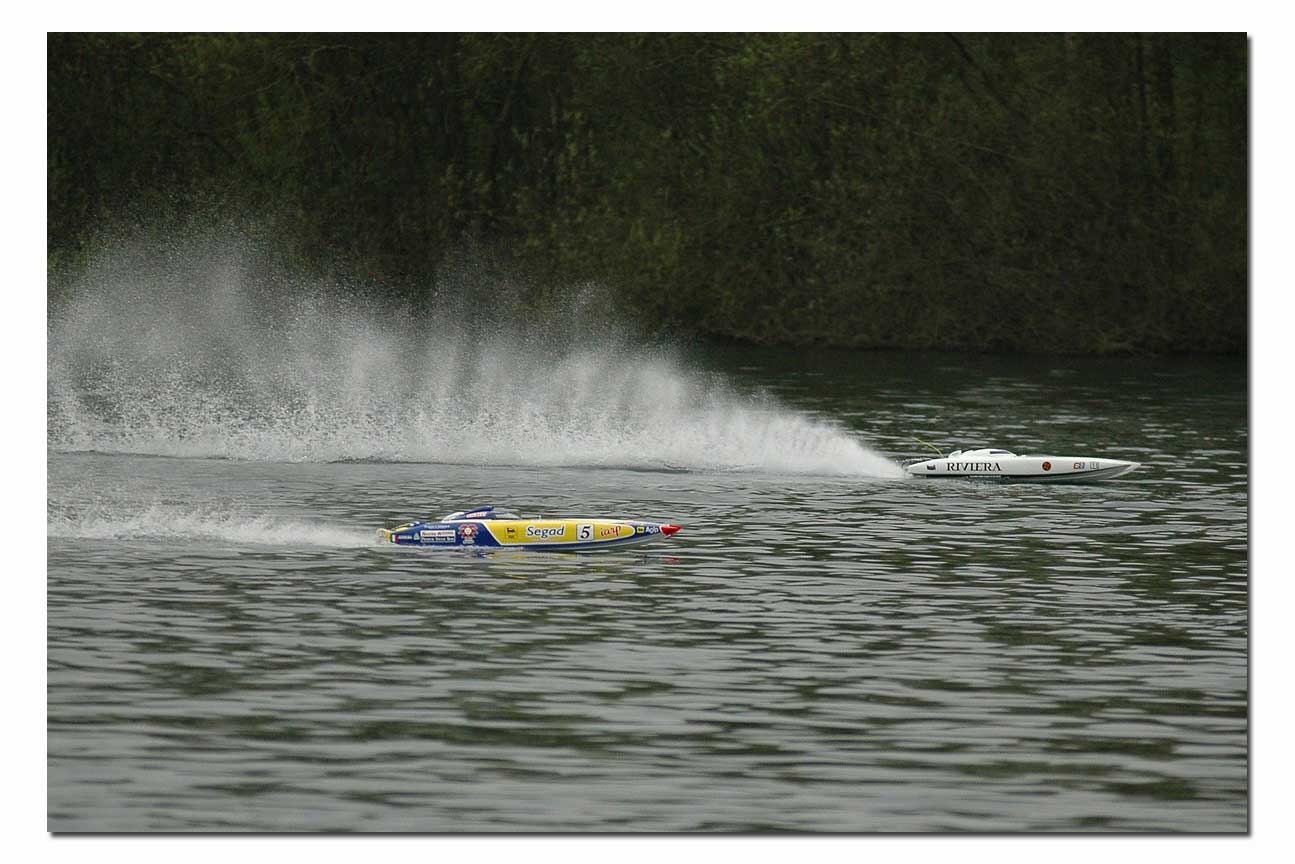
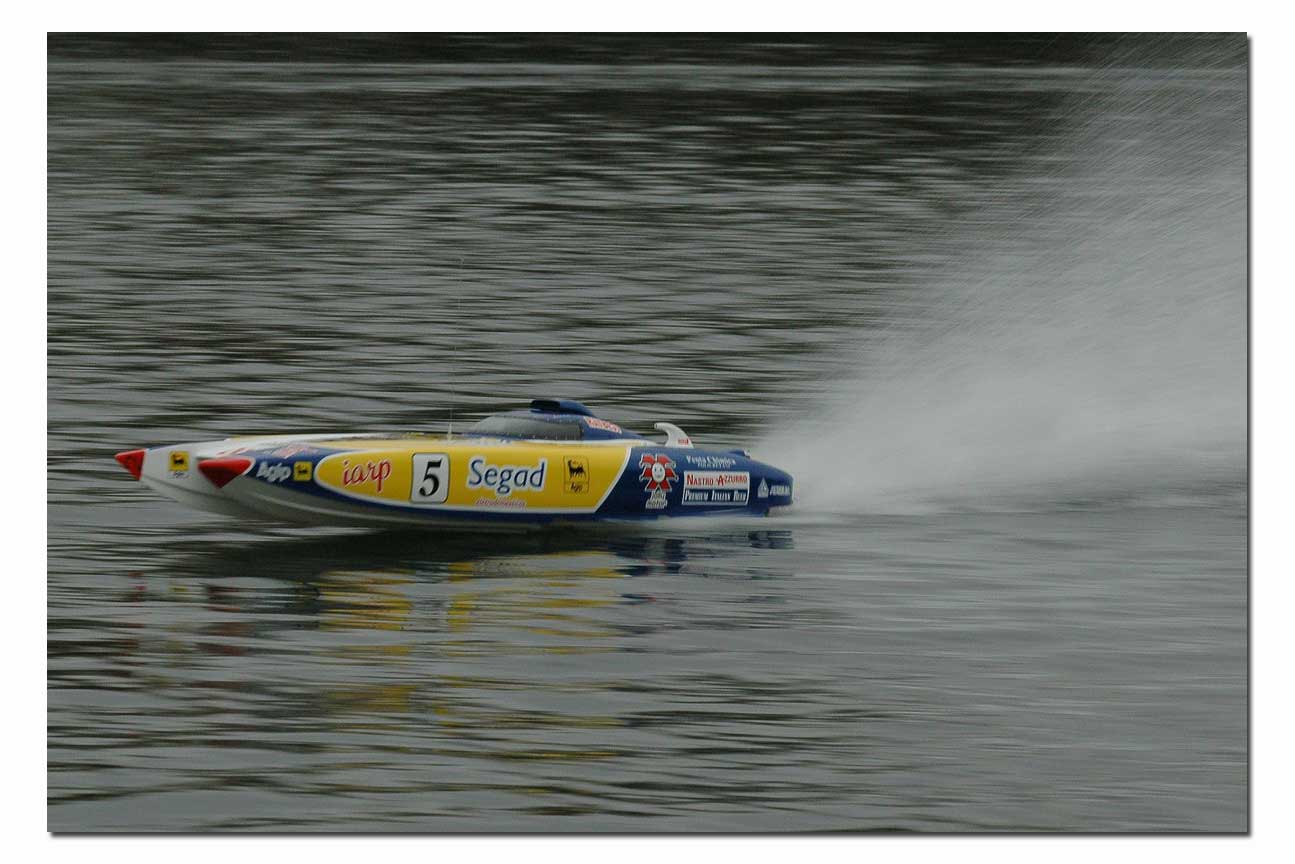
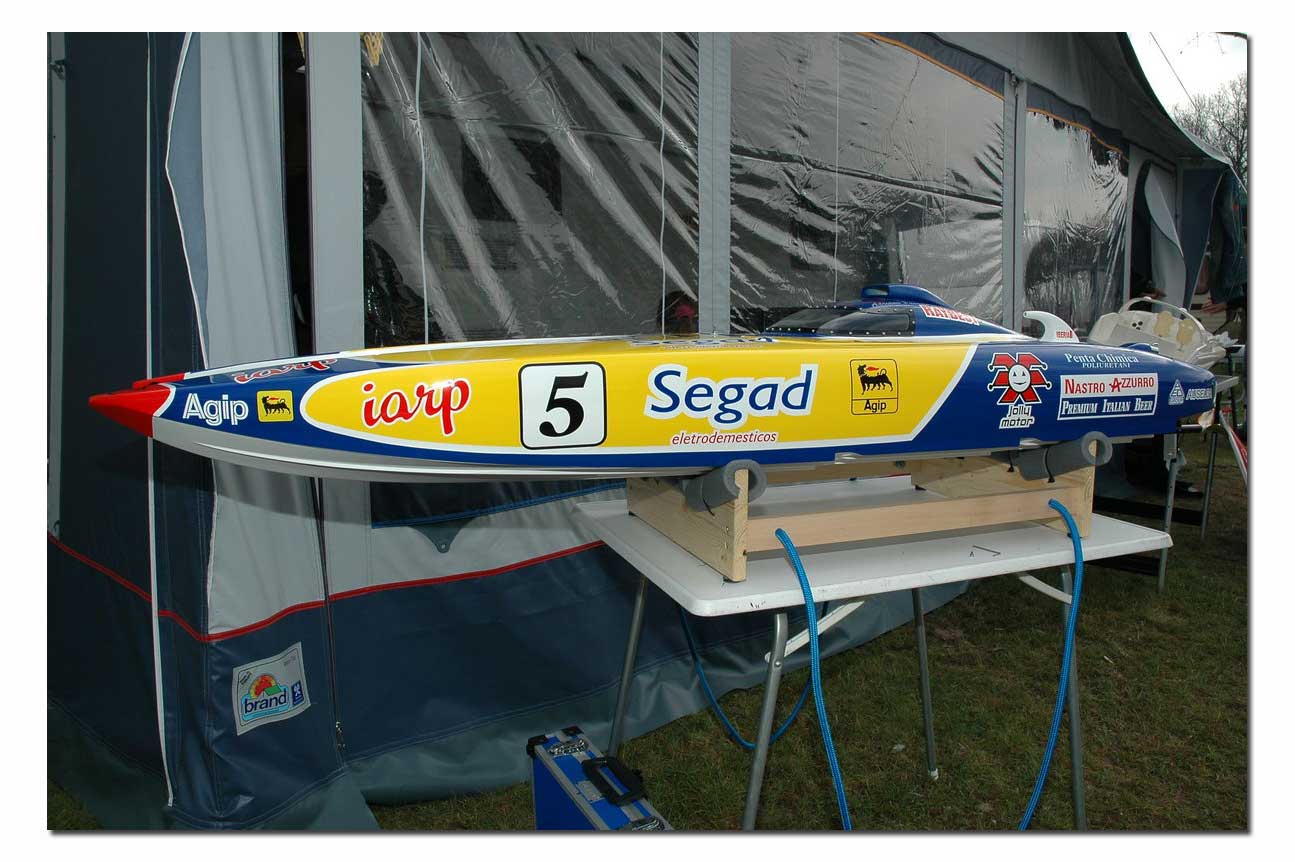
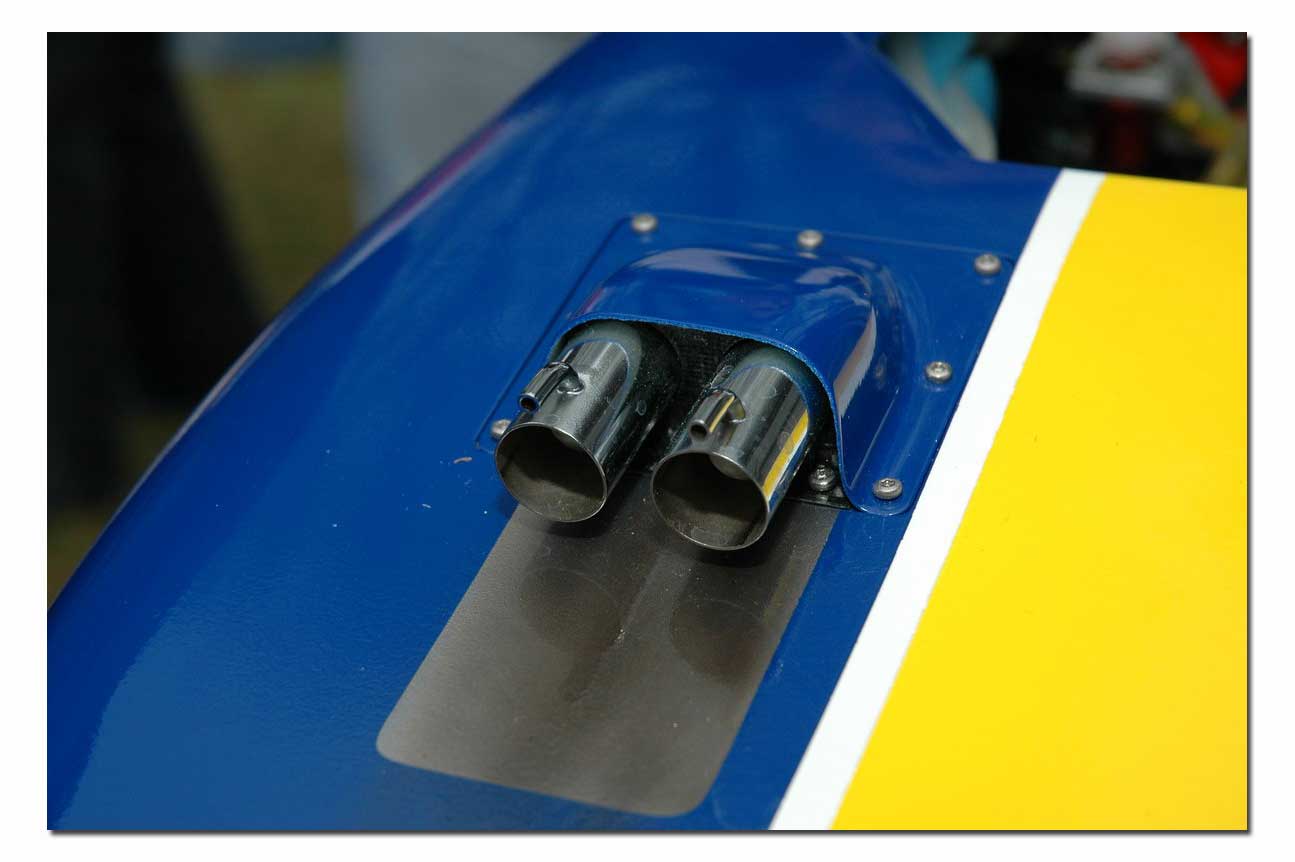
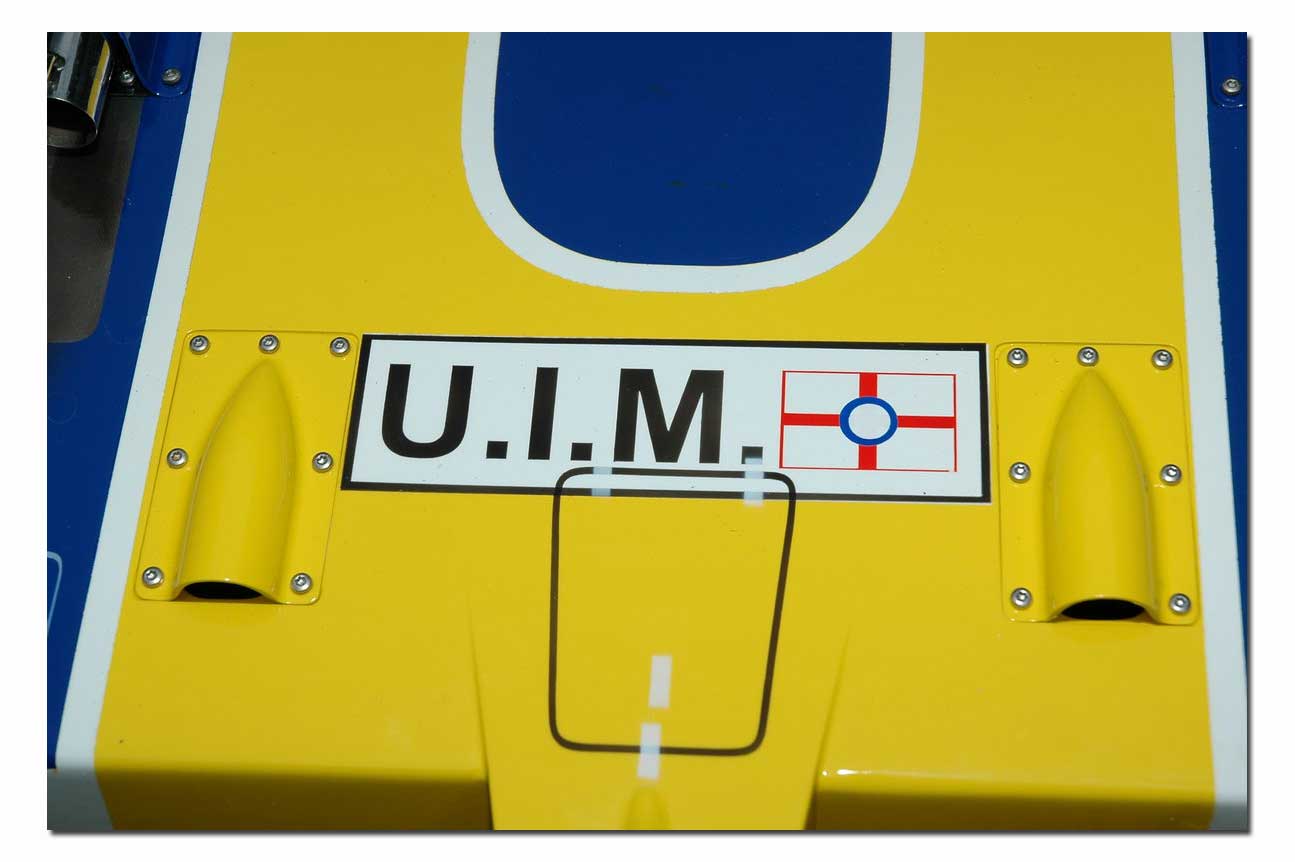
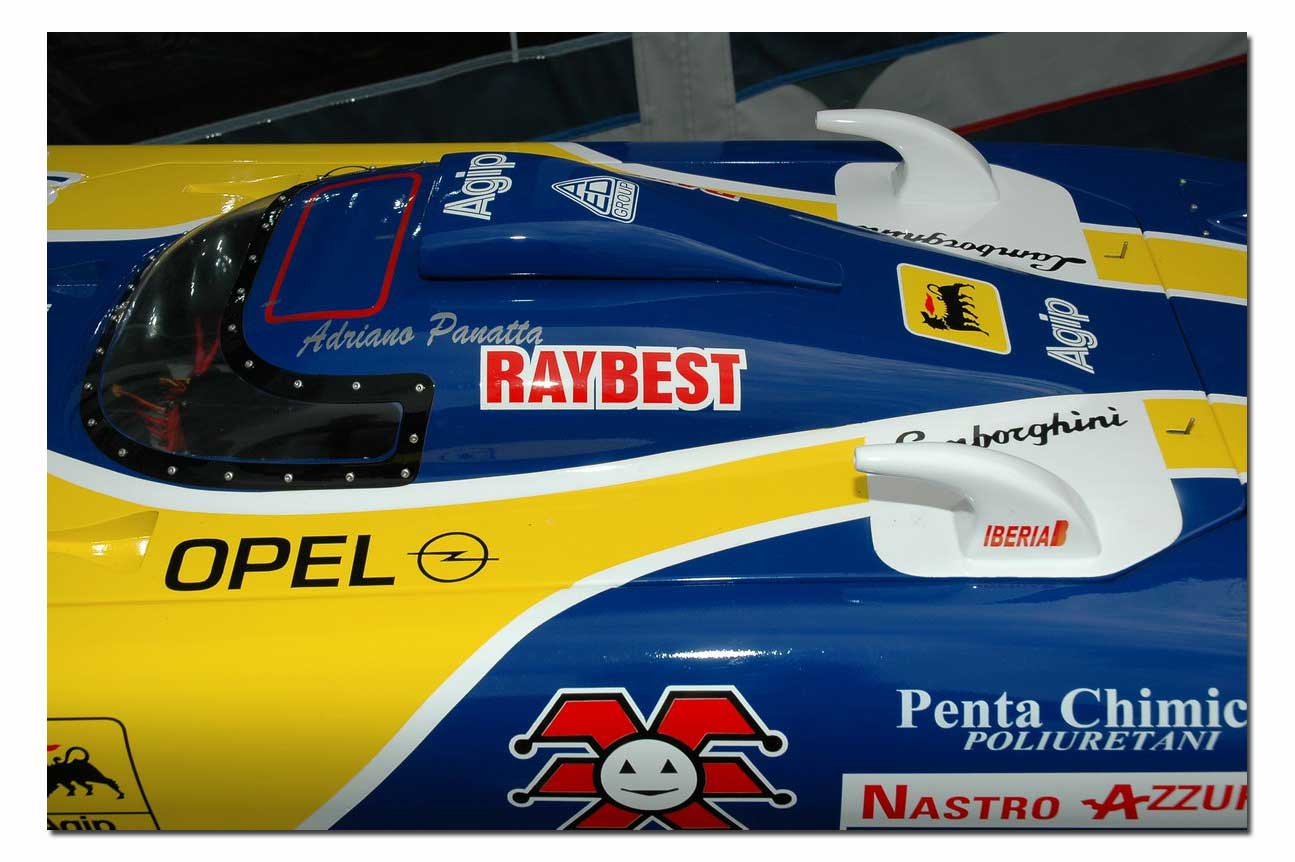
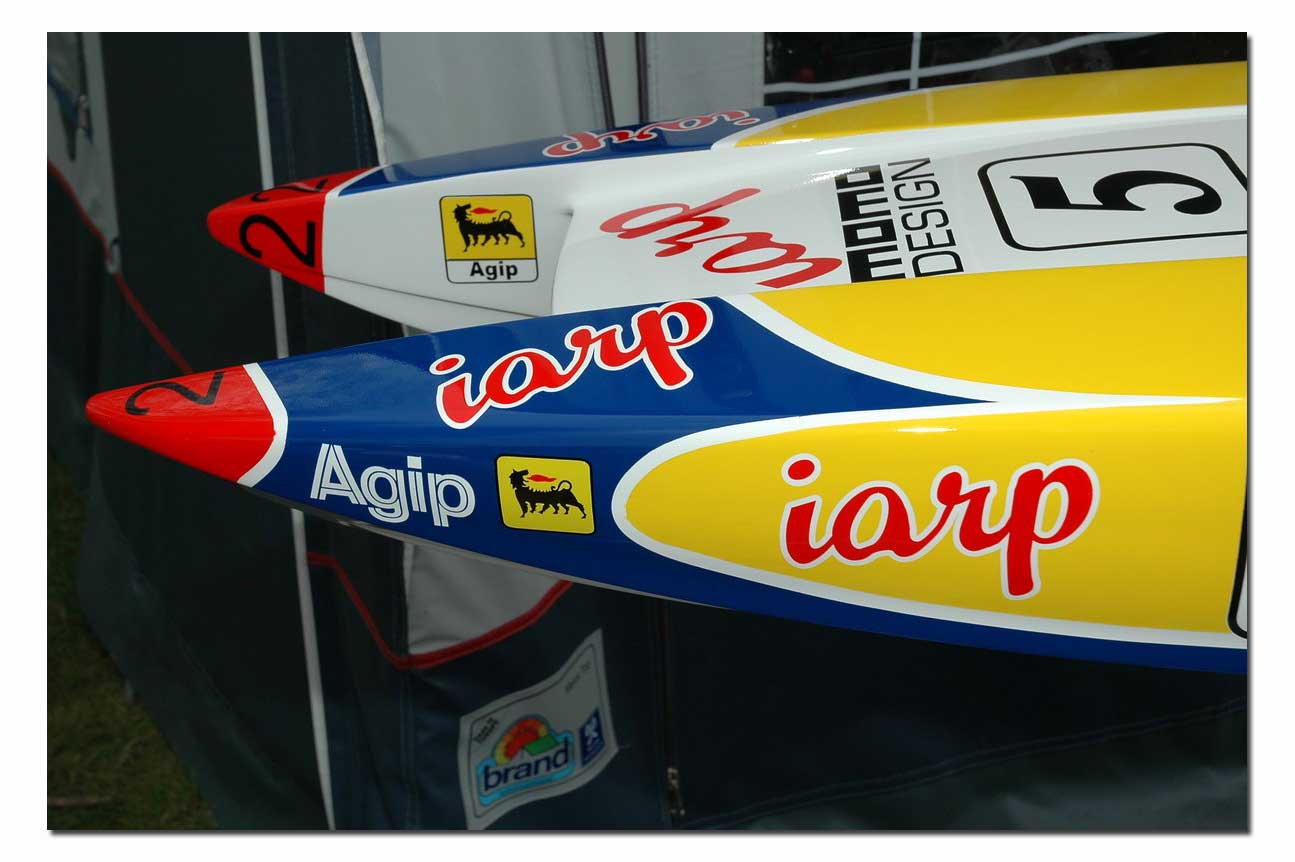
But this is another story… So just enjoy the pics of the complete boat. BTW: This boat is designed completely by paintbrush, no stickers or decals!
