Tech Article...by Scott Schneider
Learn how to do a modification on a "Bored Out" big bore carburetor for consistent performance and reliability...
In the 20+ years working as a commercial small engine mechanic, a fellow shop owner and I built competition racing chainsaws as a side business. In doing this, the designs and specs on the parts changed a bunch. Carburetor issues were a huge hurdle to overcome when we tried to achieve maximum CFM while maintaining correct mixture control by opening up venturi bores.
Part of this learning process was trial and error with a quite a few trashed carburetors as a result.
The operational fundamentals of a "Pumper Carburetor" had to be completely understood. Those teachings and understanding came from years of collaboration between service/technical personnel from the Walbro Corporation, Husqvarna, Stihl and many others.
The explanation...
So we enter the realm of performance "Big Bore" carburetors that are further modified by some who have the best of intentions, but fall short of understanding what they get from the modifications done, other than a higher CFM flow rating. In other words, what they can disrupt in their quest for getting the higher flow rate by doing the Bore out & Intake bell modifications the way they do.
For quite few years now I have applied versions of this modification to help any carburetor that has its HIGH speed fuel delivery port in a less than optimal position for high rpm use.
"Pumper" carburetors by design are basically metering devices that sense the pressure drop within their throttle bore/venturi. As fuel gets drawn out by the pressure drop of air being drawn through the bore/venturi, fuel levels drops within the metering well and is then replaced by the fuel pump as the inlet needle is lifted by the descending diaphragm.
* The High speed circuit being the MOST important in terms of a stable flow of fuel is also the most sensitive to an inconsistent vacuum signal.
Bored carburetors are sometimes being modified in such a manor that the intake bell shape and the reduction in diameter moving down into the carburetor's bore is moving the apex of the venturi further inward, going deeper than the high speed fuel delivery discharge port. (The APEX being the point at which the intake bell reaches MINIMUM diameter, thus creating the actual venturi).
In such a shape the low pressure created by the venturi falls downstream of the delivery port. While the pressure in general is lower than atmospheric pressure near the venturi, the High delivery port still delivers fuel as it should, just without much constancy relative to being placed at or slightly behind the apex.
*This information is being shared due to so many variables in the way some have gone about creating a "Big Bore" modified Carburetors.
While this MGB article has some meat and potatoes "How-to", whether or not it applies to a Big Bore carburetor you may have needs to be determined by a few simple measurements and visual inspections.
Carburetors that I have seen and reworked have been Walbro 257's, 488's, 771's and some with numbers ground off. Tuners who have done them are not going to be specified due to finding inconsistencies from enough to prompt this article. No mud slinging or bad mouthing intended...just straight up information on how to fix one if done in such a way that this article addresses.
Does YOUR "Modified" big bore need help ?
You determine this quite simply by:
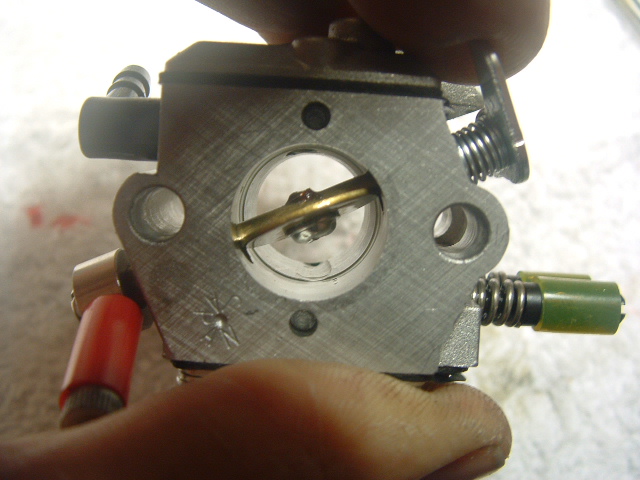
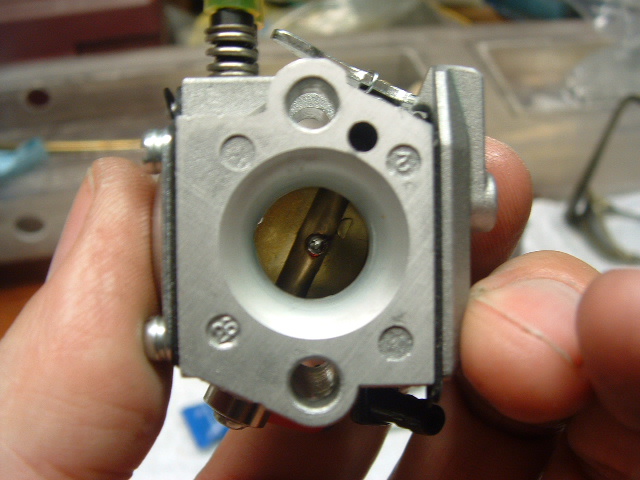
#1 Measuring the venturi bore's minimum diameter and noting where within the bore it is in relation to the high speed delivery hole.
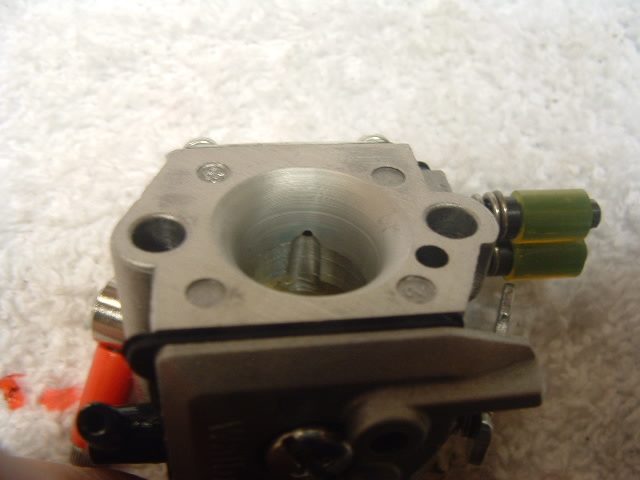
#2 Visually looking at the intake bell of the carburetor straight on, noting if you can or can not see the high speed delivery hole obviously being within the modified bell shape of the intake area.
** If you note either of these two following items, your modified Big Bore can gain performance by this fix !
#1- When measured the smallest diameter is DEEPER in the throat than the High delivery hole
#2 - You can obviously see the delivery hole is within the bell shape entering the throat.
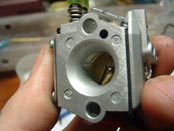
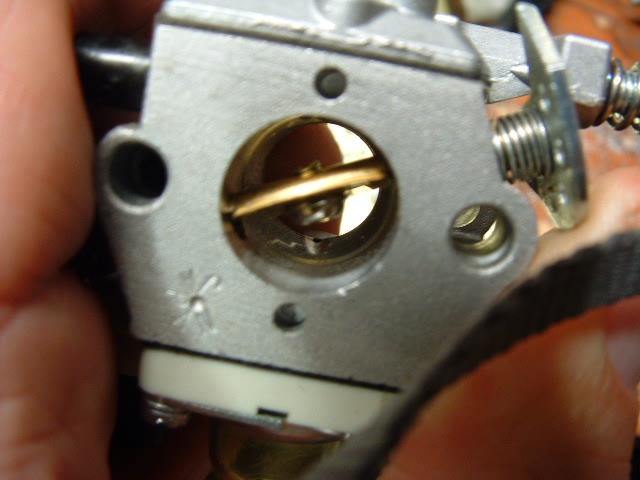
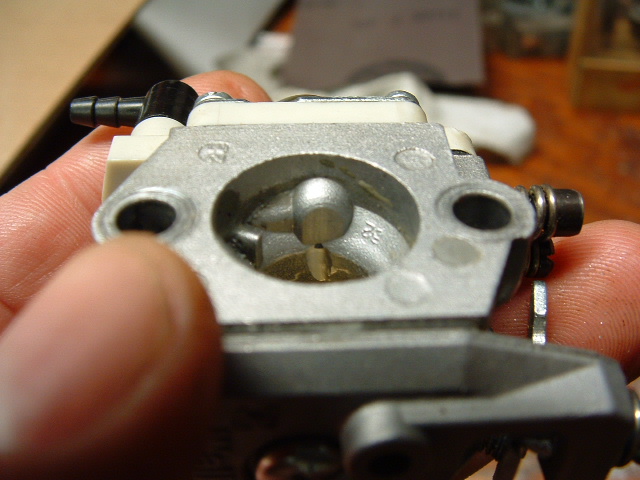
PS. This modification can also be applied to get better fuel metering from the stock Zenoah WT-644 Carburetor. ( the following two pictures show this done to a Walbro WT644 ) ( Only the slot behind delivery hole is required )
How to fix it...
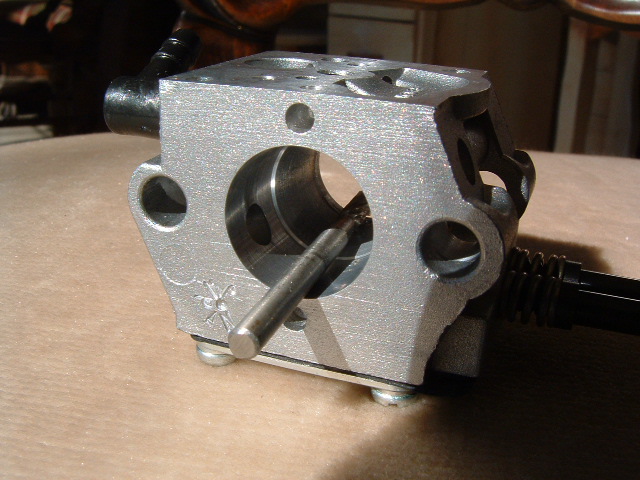
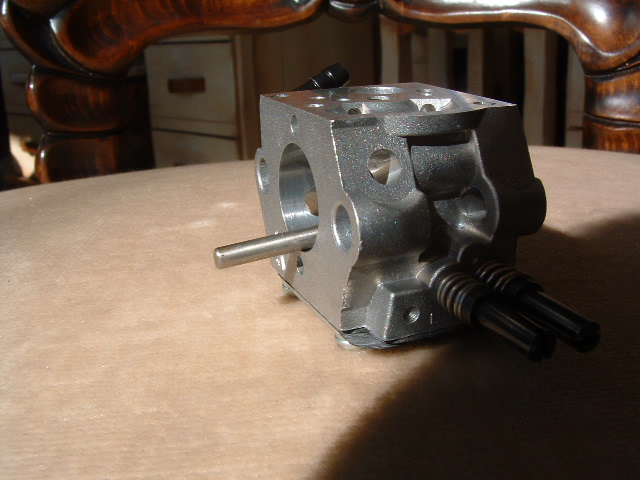
Remove the butterfly from throttle shaft and remove the shaft. I personally take apart the entire carburetor so that I can clean it up completely after the work is done. (For more information on re-assembling the carburetor butterfly and shaft see THIS ARTICLE).
Set the length of cutter in collet so that the ball end is approximately 1/8" or more beyond the delivery port when inserted from the manifold surface of the carburetor.
* You will want the front edge of the collet that's holding the cutter to bottom out on the rim of the throttle bore. And MAKE SURE the bare shank is riding on the edge of throttle bore and not cutter teeth!
By holding the cutter against the outside edge of the throttle bore at the manifold end, the cutter will be on a slightly tilted angle, this is what you want!
Slowly work your way around the bore making a light cut going round and round several times. You will see the apex point of the intake bell to bore start moving forward towards the High delivery port. The OVERALL bore diameter is increasing at the same time!
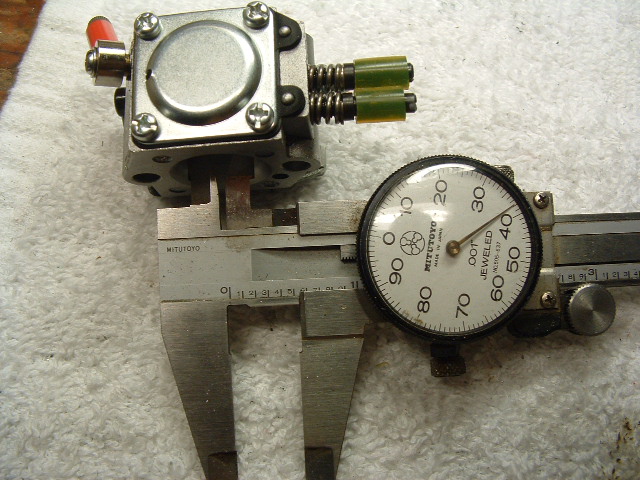
Ideally you want the apex to get within .030 - .040" of the delivery hole or closer. NOTE: you don't want the venturi bore diameter to exceed approximately .530" -.540", so go slow and measure it as you work it forward.
* Sight down on the carburetor and get the cutter placed perfectly straight in line with the throttle bore.
Again with the shank of cutter resting on edge of throttle bore slowly cut a slot right behind the delivery hole having the tip of the ball shaped cutter JUST touch the delivery hole. Make the slot just deep enough that it ALMOST is equal to the throttle bore.
**** DO NOT go so deep that you contact the smooth .625" portion of the throttle bore ****

If you accidentally damaged the gasket surface a tad from the collet running on the edge of throttle bore, just use some 180 grit wet/dry sandpaper on a piece of glass or surface plate and smooth it back out.
Scott Schneider
MGB Technical Advisor